In this post we will be showing how to create a Django hello world in Jelastic. Our hosting provider is Reclaim Cloud.
Create a local Django hello world
# Make a directory with an empty README
mkdir django-test
cd django-test
touch README.md

# Create a .gitignore file
curl https://www.toptal.com/developers/gitignore/api/django -o .gitignore

# Initialize a git repo and rename master to main
git init
git add -A
git commit -m 'Initial commit'
git branch -m master main

# Re-enter the directory so your shell prompt picks up it is in a git repo
cd; cd -

# Create a virtualenv and activate it
virtualenv venv
. venv/bin/activate

# Install the django module and write the dependencies to requirements.txt
pip install django
pip freeze > requirements.txt

# Create a new django project
django-admin startproject config .

# Update the SQLite database (although we won't be using this)
python manage.py migrate
At this point, we have Django ready for testing so let’s see if it’s working. Run python manage.py runserver and then browse to http://127.0.0.1:8000/.
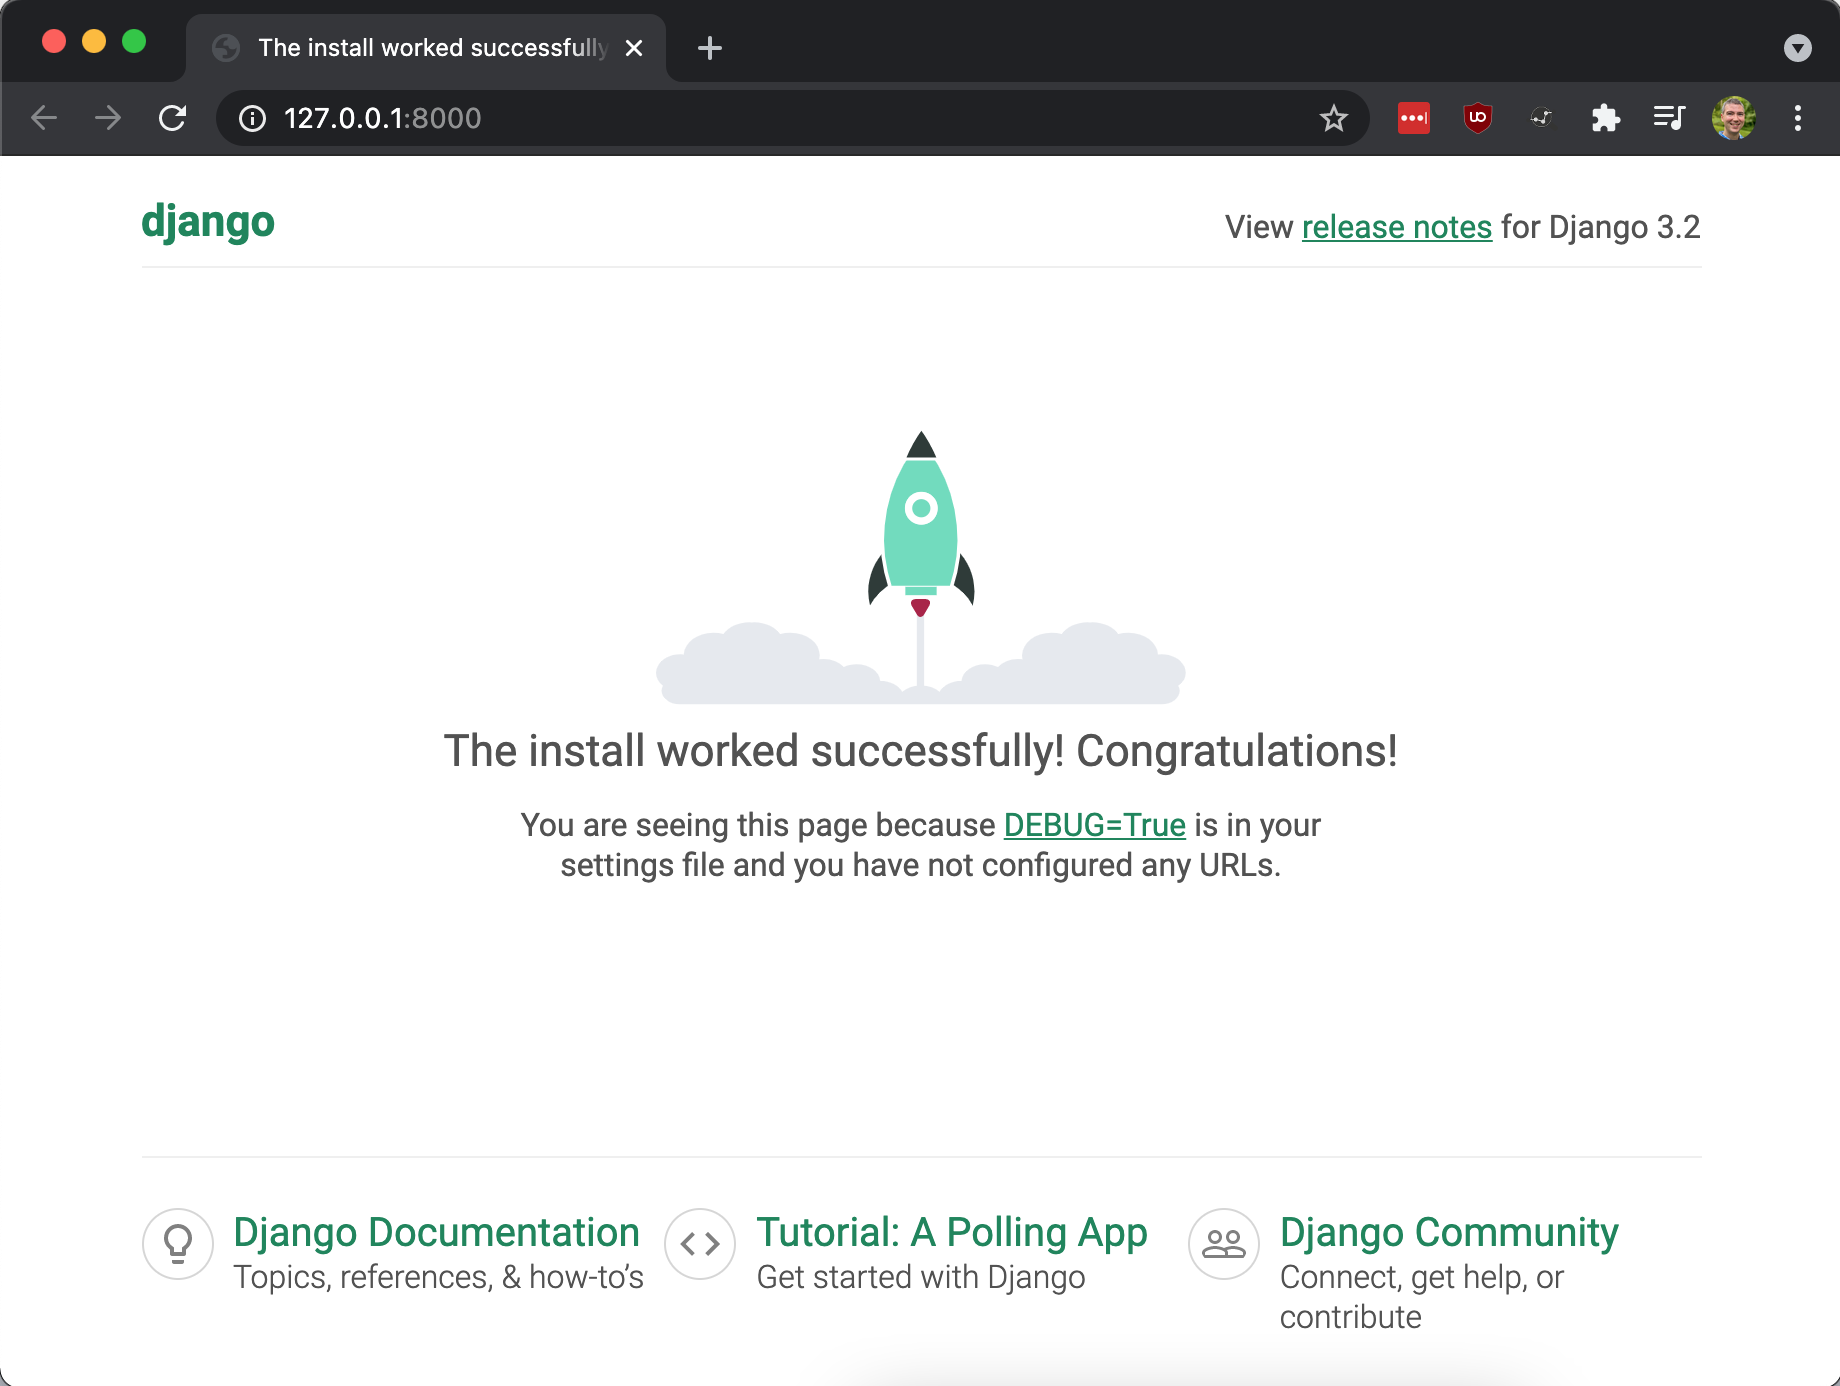
Press Ctrl-C to stop the web server. Now let’s create what Django calls an application and customize the configuration so that it will run in Jelastic.
# Create Django app named "pages"
python manage.py startapp pages

# Configure Django to serve the pages application
sed -i '' "s/INSTALLED_APPS = \[/INSTALLED_APPS = \[\n    'pages',/g" config/settings.py

# Configure Django to run for all hosts
sed -i '' "s/ALLOWED_HOSTS = \[\]/ALLOWED_HOSTS = \['*'\]/g" config/settings.py

# Configure Django not to use a database
sed -i '' '/DATABASES = {/,+5 s/^/#/' config/settings.py

# Create a view
cat << 'EOF' > pages/views.py
from django.http import HttpResponse

def homePageView(request):
  return HttpResponse('Hello, World!')
EOF

# Setup URL mapping in the pages app
cat << 'EOF' > pages/urls.py
from django.urls import path
from .views import homePageView

urlpatterns = [
  path('', homePageView, name='home')
]
EOF

# Set URL mappings for the root of the project
cat << 'EOF' > config/urls.py
from django.contrib import admin
from django.urls import path, include

urlpatterns = [
  path('admin/', admin.site.urls),
  path('', include('pages.urls')),
]
EOF

# Create wsgi.py to be used by Apache
cat << 'EOF' > wsgi.py
import os,sys

virtenv = os.path.expanduser('~') + '/virtenv/'
virtualenv = os.path.join(virtenv, 'bin/activate_this.py')

try:
  if sys.version.split(' ')[0].split('.')[0] == '3':
    exec(compile(open(virtualenv, "rb").read(), virtualenv, 'exec'), dict(__file__=virtualenv))
  else:
    execfile(virtualenv, dict(__file__=virtualenv))
except IOError:
  pass

sys.path.append(os.path.expanduser('~'))
sys.path.append(os.path.expanduser('~') + '/ROOT/')
os.environ['DJANGO_SETTINGS_MODULE'] = 'ROOT.config.settings'

from django.core.wsgi import get_wsgi_application
application = get_wsgi_application()
EOF
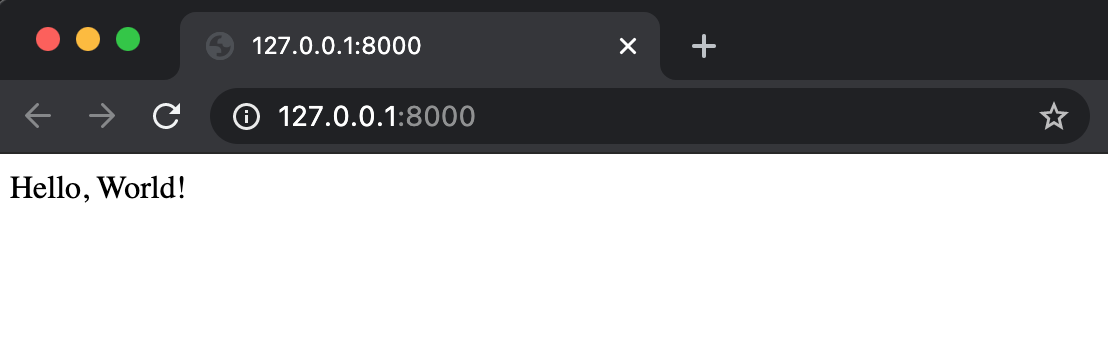
Now’s a good time to test things again by running python manage.py runserver and browsing to http://127.0.0.1:8000/.
OK, we have our Django hello world app running locally. Let’s push it to a Git repository that we can later access from our Jelastic environment. On my organization’s GitLab instance, I create an empty project and then push my code up.
git remote add origin git@git.example.com:elijah/django-test.git
git add -A
git commit -m 'django hello world'
git push --set-upstream origin main
Create a cloud app
Now we need to login into Reclaim Cloud and create our app.
- Browse to https://app.my.reclaim.cloud/
- Login with your credentials
- Click the
New Environmentbutton - Click
Pythontab - In the first column, click
SSL - Toggle “Bult-In SSL” to
On - In the first column, click the blue “Application Server” rectangle
- Under middle columnb for “Application Servers”, leave all the default, which were
- Reserved
1 cloudlet - Scaling Limit
4 cloudlets - Apache Python
2.4.46 - Python
3.9.4
- Reserved
- On the right column, set “Environment Name” to
django-test
Here’s what it looks like.
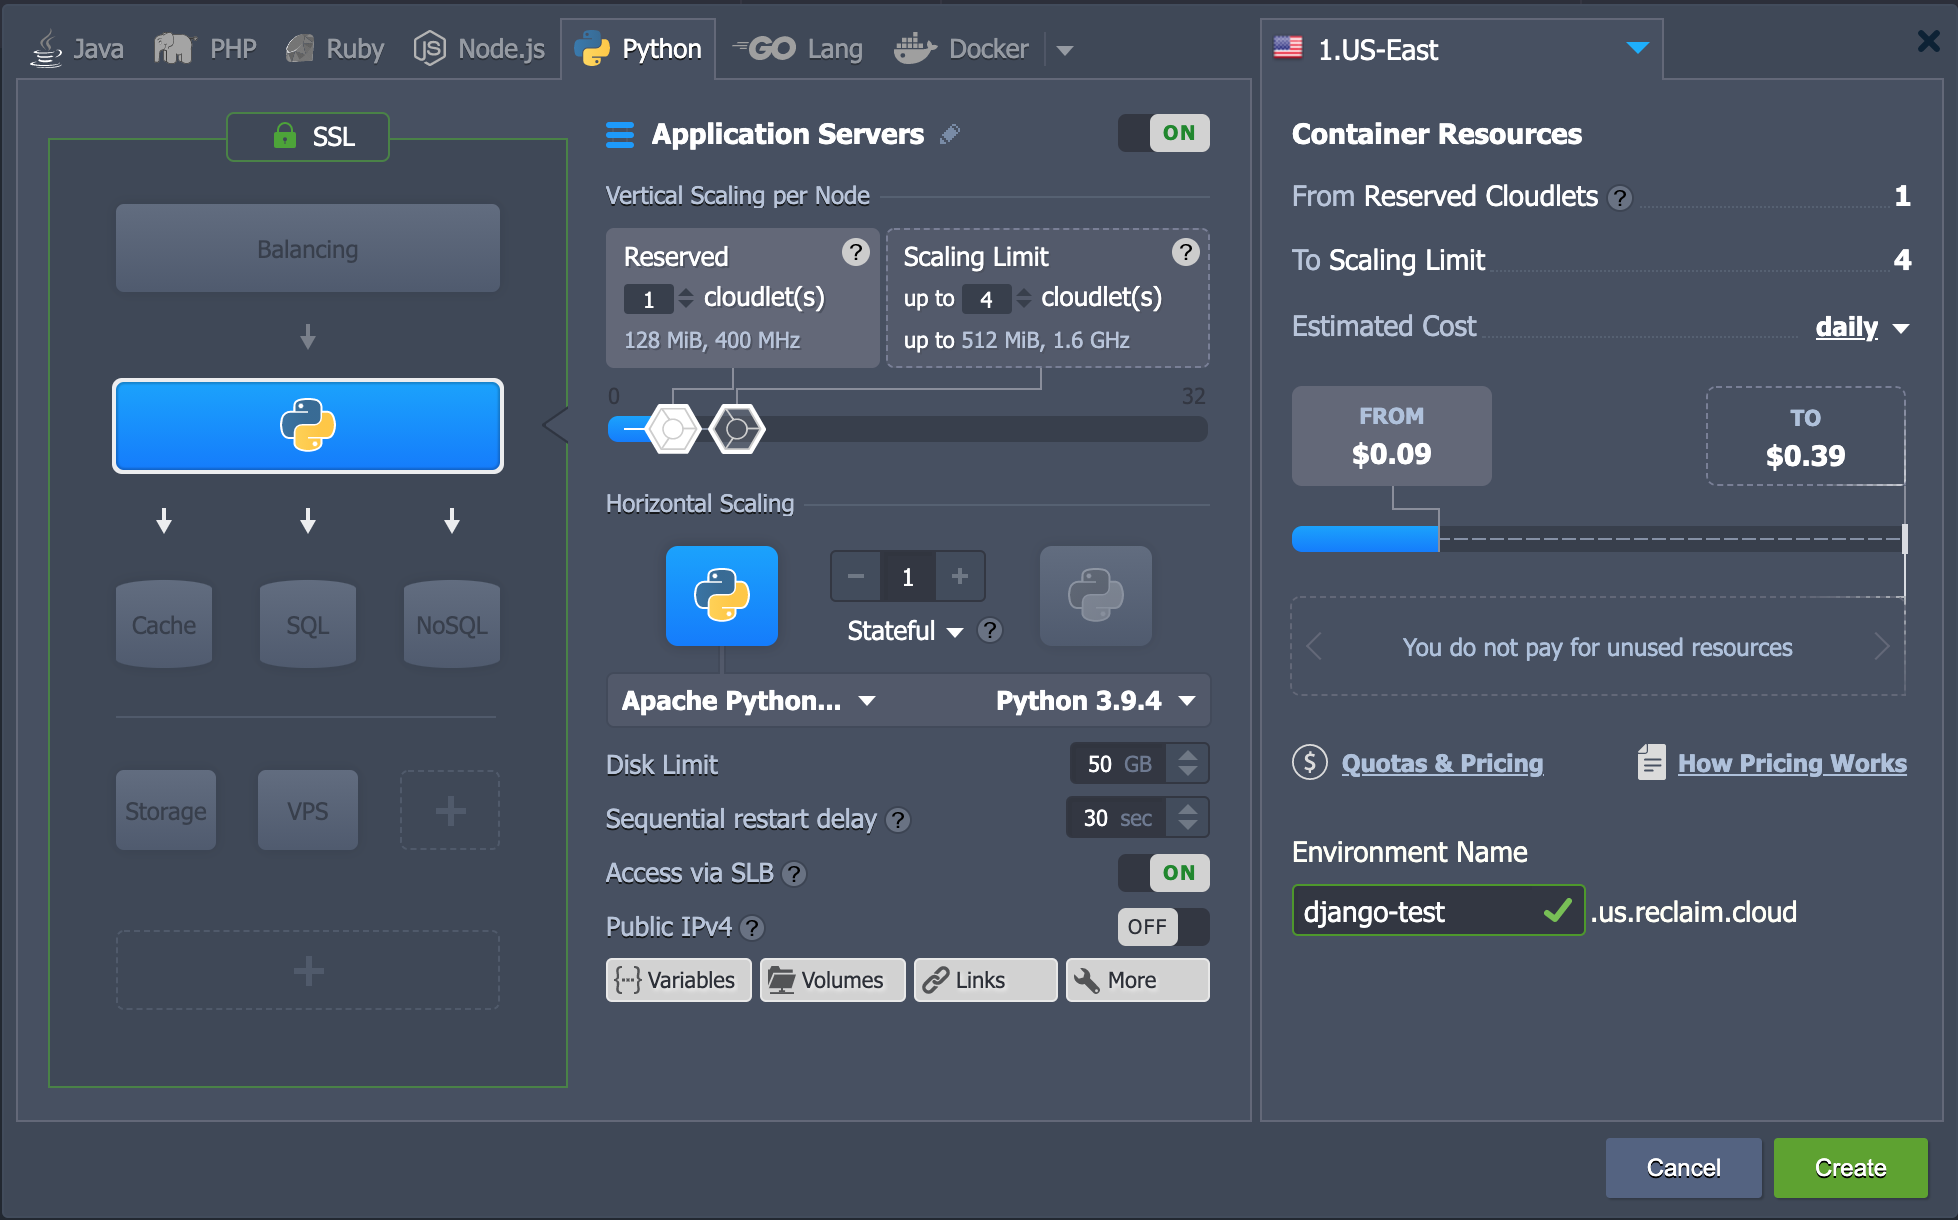
Click Create button. This took about 2 minutes to setup.
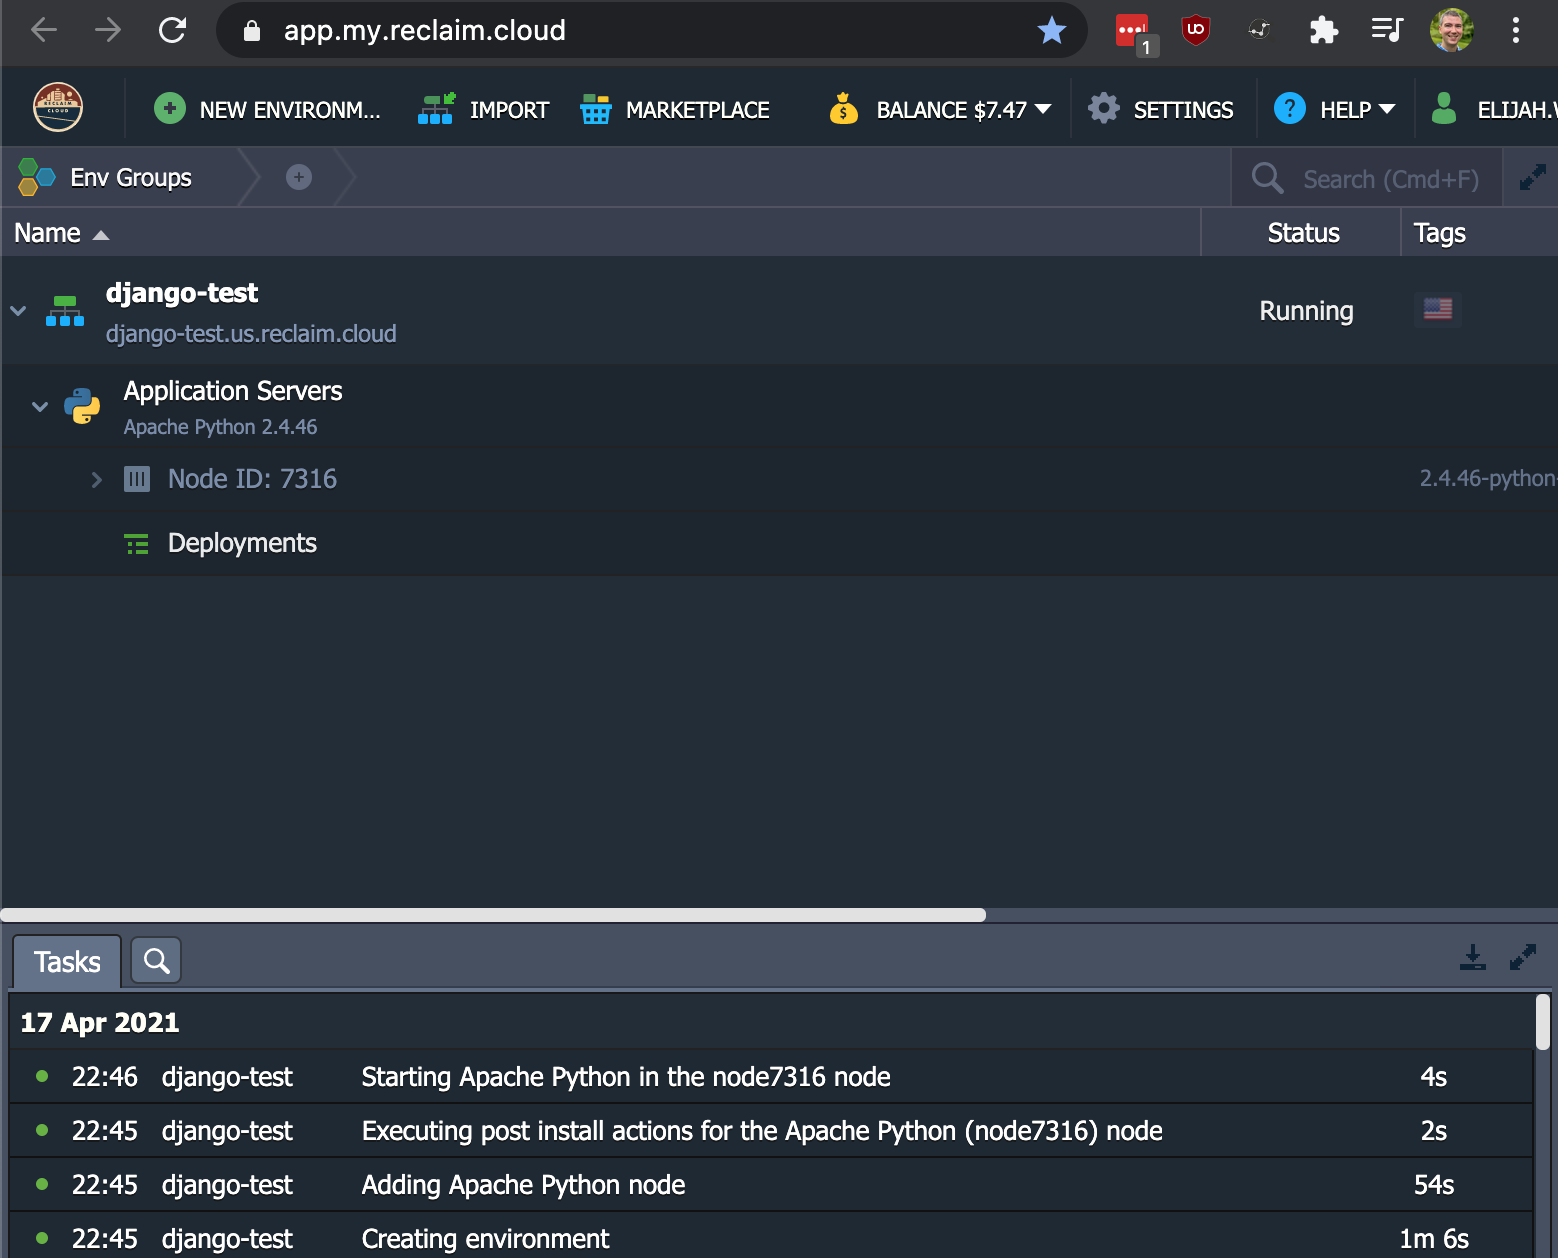
Afterwards, I browsed to https://django-test.us.reclaim.cloud/ and saw the following.

Deploy our app
Now we want to deploy our Django application and set it up so that all we need to do is click a button to deploy updates from the Git repo. At the bottom, click Deployment Manager and then switch to the Git / SVN tab.
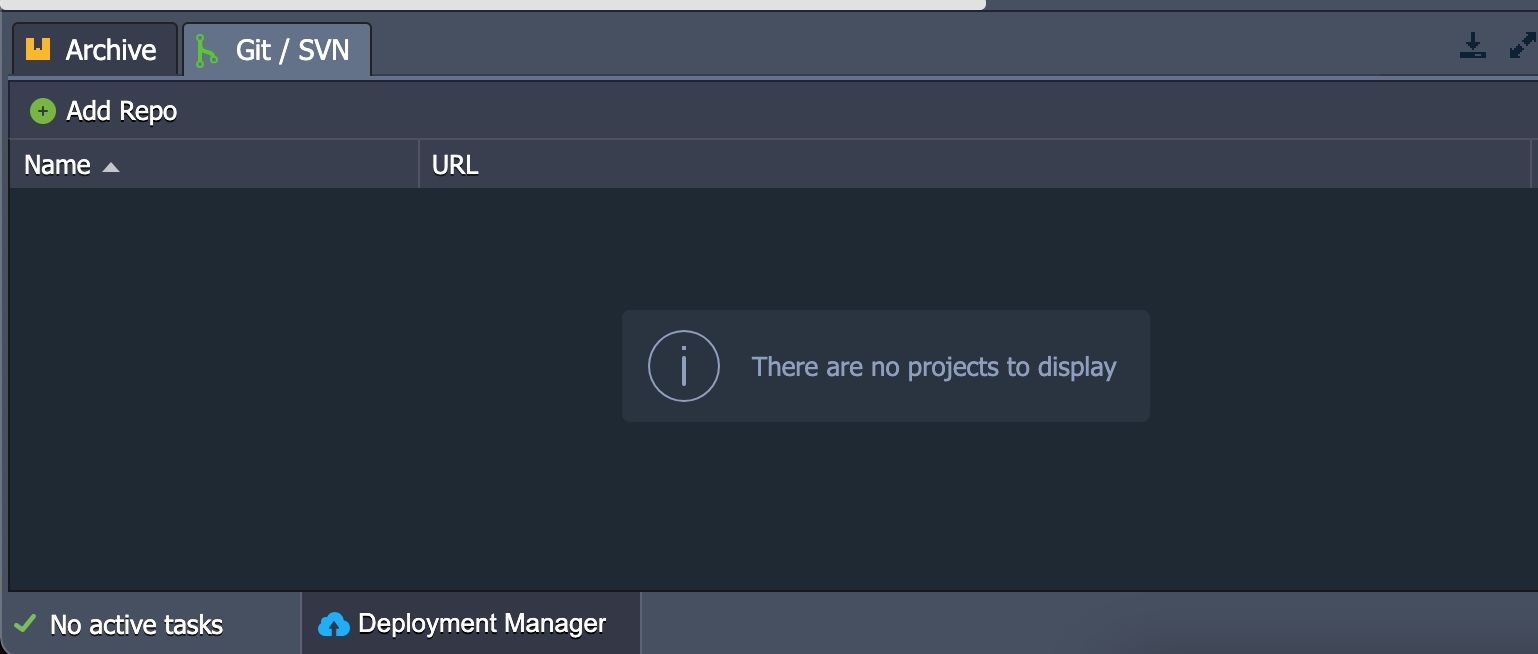
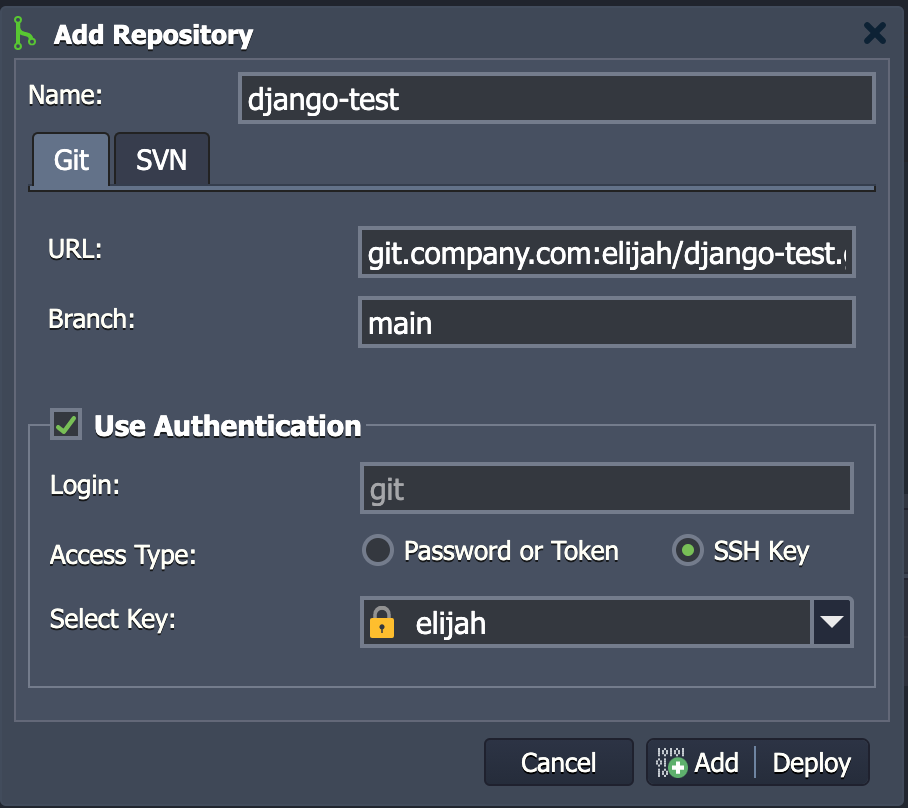
Then click Add Repo. A modal window appears and starts on a Git tab. Fill in the following.
- Name:
django-test - URL:
git.company.com:elijah/django-test.git - Branch:
main - Check:
Use Authentication - Login:
git - Access Type:
SSH Key - Select key:
Add Private Key- Name:
elijah - Key:
REMOVED - Click
Add
- Name:
Note: Your details for the above may differ. If you’re like me and using a SSH key for accessing your Git repo, you will likely find your private key at $HOME/.ssh/id_rsa.
Now click “Add + Deploy”. This brings you to another modal window where you are asked to pick an environment to deploy to. I’ve selected my only environment.
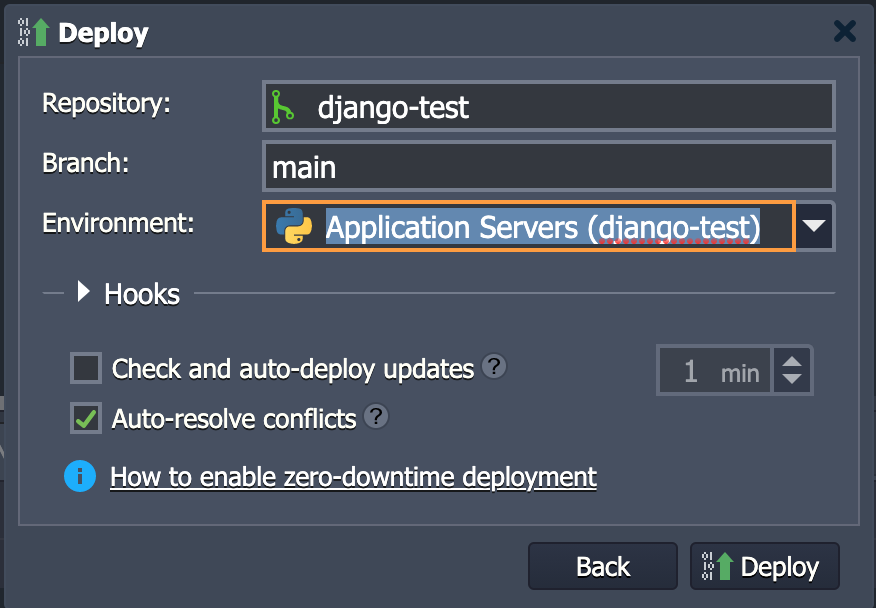
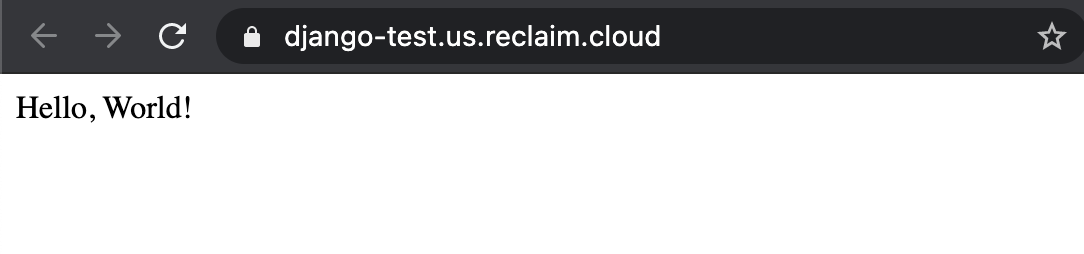
From here, click deploy. This took 25 seconds. Go ahead and browse to https://django-test.us.reclaim.cloud/.
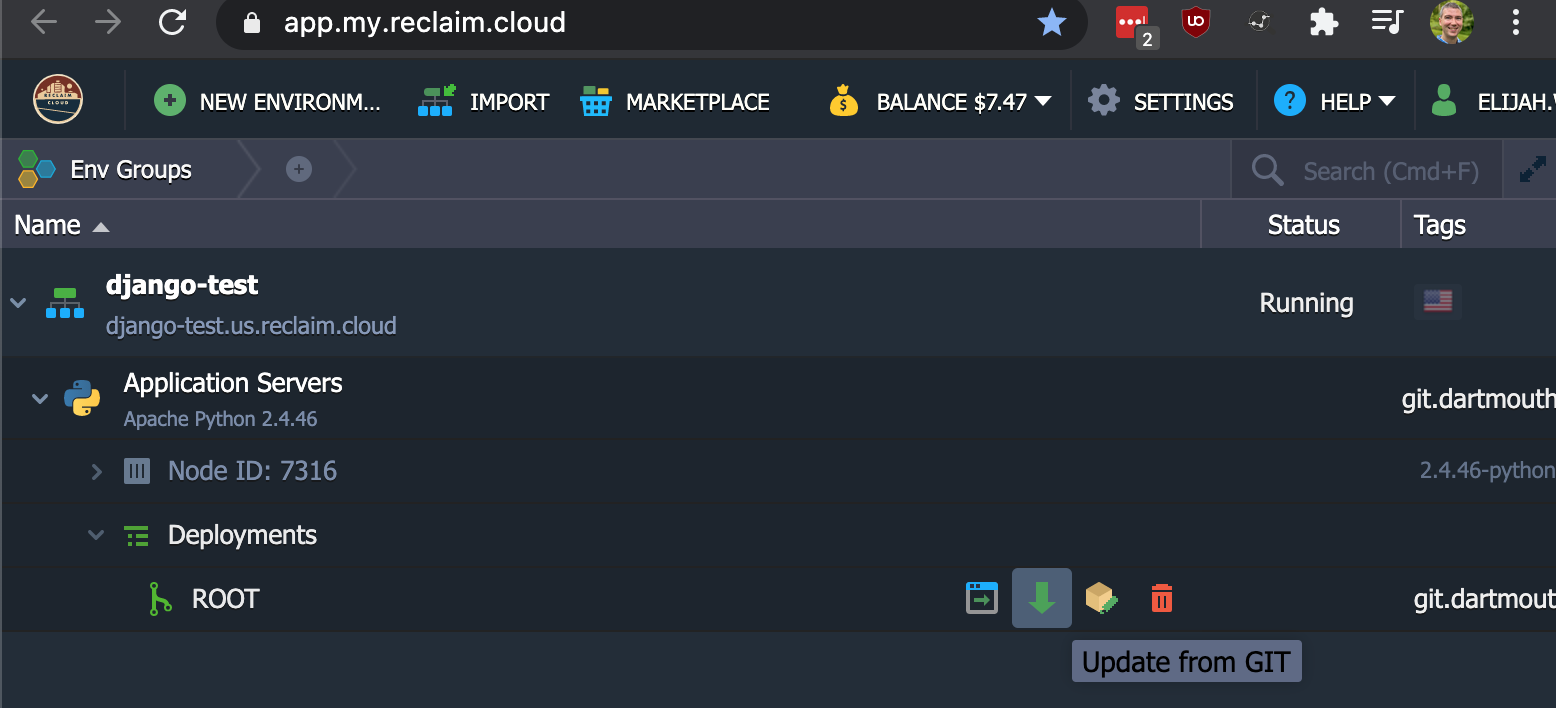
We can setup Jelastic to periodically poll our Git repo and do a pull when there are changes. Or we can use this button to pull those changes down on demand.
Explaining some gotchas
Walking through these steps start to finish shouldn’t take more than 10 minutes. But it took me hours to figure out how to get everything working. First, I want to give credit to https://djangoforbeginners.com/hello-world/, which I used to help me get started with Django. I don’t have a lot of experience with Django or using Apache with the mod_wsgi for that matter.
One thing that had me stuck for a while was getting the Git deployment working. The gotcha there for me was what to put as the username with the SSH key. The answer was to use just git as show above.
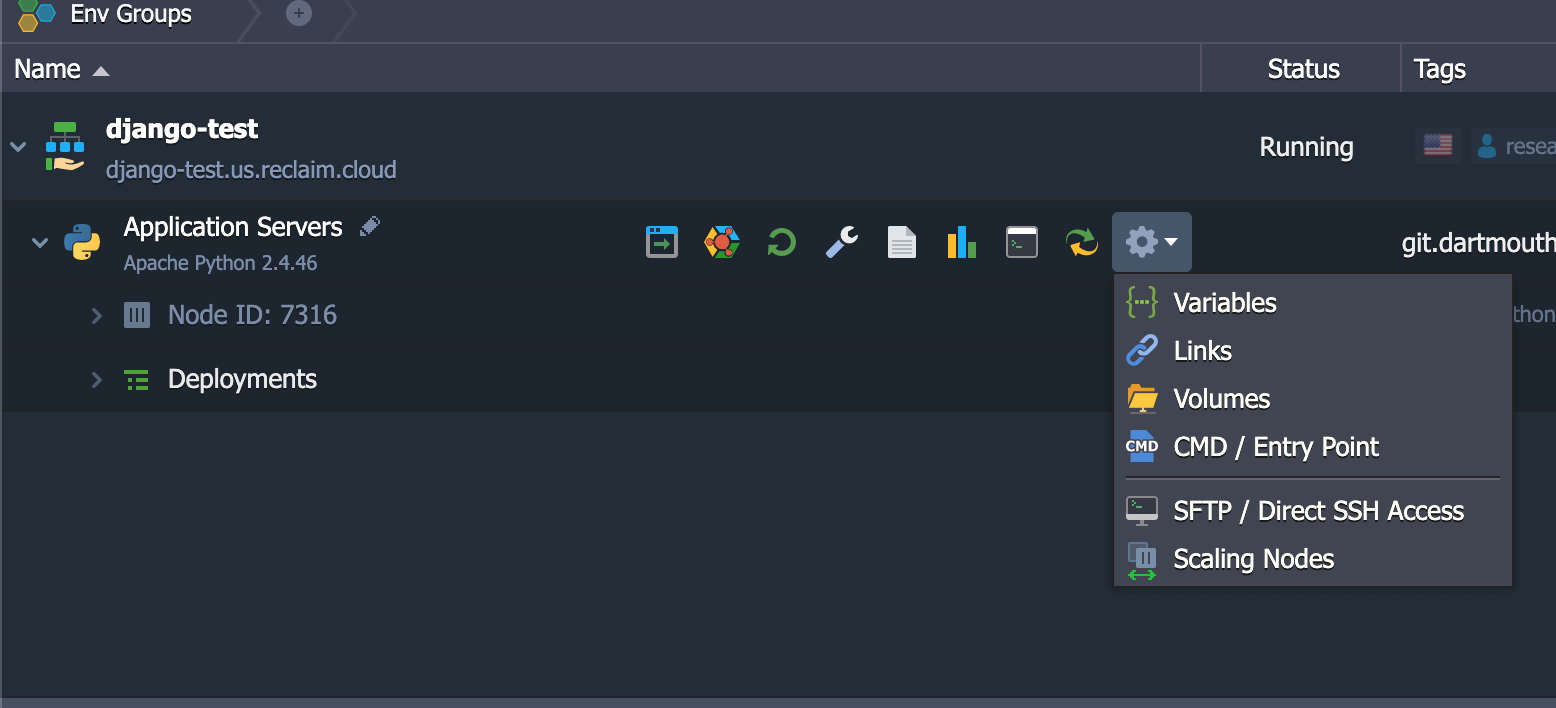
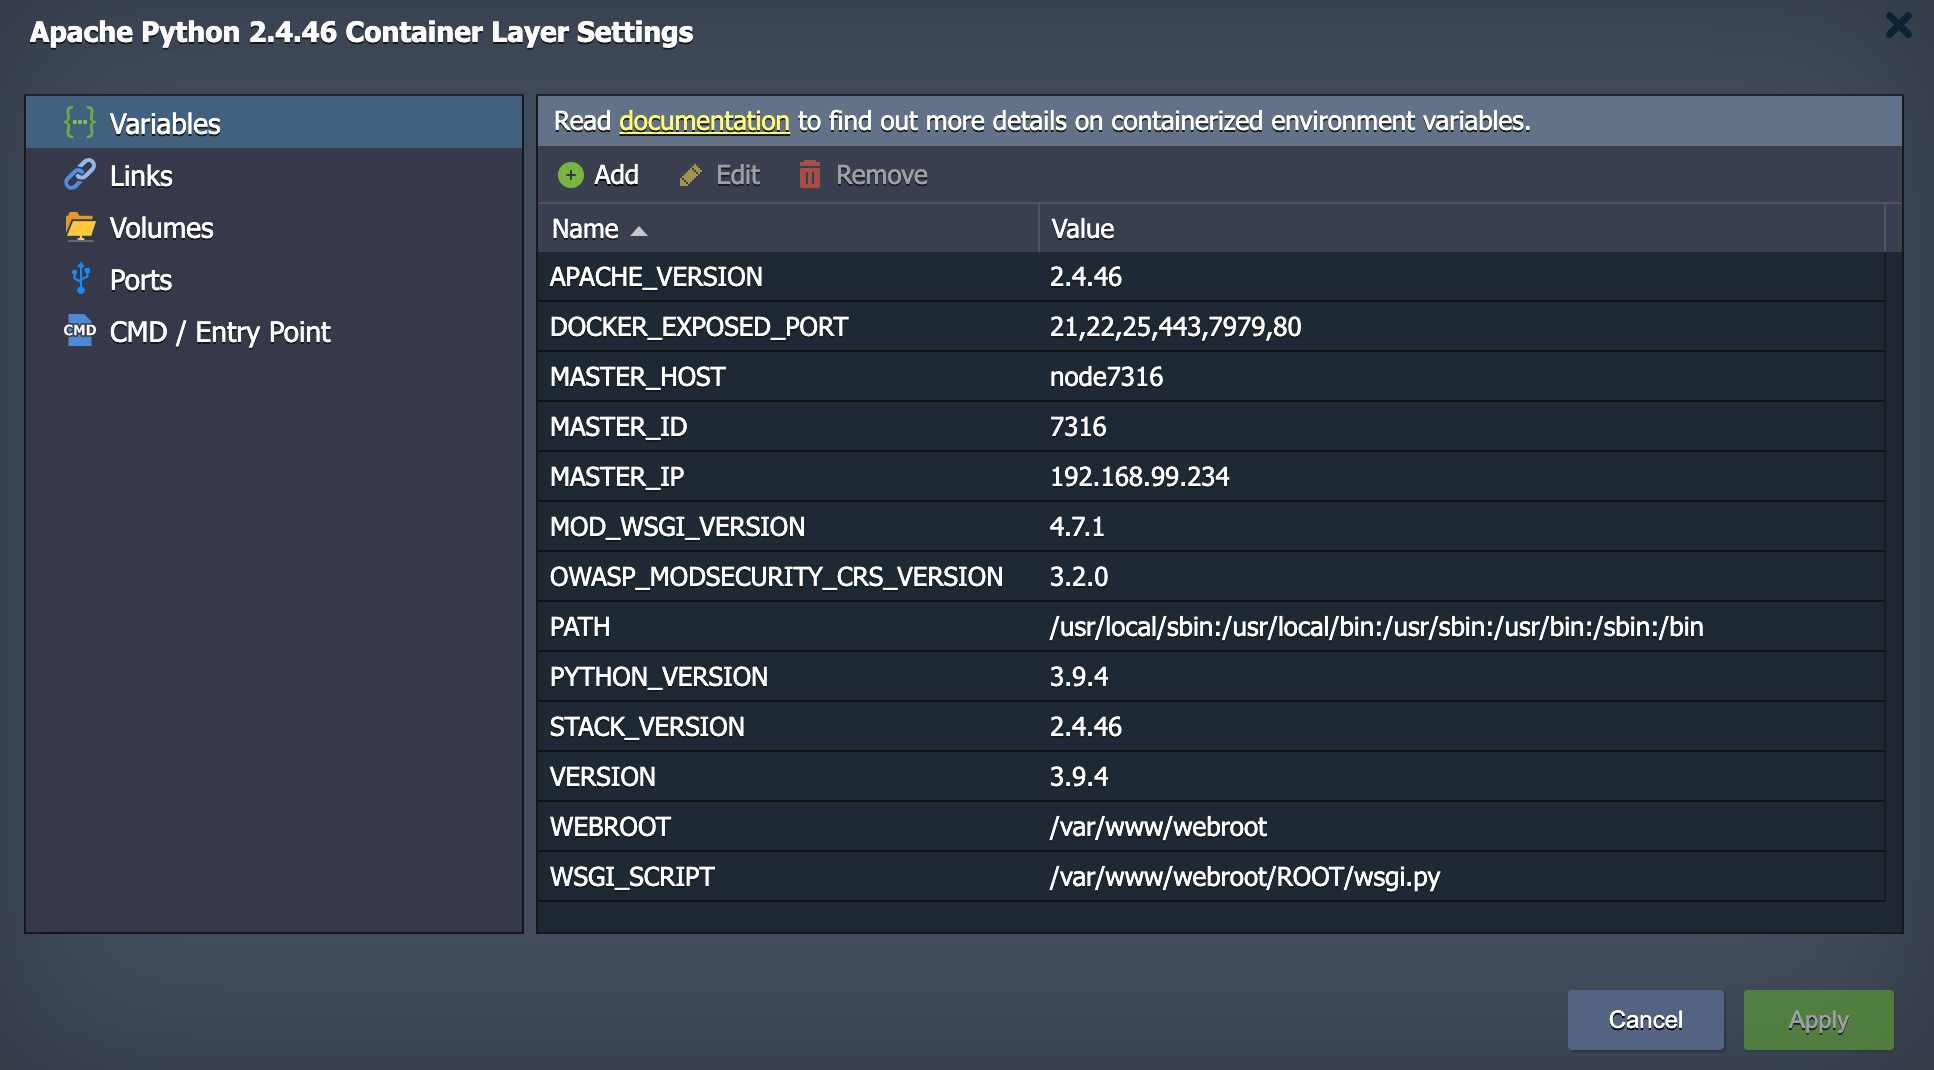
The other thing that had be stumped for a while was how to properly connect Apache to Django. I’m used to using Gunicorn to run Python apps and typicaly Nginx as a proxy. But Jelastic doesn’t have that setup out of the box so I tried to work within their default configuration. The first key to figuring this out was to look at the environment variables.
Here we see WSGI_SCRIPT, which points to /var/www/webroot/ROOT/wsgi.py.
We can pop open a Web SSH console.
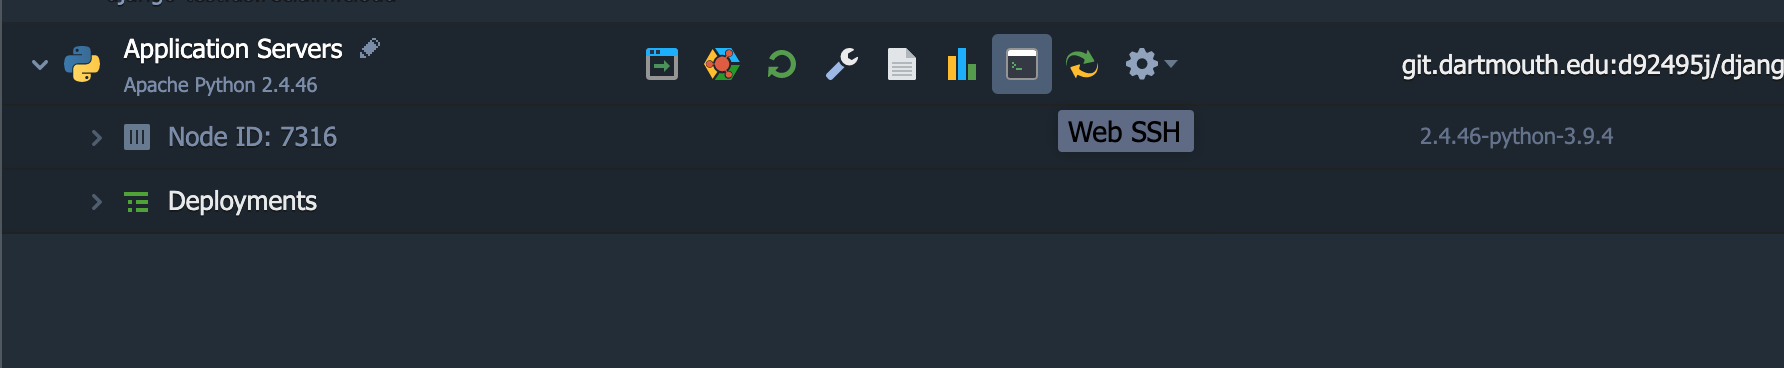
If we check the Apache configuration we find that it uses this environment variable to set Apache’s entry point for /.
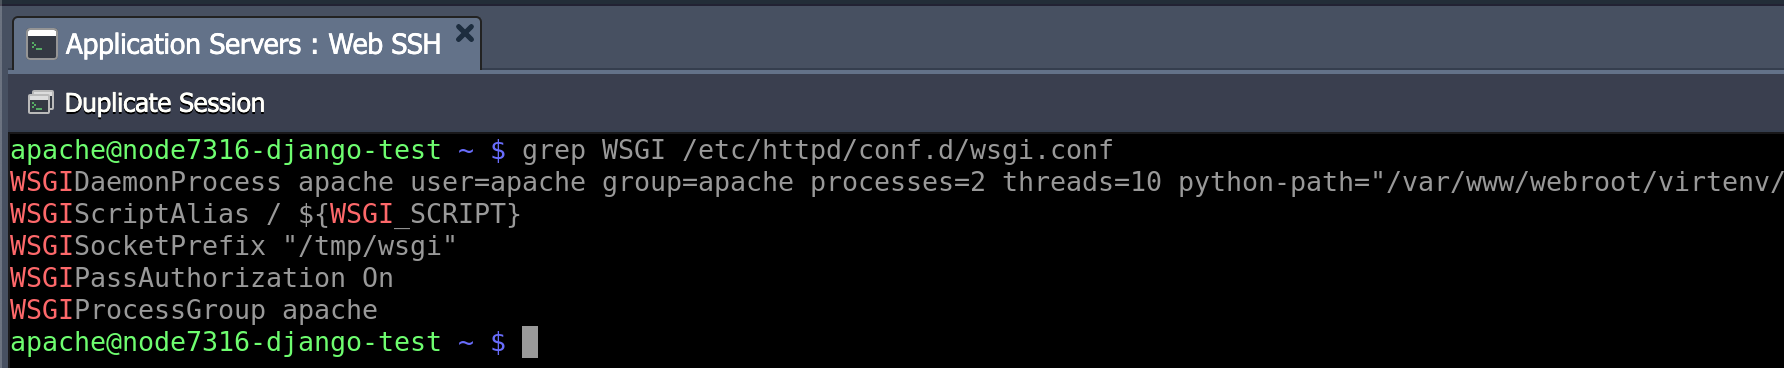
The problem I had is that the hello world example I was following didn’t use a wsgi.py and none of the example files I was finding worked. That is until I found https://jelastic.com/blog/django-cms-installation-python-cloud-hosting/, where on step 6 under the manual instructions. The key was understanding what to set DJANGO_SETTINGS_MODULE to, which in my case was ROOT.config.settings. After finding that, everything else was fairly straightforward.