I’m going to start a series of posts talking about software I use daily, highlight some of it’s features, and describe how I’ve customize it. First up for iterm2. In my opinion, there is no better terminal on any platform. iTerm2 is only for macOS.
Here are some quick links that might peak your interest
- iTerm2 feature list
- iTerm2 main website where you’ll also find a FAQ, Documentation, and a place to submit bugs
- Source code on GitHub
My list of top features are
- Copy/paste work brilliantly. So many terminal apps fumble on this simple requirement. Copy works by selecting text. Why would anything further be required? It has advanced pasting options such as being able to control the “chunk” and “speed” values a paste action uses. I’ve found this useful when pasting lots of commands to a database shell. If I paste too many command some of them get lost. But the best feature of paste is that it shows you what you’ve pasted and lets you optionally edit it before executing it.

- It’s an open source application with amazing support. I have filed bug and feature requests to the project and gotten fast replies.
- It has a Python API. I primarily use this to programmatically open new tabs and panes and execute a command. But you can automate almost any aspect of your terminal.
Let’s get an overview of installing and configuring it. You can of course download a zip and do a traditional installation. I prefer brew.
brew install --cask iterm2
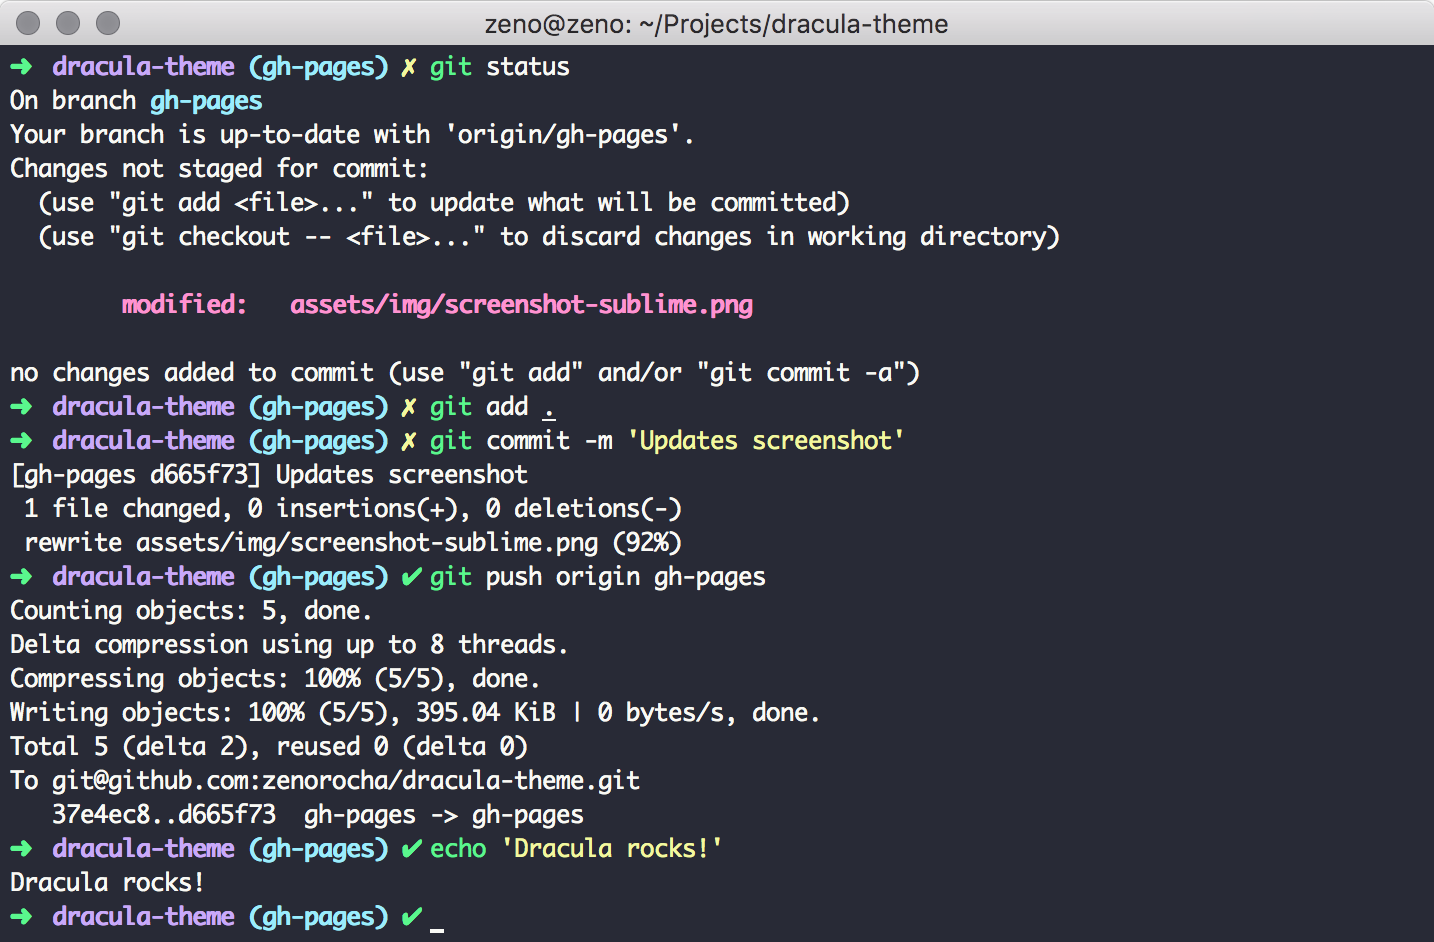
Next, I’ll recommend the Dracula theme. Notably, the Dracula theme is available for hundreds of applications (e.g. Chrome, VS Code, Notepad++).
Download the theme to a temp location.
curl https://raw.githubusercontent.com/dracula/iterm/master/Dracula.itermcolors \
  -o /tmp/Dracula.itermcolors
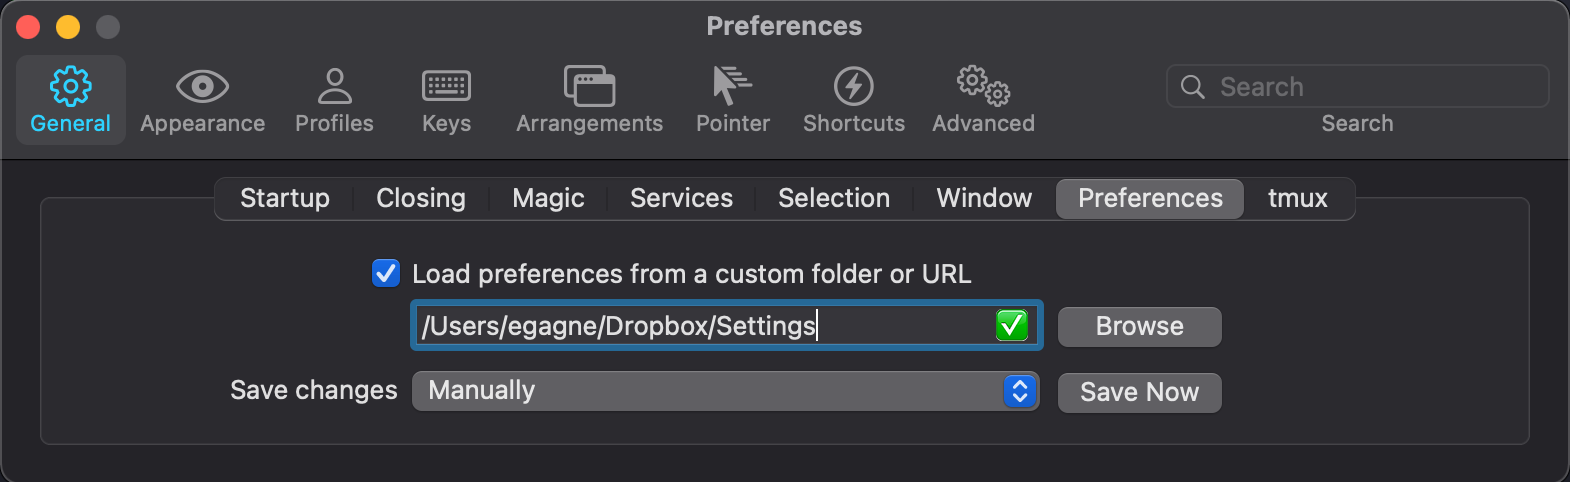
Now let’s edit the preferences. I like to use the shortcut Cmd + , that works for most apps on macOS. On the General tab, select the Preferences sub tab. This section lets you configure a custom location to save the preferences. This is super helpful so that you can sync your settings across multiple computers and easily backup your config to make rebuilding your machine simple.
With that complete, we’ll make some additional updates.
General / Selection
- Check: Applications in terminal may access clipboard

General / Window
- Uncheck: Adjust window when changing font size

Appearance / General
- Theme: Minimal

Apperance / Dimming
- Uncheck: Dim inactive split panes
I like to keep most things default. But here we’re going to allow clipboard access from commands we run in our shell, keep the font size static as we resize windows, change to a minimalist theme, and disable dimming (aka transparency).
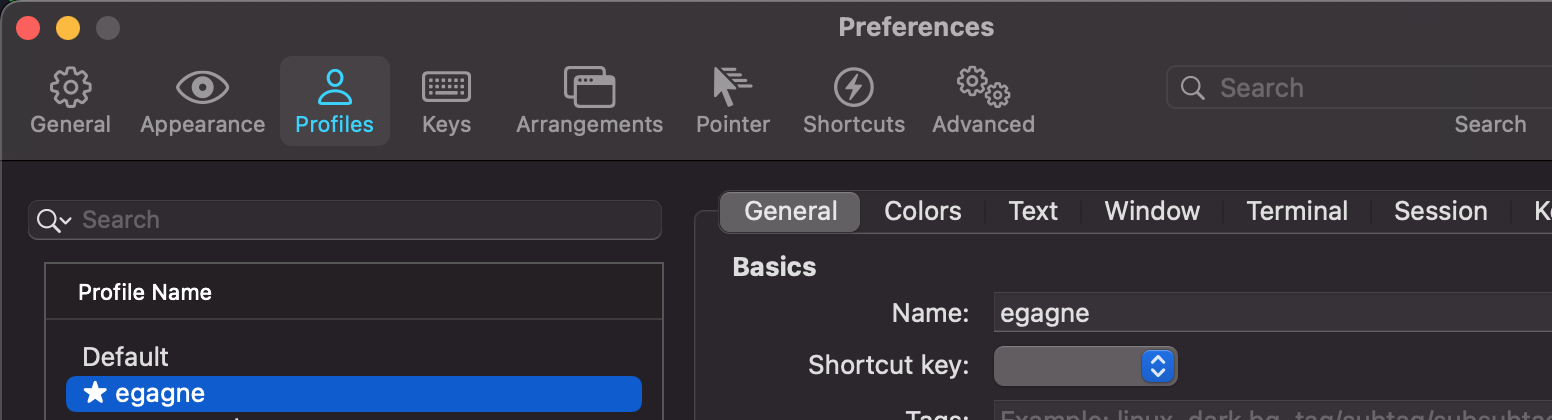
Next we’re going to create a new profile and make the rest of our changes for that profile. Switch to the profiles tab and create a new one. I named mine egagne. With your new profile selected, in the bottom pull down where it says “Other Actions…”, choose “Set as Default” and a star will placed next to the profile.
Change to the "Colors" tab
Click "Color Presets..."
Click "Import..."
Browse to and select "/tmp/Dracula.itermcolors"
With the Dracula theme imported, go ahead and select it as the theme for this profile. Then make the following additional customizations.
Text
- Size: 16

Window
- Columns: 135
- Rows: 35

Terminal
- Scrollback: unlimited
- Check: Silence Bell

Sessions
- Check: Log plain text
- Check: Automatically log session input to files in
- /path/to/cloud/storage/terminal_logs

Keys
- Presets: Natural Text Editing
You may find that the text and window sizes need to be adjusted differently. The other settings are all useful changes from the default in my opinion.
- Unlimited scrollback, yes please
- No bell dings for things like tab completion
- Log your sessions, this proves super useful to me about once a month when I need to figure out what I did or when I did it
- Natural Text Editing. This setting makes keyboard shortcut work as I would expect them to. For example,
Cmd + ArrowRightgoes to the end of line,Alt ArrowLeftgoes back a word.
That completes the customization of my profile. I then create two new profiles named prod and nonprod. These are the same as the egagne profile, but I go to the “Colors” sub tab and change the backgrounds to have RGB values of 362727 and 2d3627. This gives prod a tinted red and nonprod a dark green background.
Next, I go to the “Scripts” menu, select “Manage”, and choose “Install Python Runtime”. After following through the prompts on that. I create two scripts.
/Users/egagne/Library/Application Support/iTerm2/Scripts/iterm-tab.py
#!/usr/bin/env python3
import iterm2
import sys

if len(sys.argv) != 4:
  print("Syntax: iterm-tab.py <tab_name> <profile> <command>")
  sys.exit()

TAB_NAME = sys.argv[1]
PROFILE = sys.argv[2]
COMMAND = sys.argv[3]

async def main(connection):
  app = await iterm2.async_get_app(connection)
  window = app.current_terminal_window
  if window is not None:
    tab = await window.async_create_tab(profile=f"{PROFILE}",command=f"{COMMAND}")
    await tab.async_set_title(TAB_NAME)
  else:
    print("No current window")

iterm2.run_until_complete(main, True)
/Users/egagne/Library/Application Support/iTerm2/Scripts/iterm-pane.py
#!/usr/bin/env python3
import iterm2
import sys

if len(sys.argv) != 3:
  print("Syntax: iterm-pane.py <profile> <command>")
  sys.exit()

PROFILE = sys.argv[1]
COMMAND = sys.argv[2]

async def main(connection):
  app = await iterm2.async_get_app(connection)
  session = app.current_terminal_window.current_tab.current_session
  if session is not None:
    new_pane = await session.async_split_pane(profile=f"{PROFILE}",vertical=False)
    await new_pane.async_activate()
    await new_pane.async_send_text(text=f"{COMMAND}\n")
  else:
    print("No current session")

iterm2.run_until_complete(main, True)
I test running the script from the menu to accept enabling the Python API.
$HOME/.config/iterm2/AppSupport/iterm2env/versions/3.8.*/bin/python3 iterm-tab.py test_tab_name egagne /bin/zsh
With that, iTerm2 is now fully setup and customized.