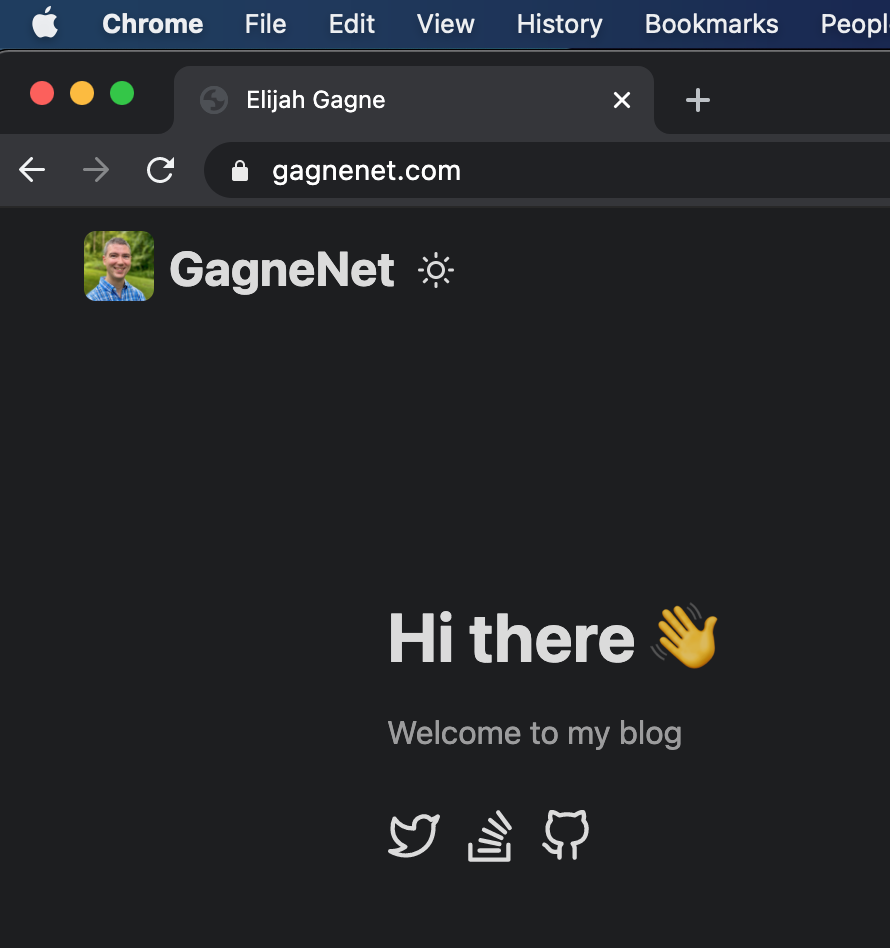
At this point I have the gagnenet.com domain and I’d like to find hosting for https://gagnenet.com/. Let’s outline some of the requirements I have:
- $0 cost is highly desirable
- Easy HTTPS certificate management is a plus
- Publishing new content should be simple
There are two hosting providers I’ve tinkered around with in the past that I decided to explore further.
The first is GitHub Pages. It’s free and publishing new content is simple. It works by creating a GitHub repository and pushing content up. In the most basic case, you create HTML/CSS/JavaScript content locally and do a git push to publish your website updates. They also have integration with a static site generater called Jekyll. Making use of the integration, you can create content in markdown and push that to the Git repo. After that, GitHub runs Jekyll on their platform to build your website from the markdown. GitHub Pages does let you choose a custom domain, but they do not offer HTTPS built in. To accomplish that, we can introduce Cloudflare as a proxy. This great because Cloudflare has built in support for using Let’s Encrypt so it will handle creating and updating the certificates for you.
For me, the downside is Jekyll. There are two players in the static site generator field that I am familiar with: Jekyll and Hugo. Jekyll is based on Ruby, while Hugo is written in Go. Jekyll is said to be easier for beginners and has better themes. Hugo is known to be super fast (sometimes 35x faster than Jekyll) and has more built in features. Speed of deployment shouldn’t be a factor for me since I don’t expect a big site, but I couldn’t ignore how nice it was to press Cmd-S to save a file and Cmd-Tab to switch to my browser and see my content updated in a fraction of a second.
So Hugo it is. I could still use Hugo with GitHub Pages, but there is no built in integration. What this means is that I would run Hugo locally, let it produce the static content, and then push that static content up to GitHub. Not terrible, but not really what I wanted if I could avoid it.
With that limitation, I looked at my second hosting provider: Netlify. On their pricing page, the starter plan for $0 gives me everything I need to build a small personal blog. Now that I’ve explained how I arrived at my decision, let me walk through the steps to get everything setup.
At a high-level, I need to do the following:
- Create an empty GitHub repo
- Install Hugo and create a website
- Configure Netlify for continuous deployment
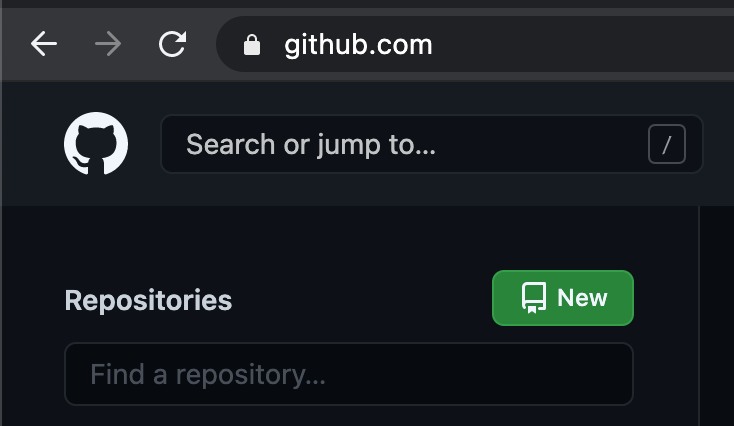
1. Create an empty GitHub repo
On GitHub, click New next to repositories.
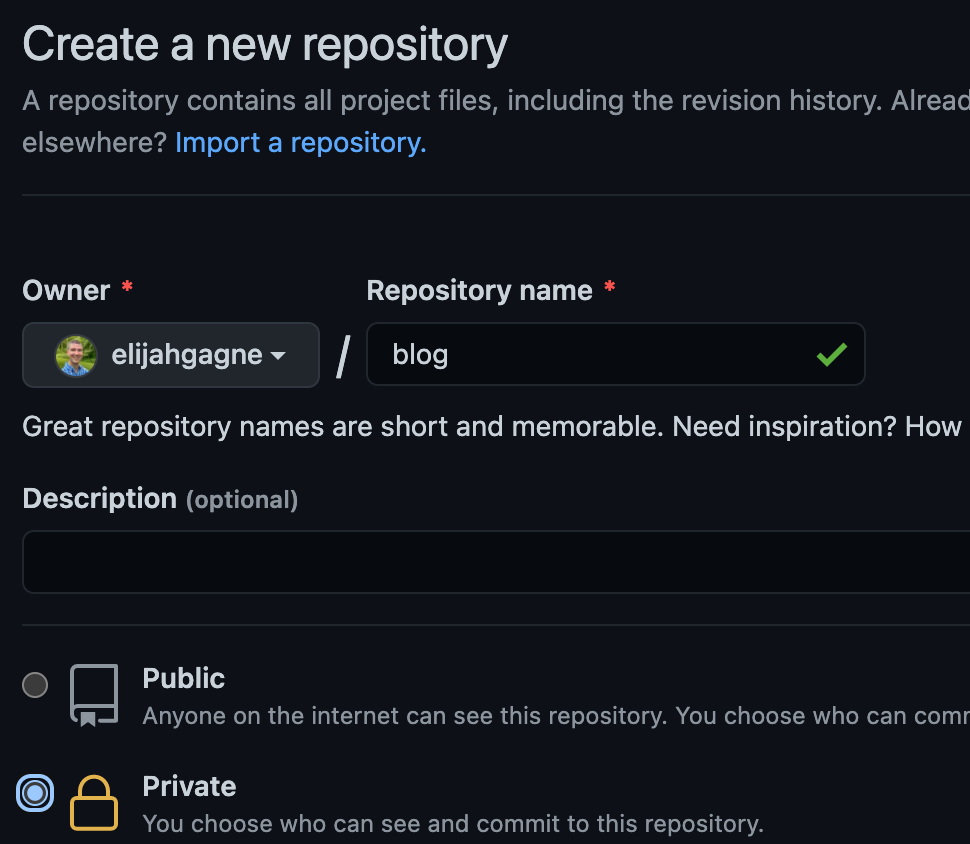
Then name your repository. In this case I chose blog and set whether it is public or private.
After that, create the file structure locally and push your initial commit.
mkdir blog
cd blog
touch README.md
git init
git add README.md
git commit -m "first commit"
git branch -M main
git remote add origin git@github.com:elijahgagne/blog.git
git push -u origin main
2. Install Hugo and create a website
Following the Hugo Quick Start guide, on my Mac I use Brew to install Hugo.
brew install hugo
Once you have Hugo, you use it to create a new site. Since I’m already in the blog directory, I use . to reference the current directory. I also use -f yml to specify that want to format my configuration in YAML (the default is TOML).
hugo new site . -f yml
Let’s install a theme. After a tremendous amount of experimenting, I settled on PaperMod. My reasons for picking it is that it’s being actively maintained, has a lot of useful features, and it has really good documentation on it’s GitHub repo. I chose to use installation option #2 in it’s install guide.
git submodule add https://github.com/adityatelange/hugo-PaperMod.git themes/PaperMod --depth=1
git submodule update --init --recursive
Let’s do some basic configuration and create a hello world post. I launch VS Code and then run a command to create a new page.
# Set the theme
echo 'theme: PaperMod' >> config.yml

# Create a post
hugo new posts/first-post.md

# Open the current directory in Visual Studio Code
code .
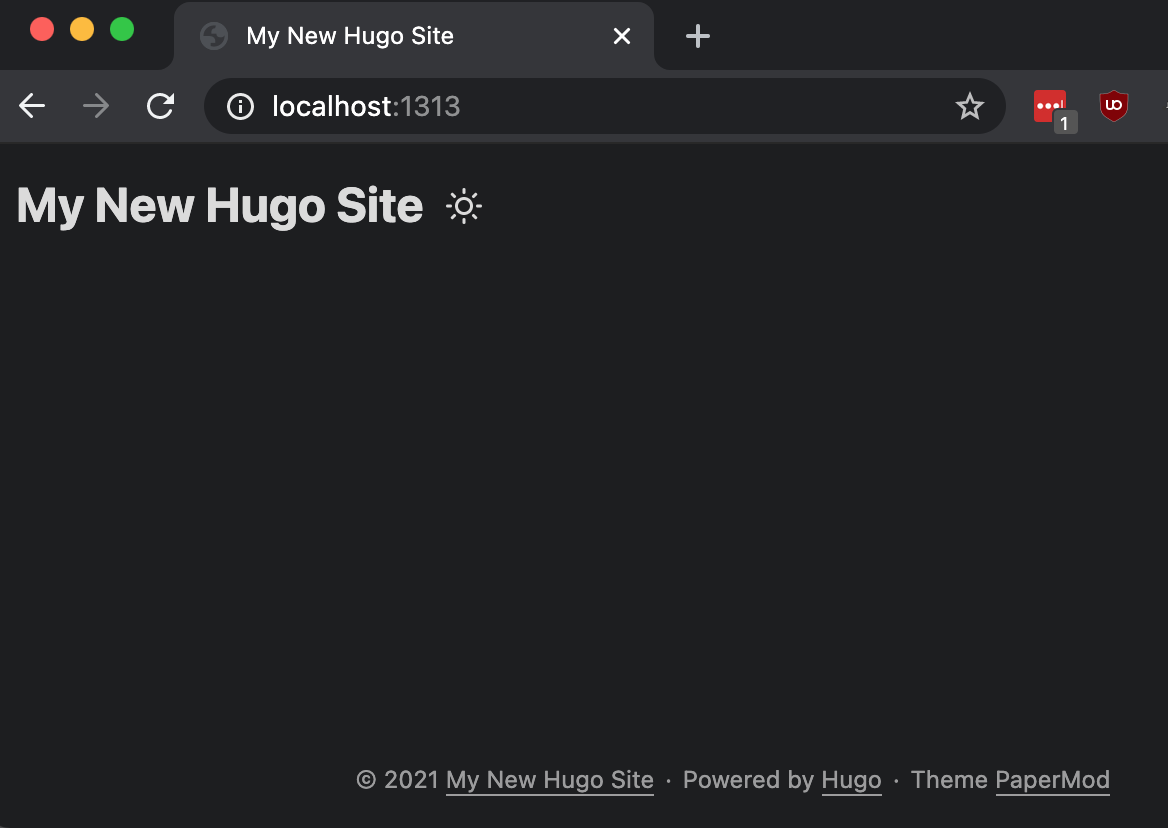
I can then start the Hugo development server and view my site by browsing to http://localhost:1313/.
hugo serve -D
3. Configure Netlify for continuous deployment
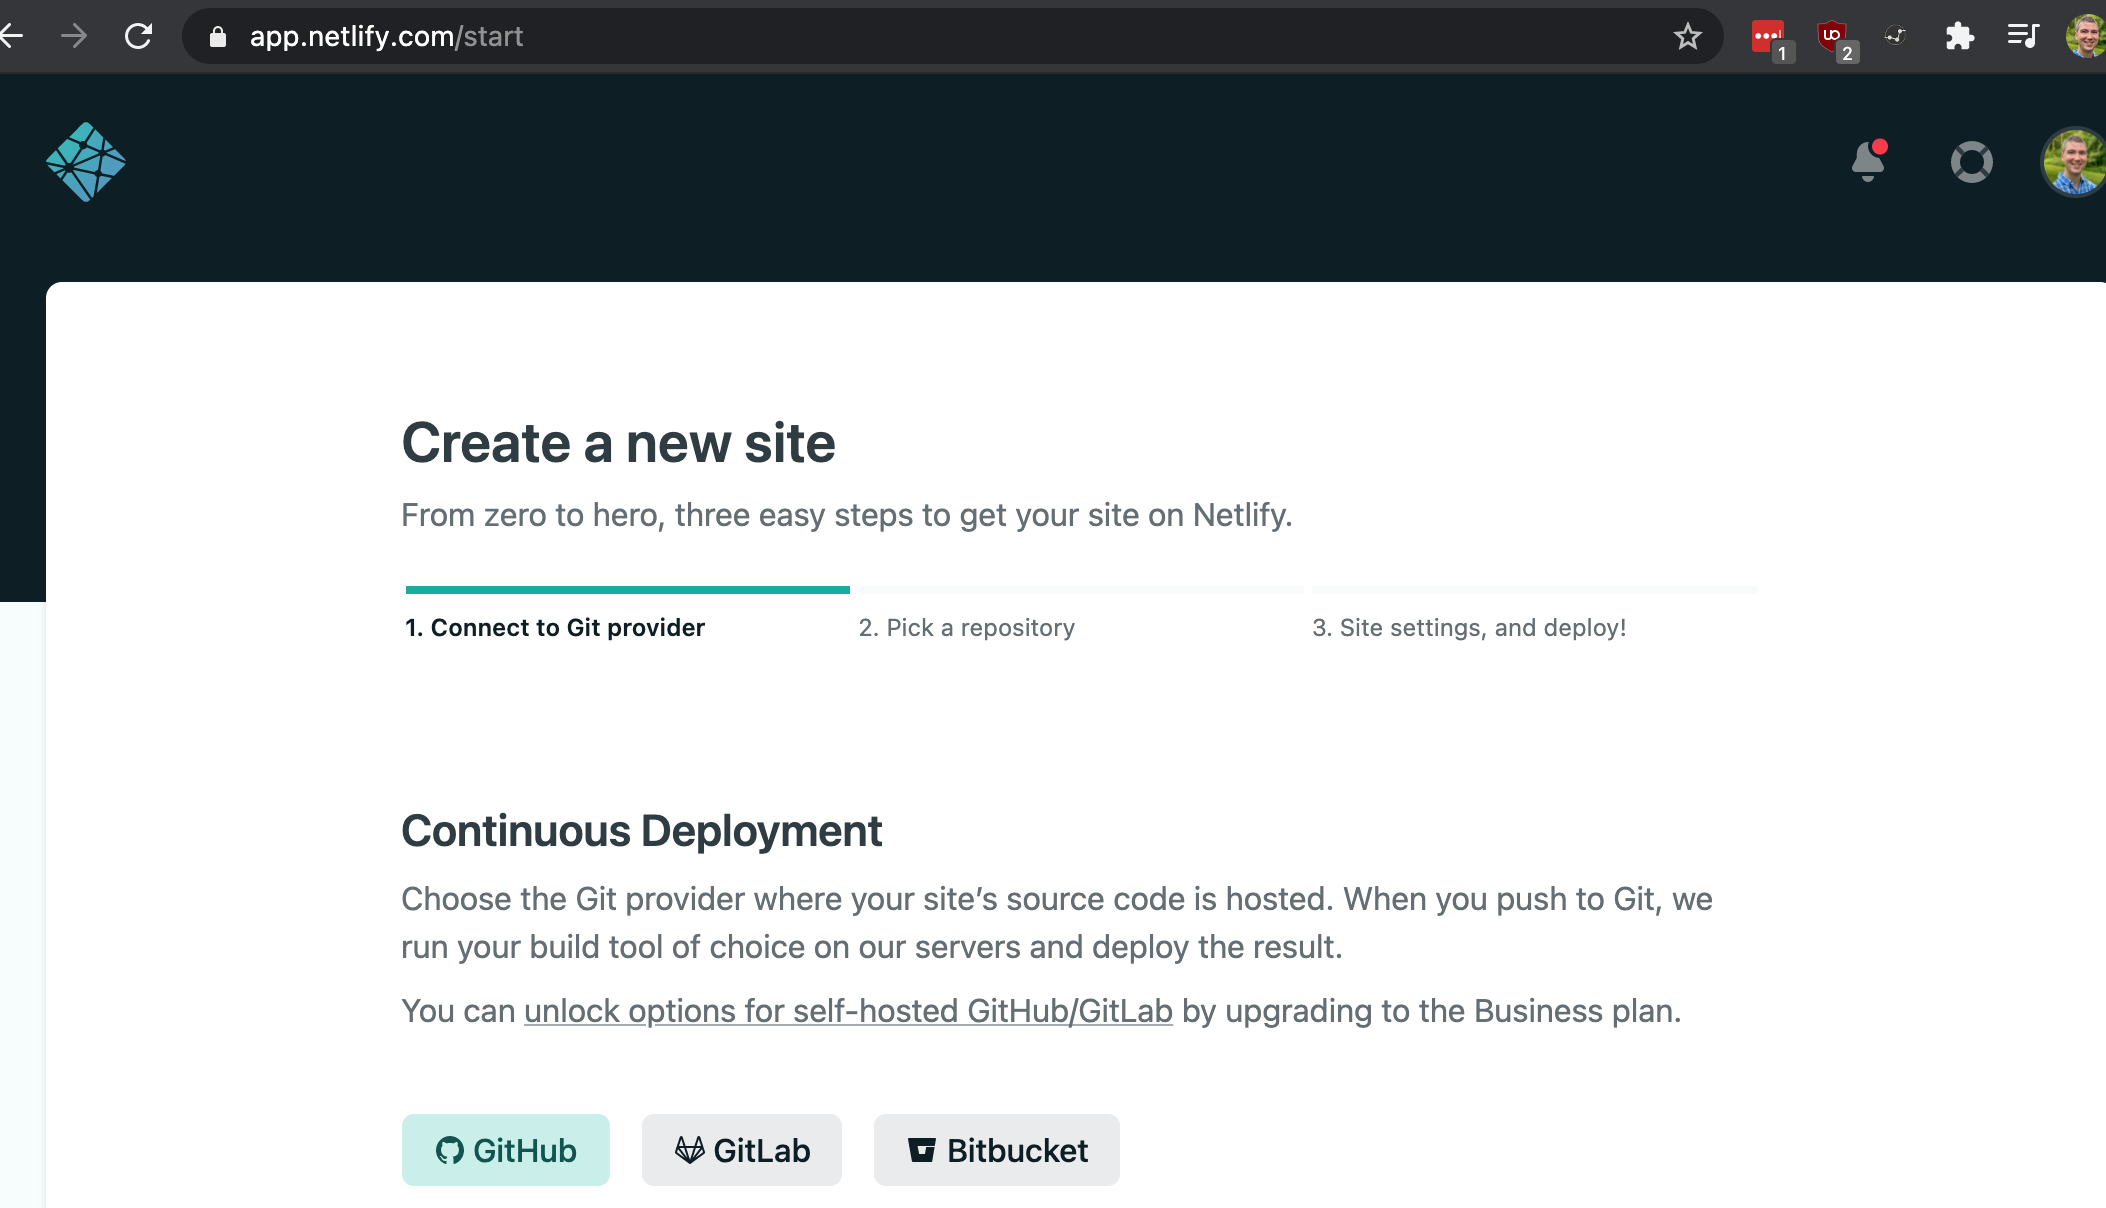
Now that we can view our site locally, let’s create a place for us to deploy it and setup a pipeline for automatic build/deployment. Create a free account with Netlify and then log in. From the dashboard, click New site from Git.

Choose GitHub
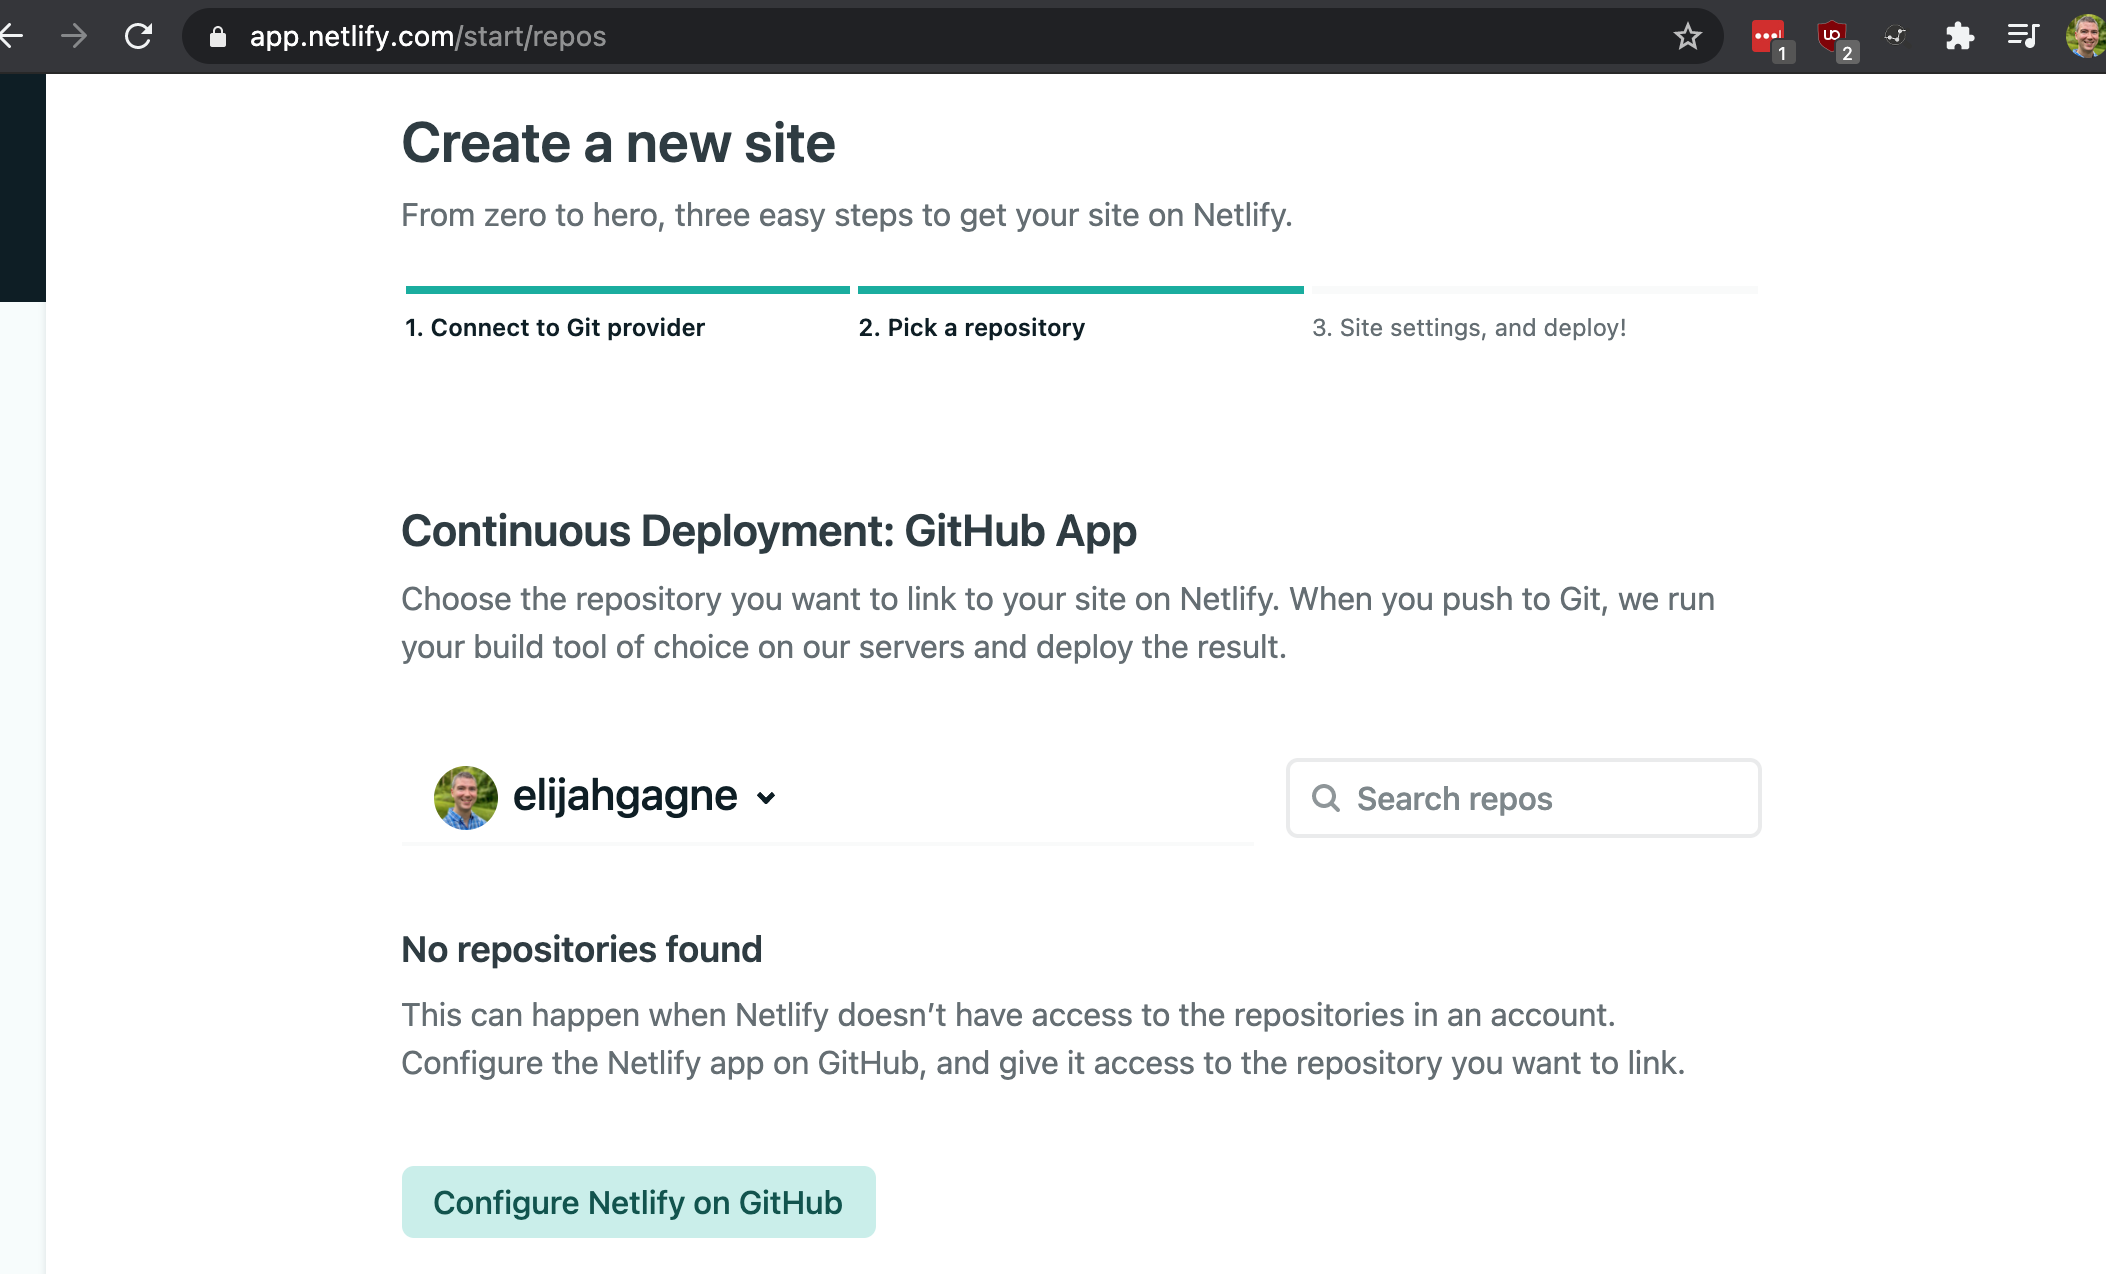
Click Configure Netlify on GitHub
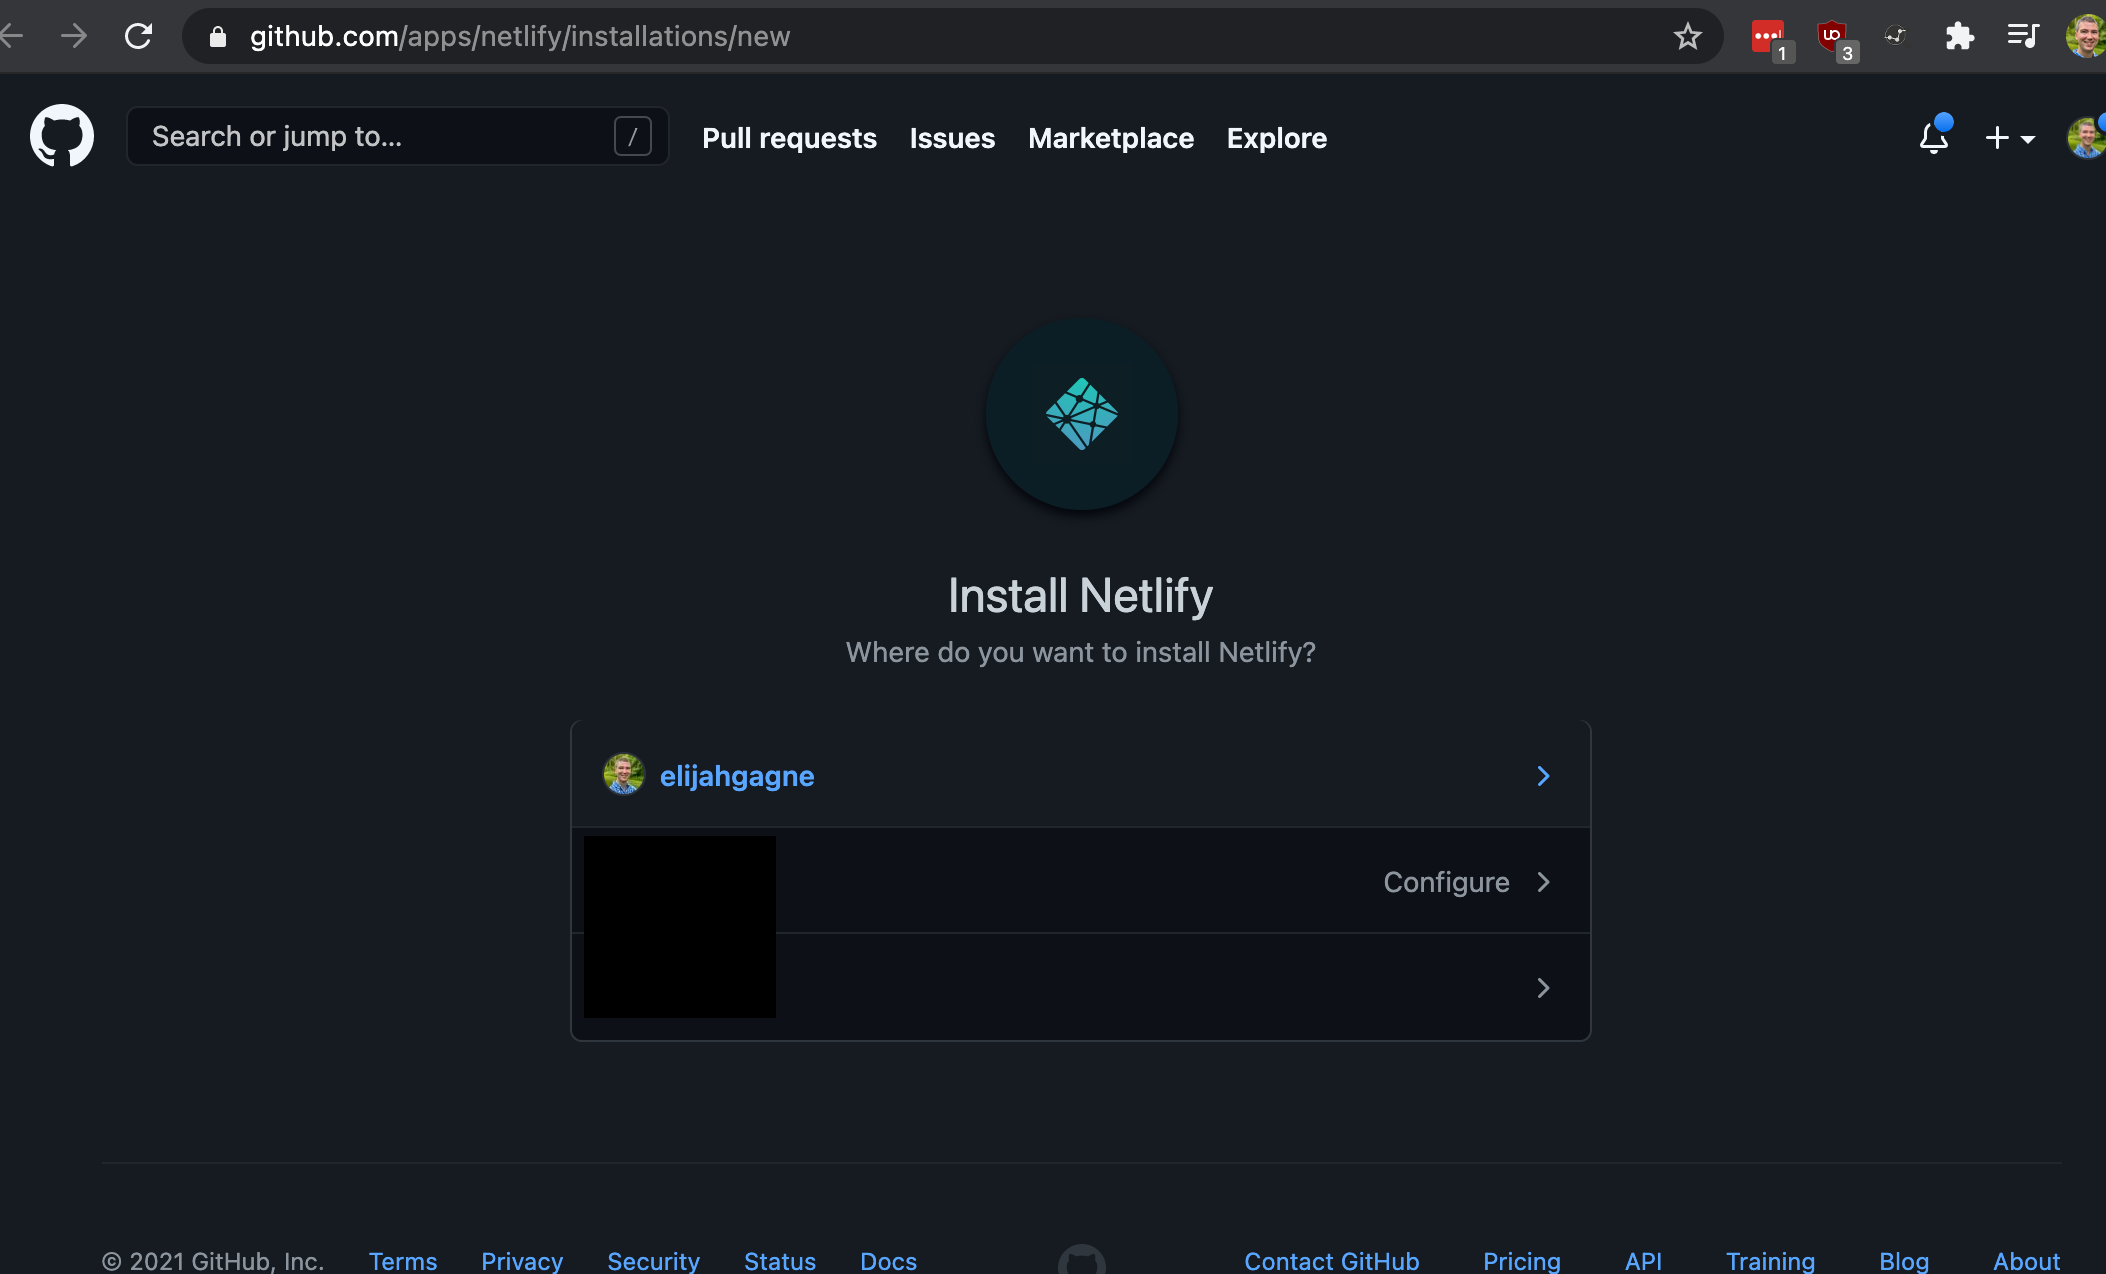
You may be prompted by GitHub to choose the account you wish to install Netlify on.
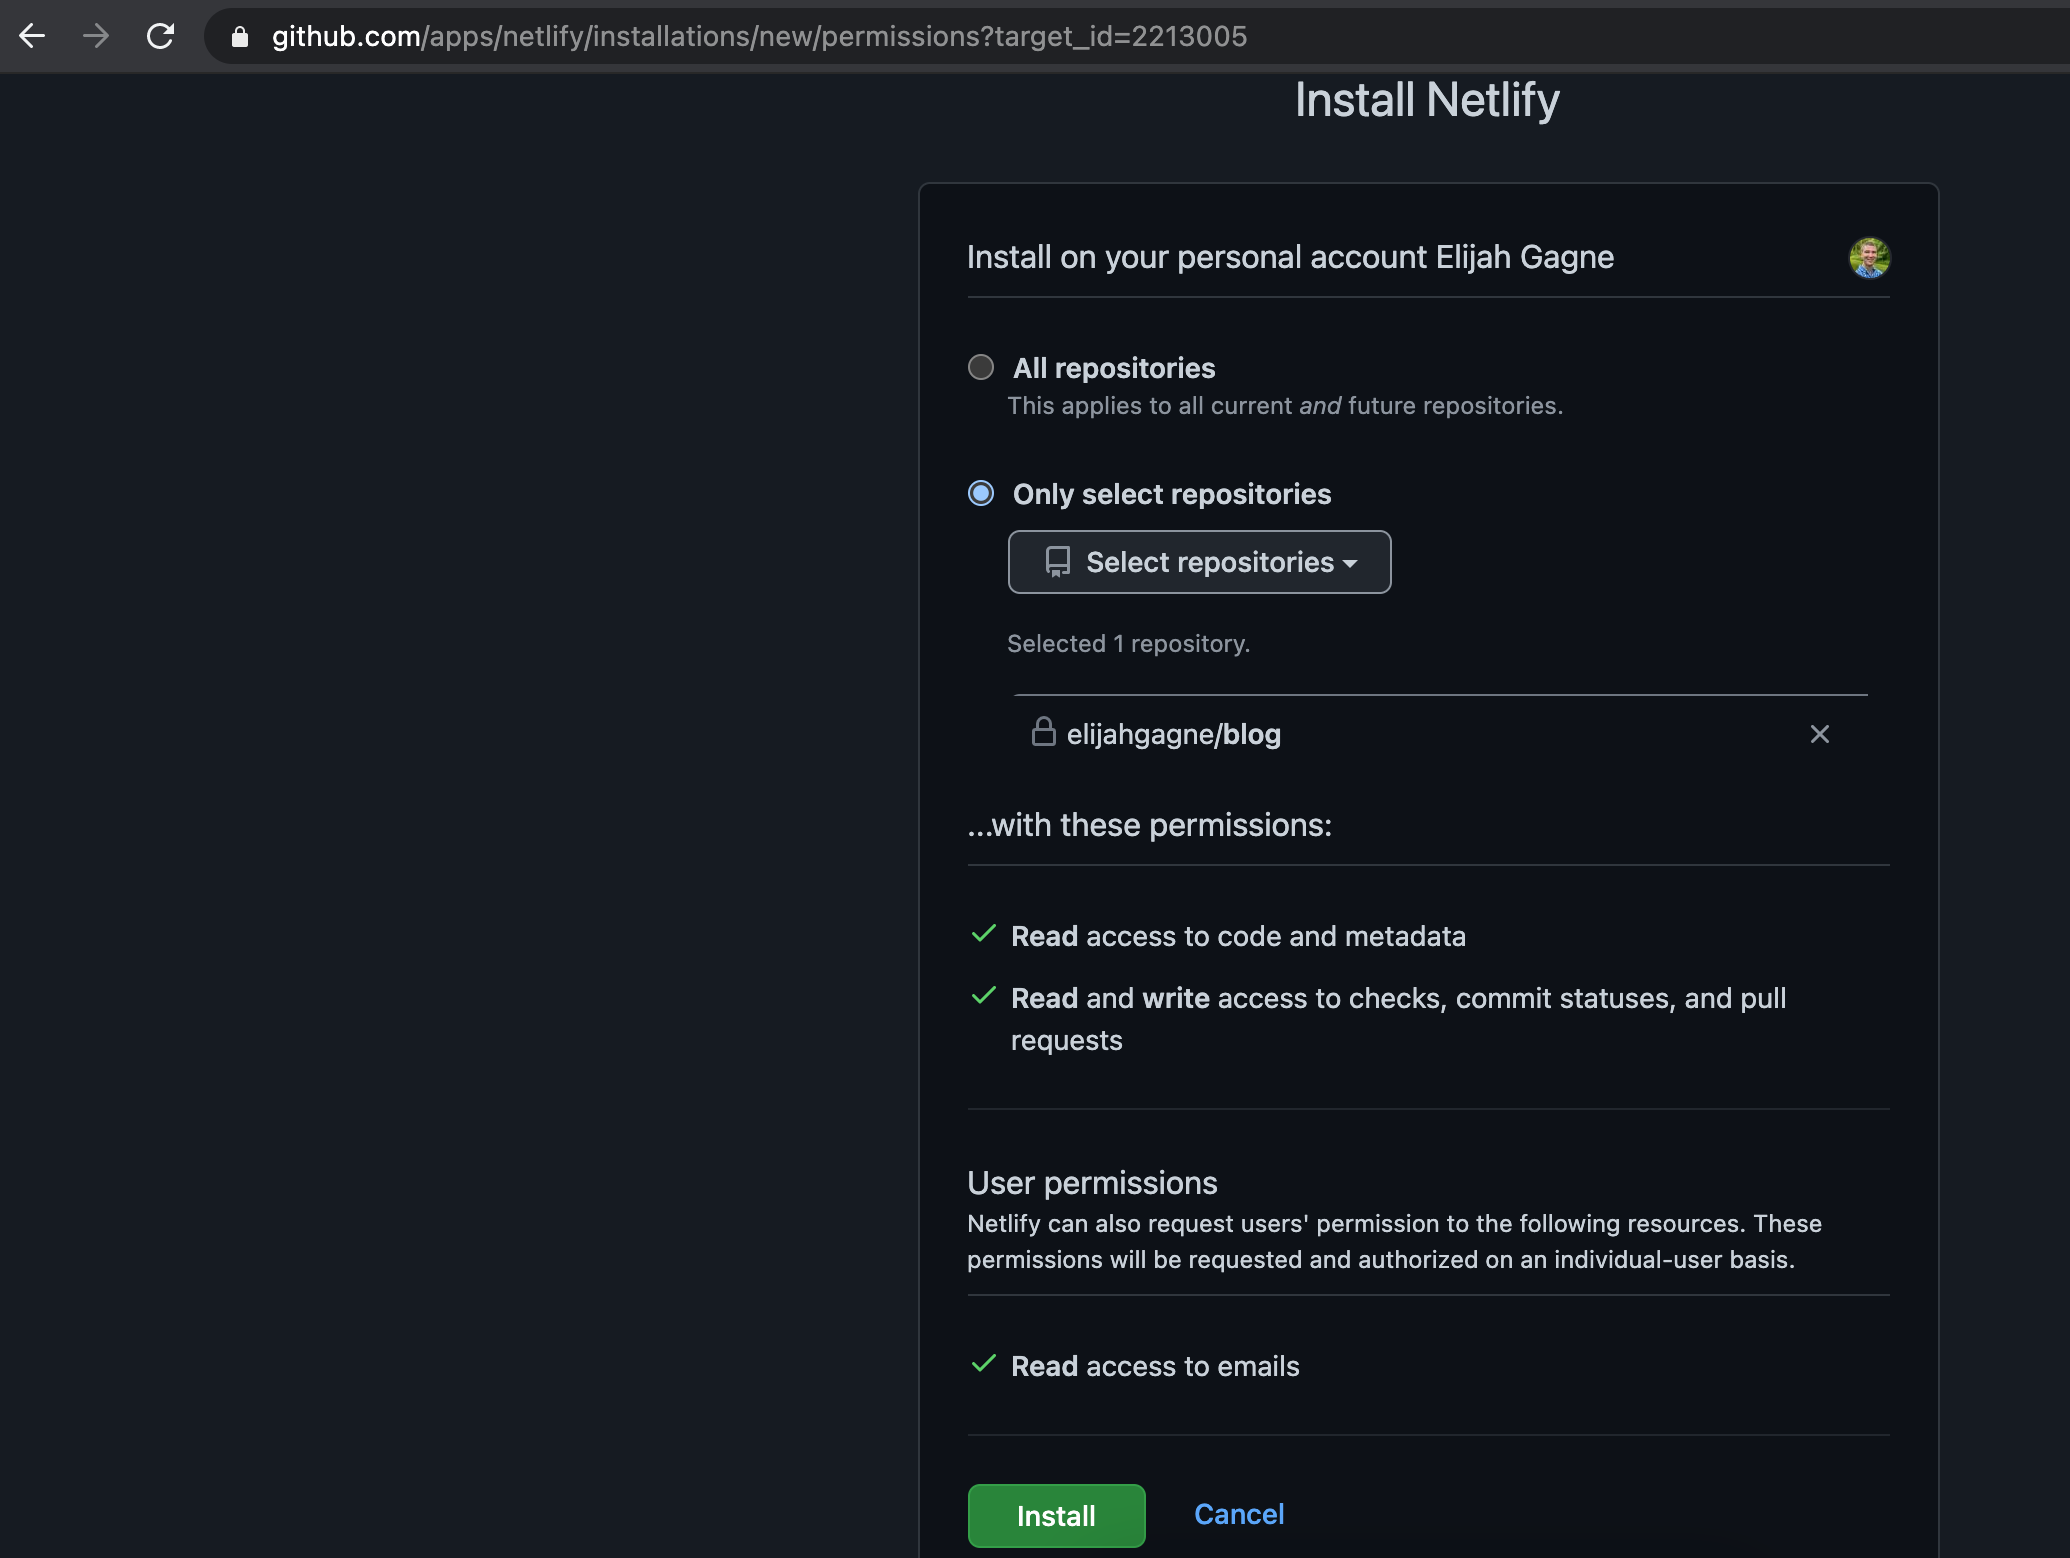
Grant Netlify access only to the repo you’re using for this website. You will likely be asked by GitHub to enter your password to confirm.
Back in Netlify, click the repository you previously selected to continue.
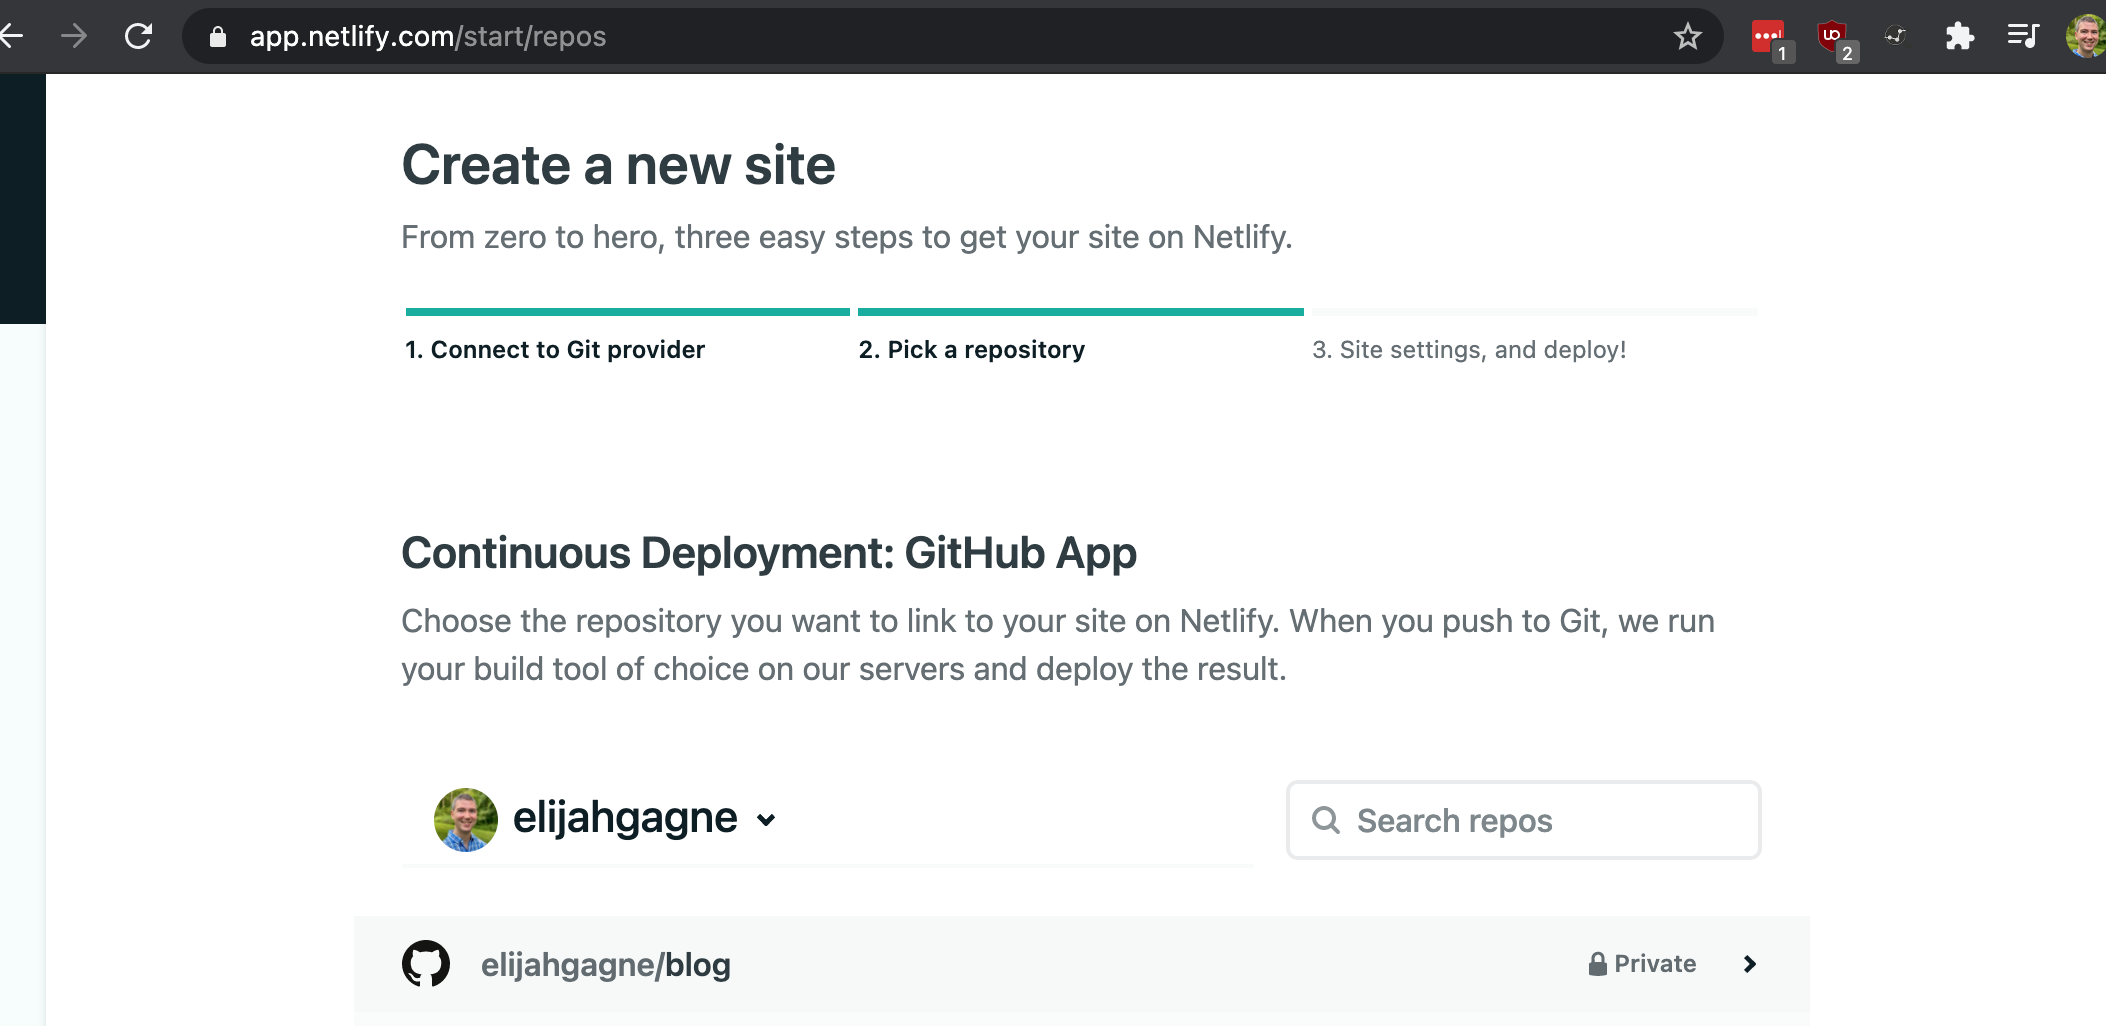
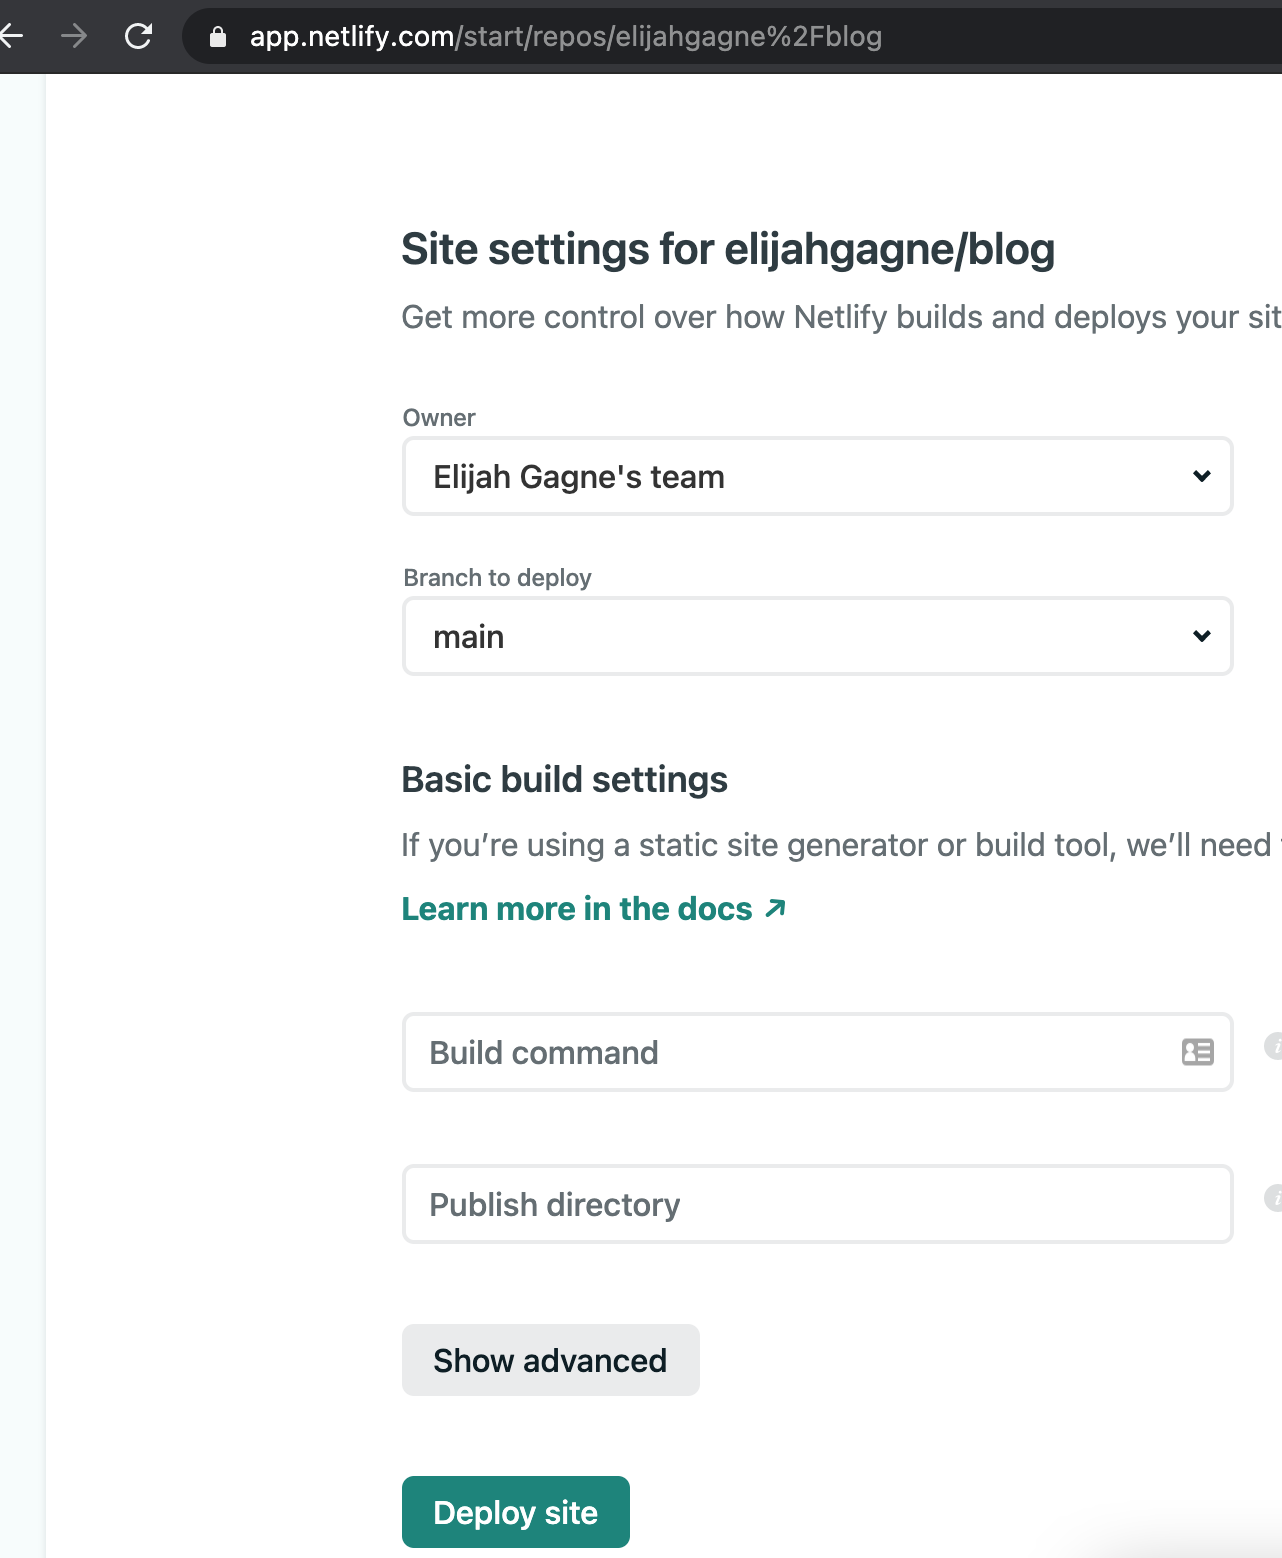
On the site settings step, leave all the defaults and click Deploy site.
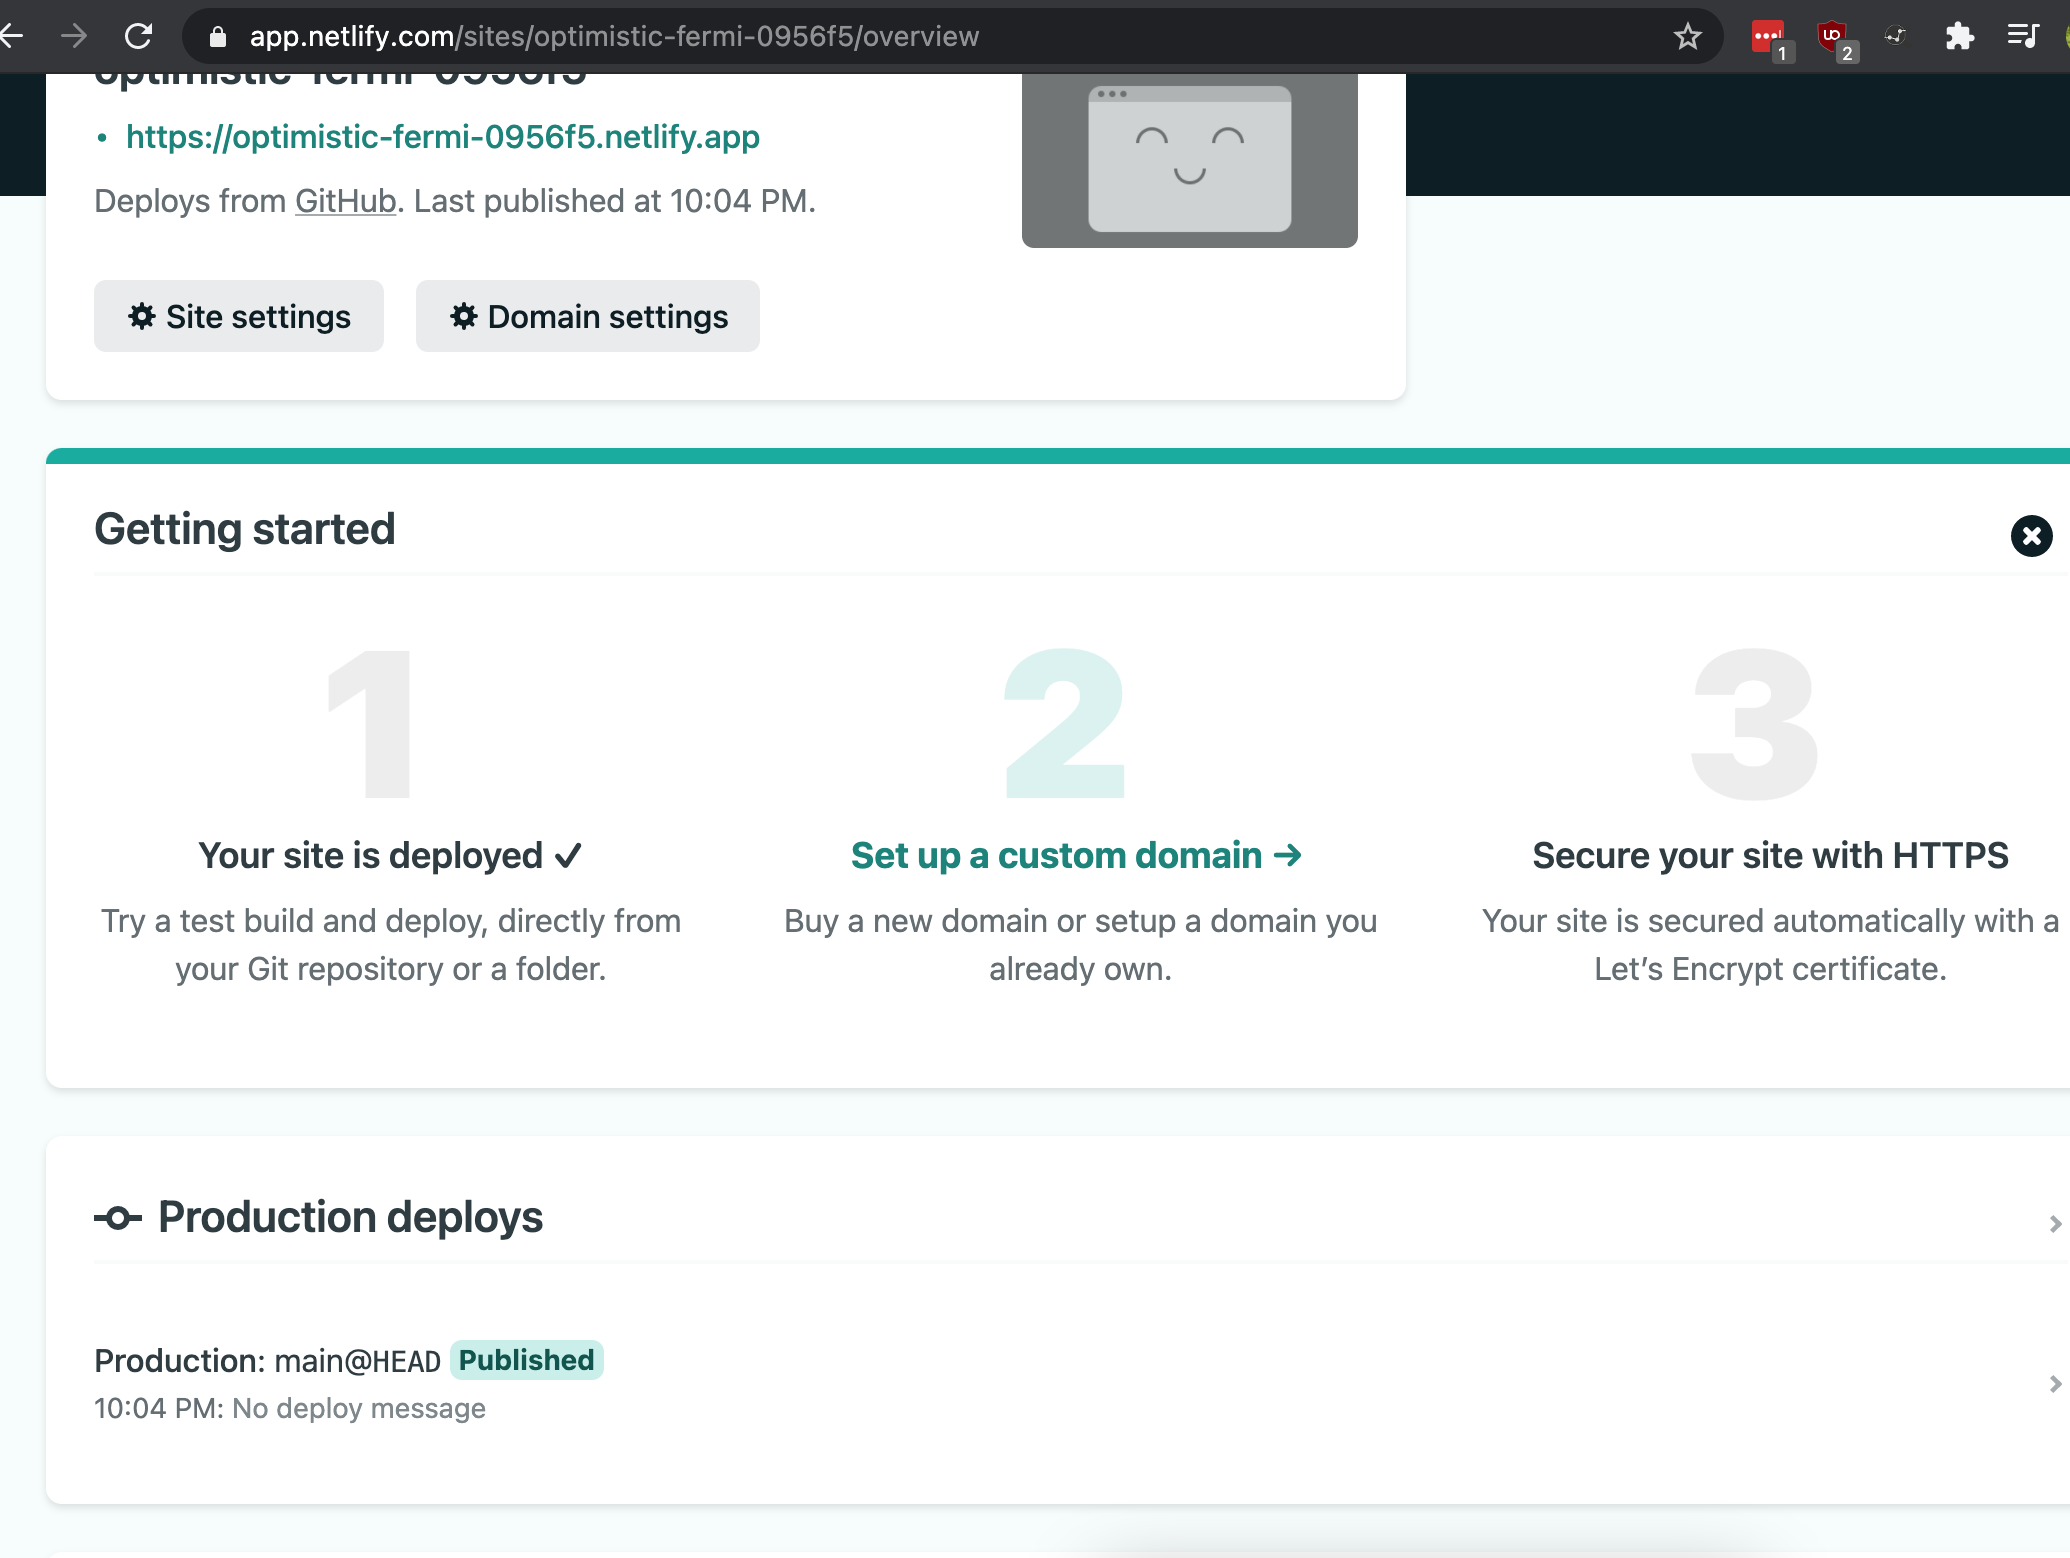
Click 2 Setup custom domain to move on to the next step.
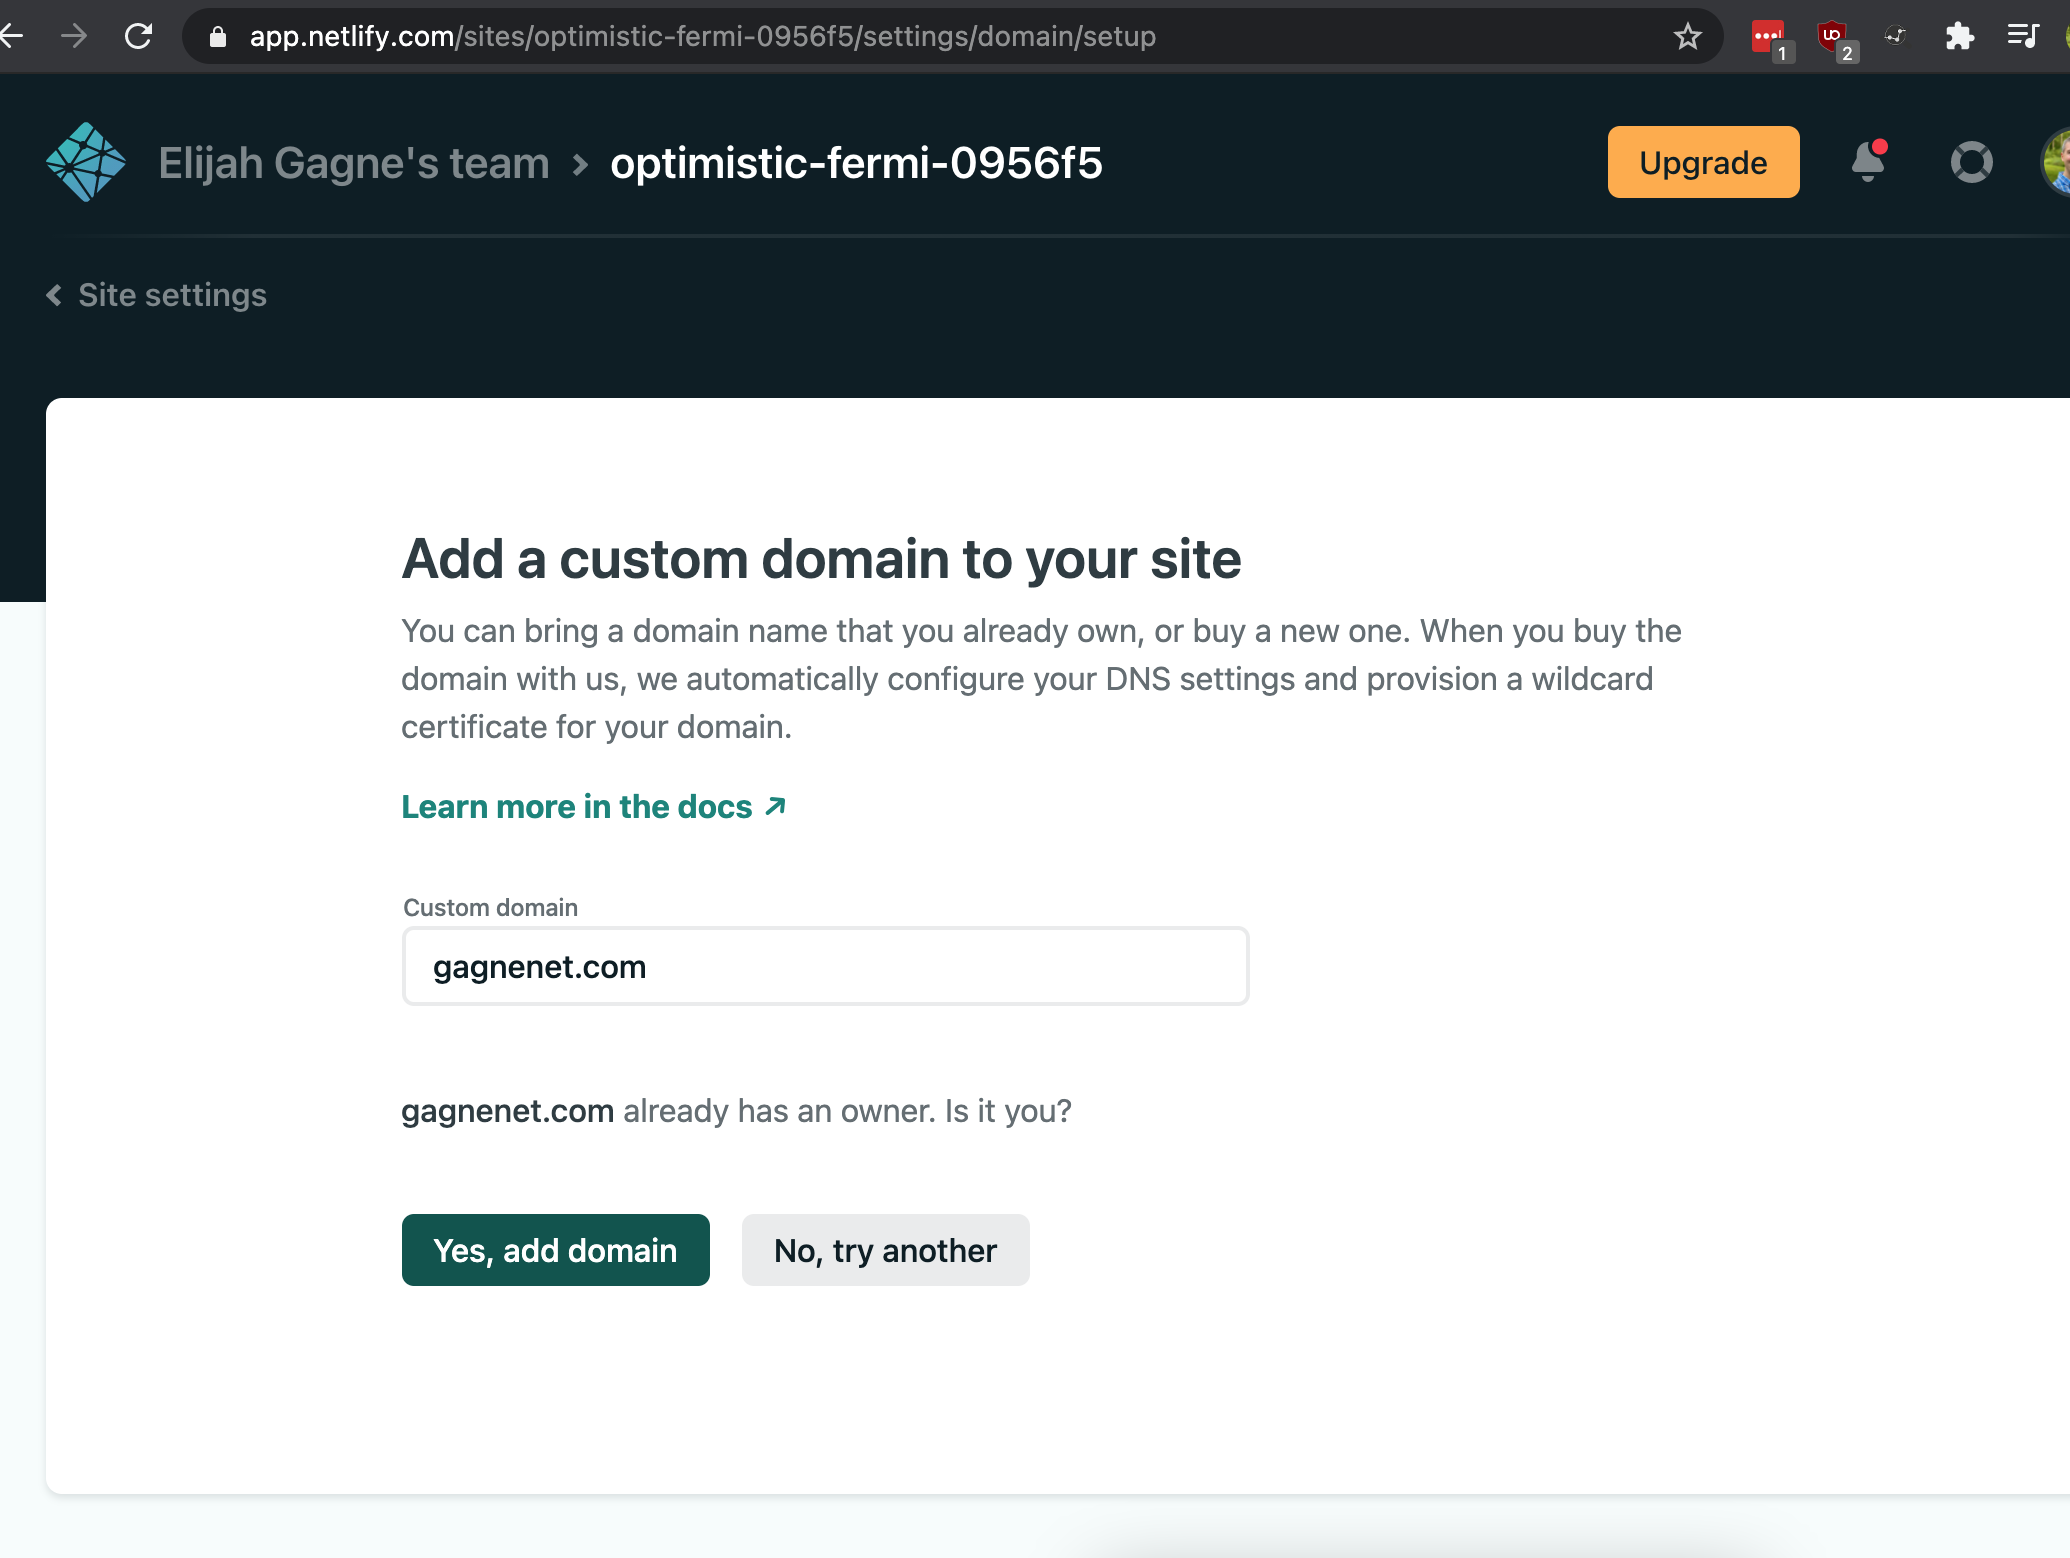
Set your custom domain, in my case it was gagnenet.com.
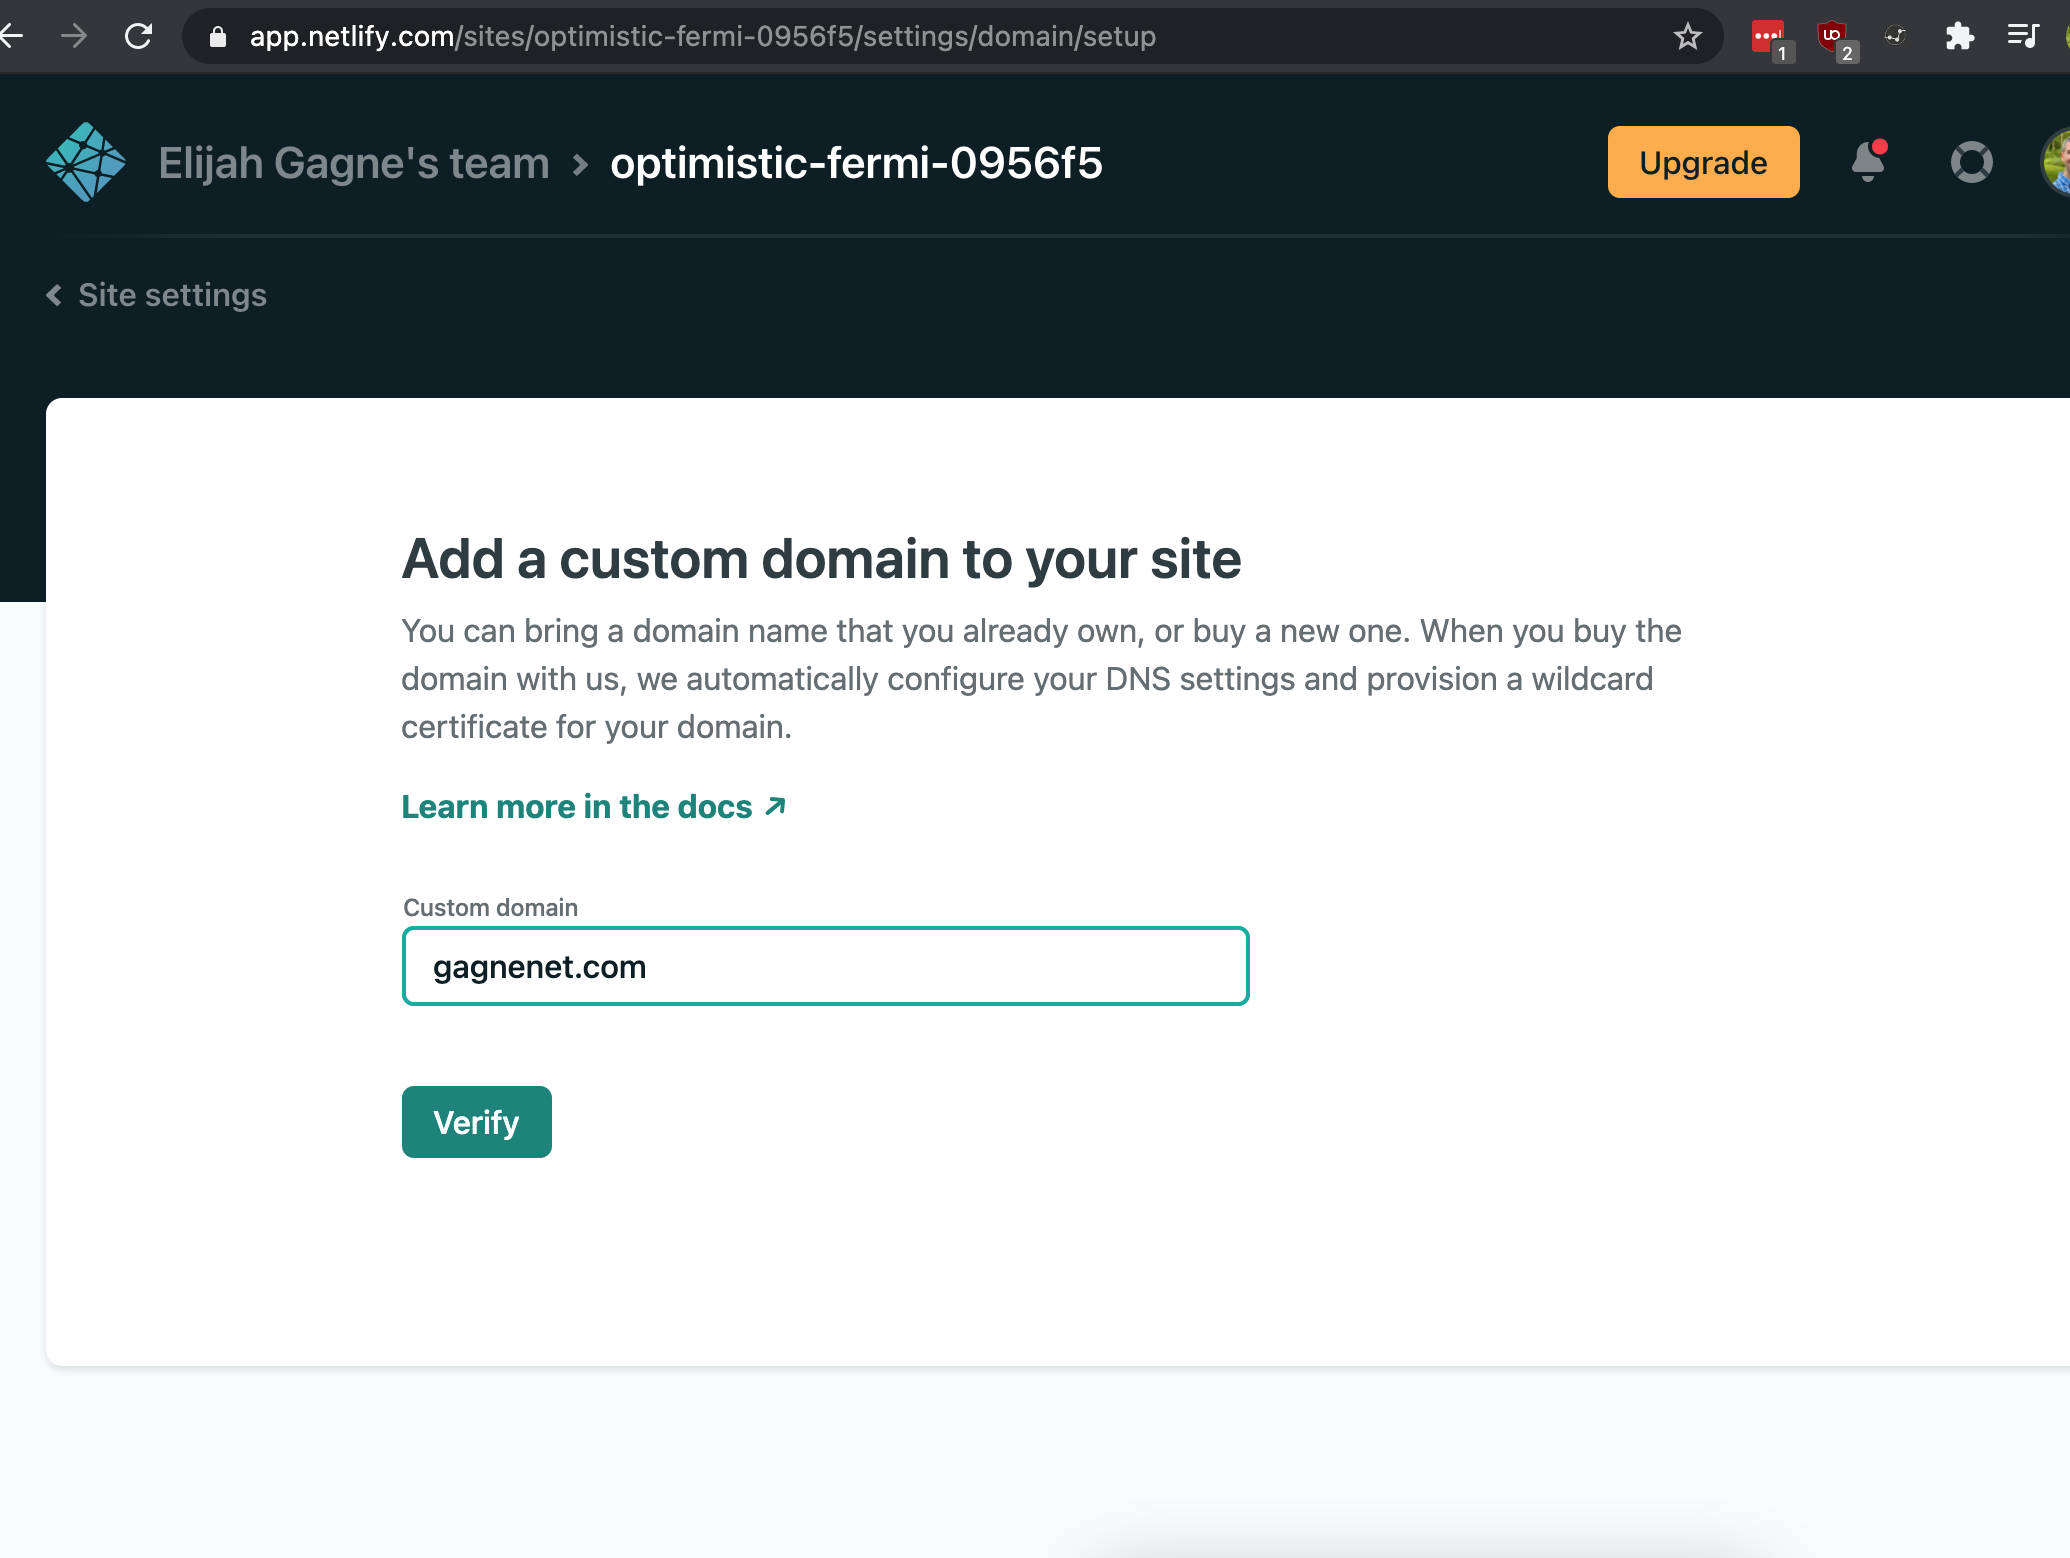
If prompted that the domain already has an owner, click Yes, add domain.
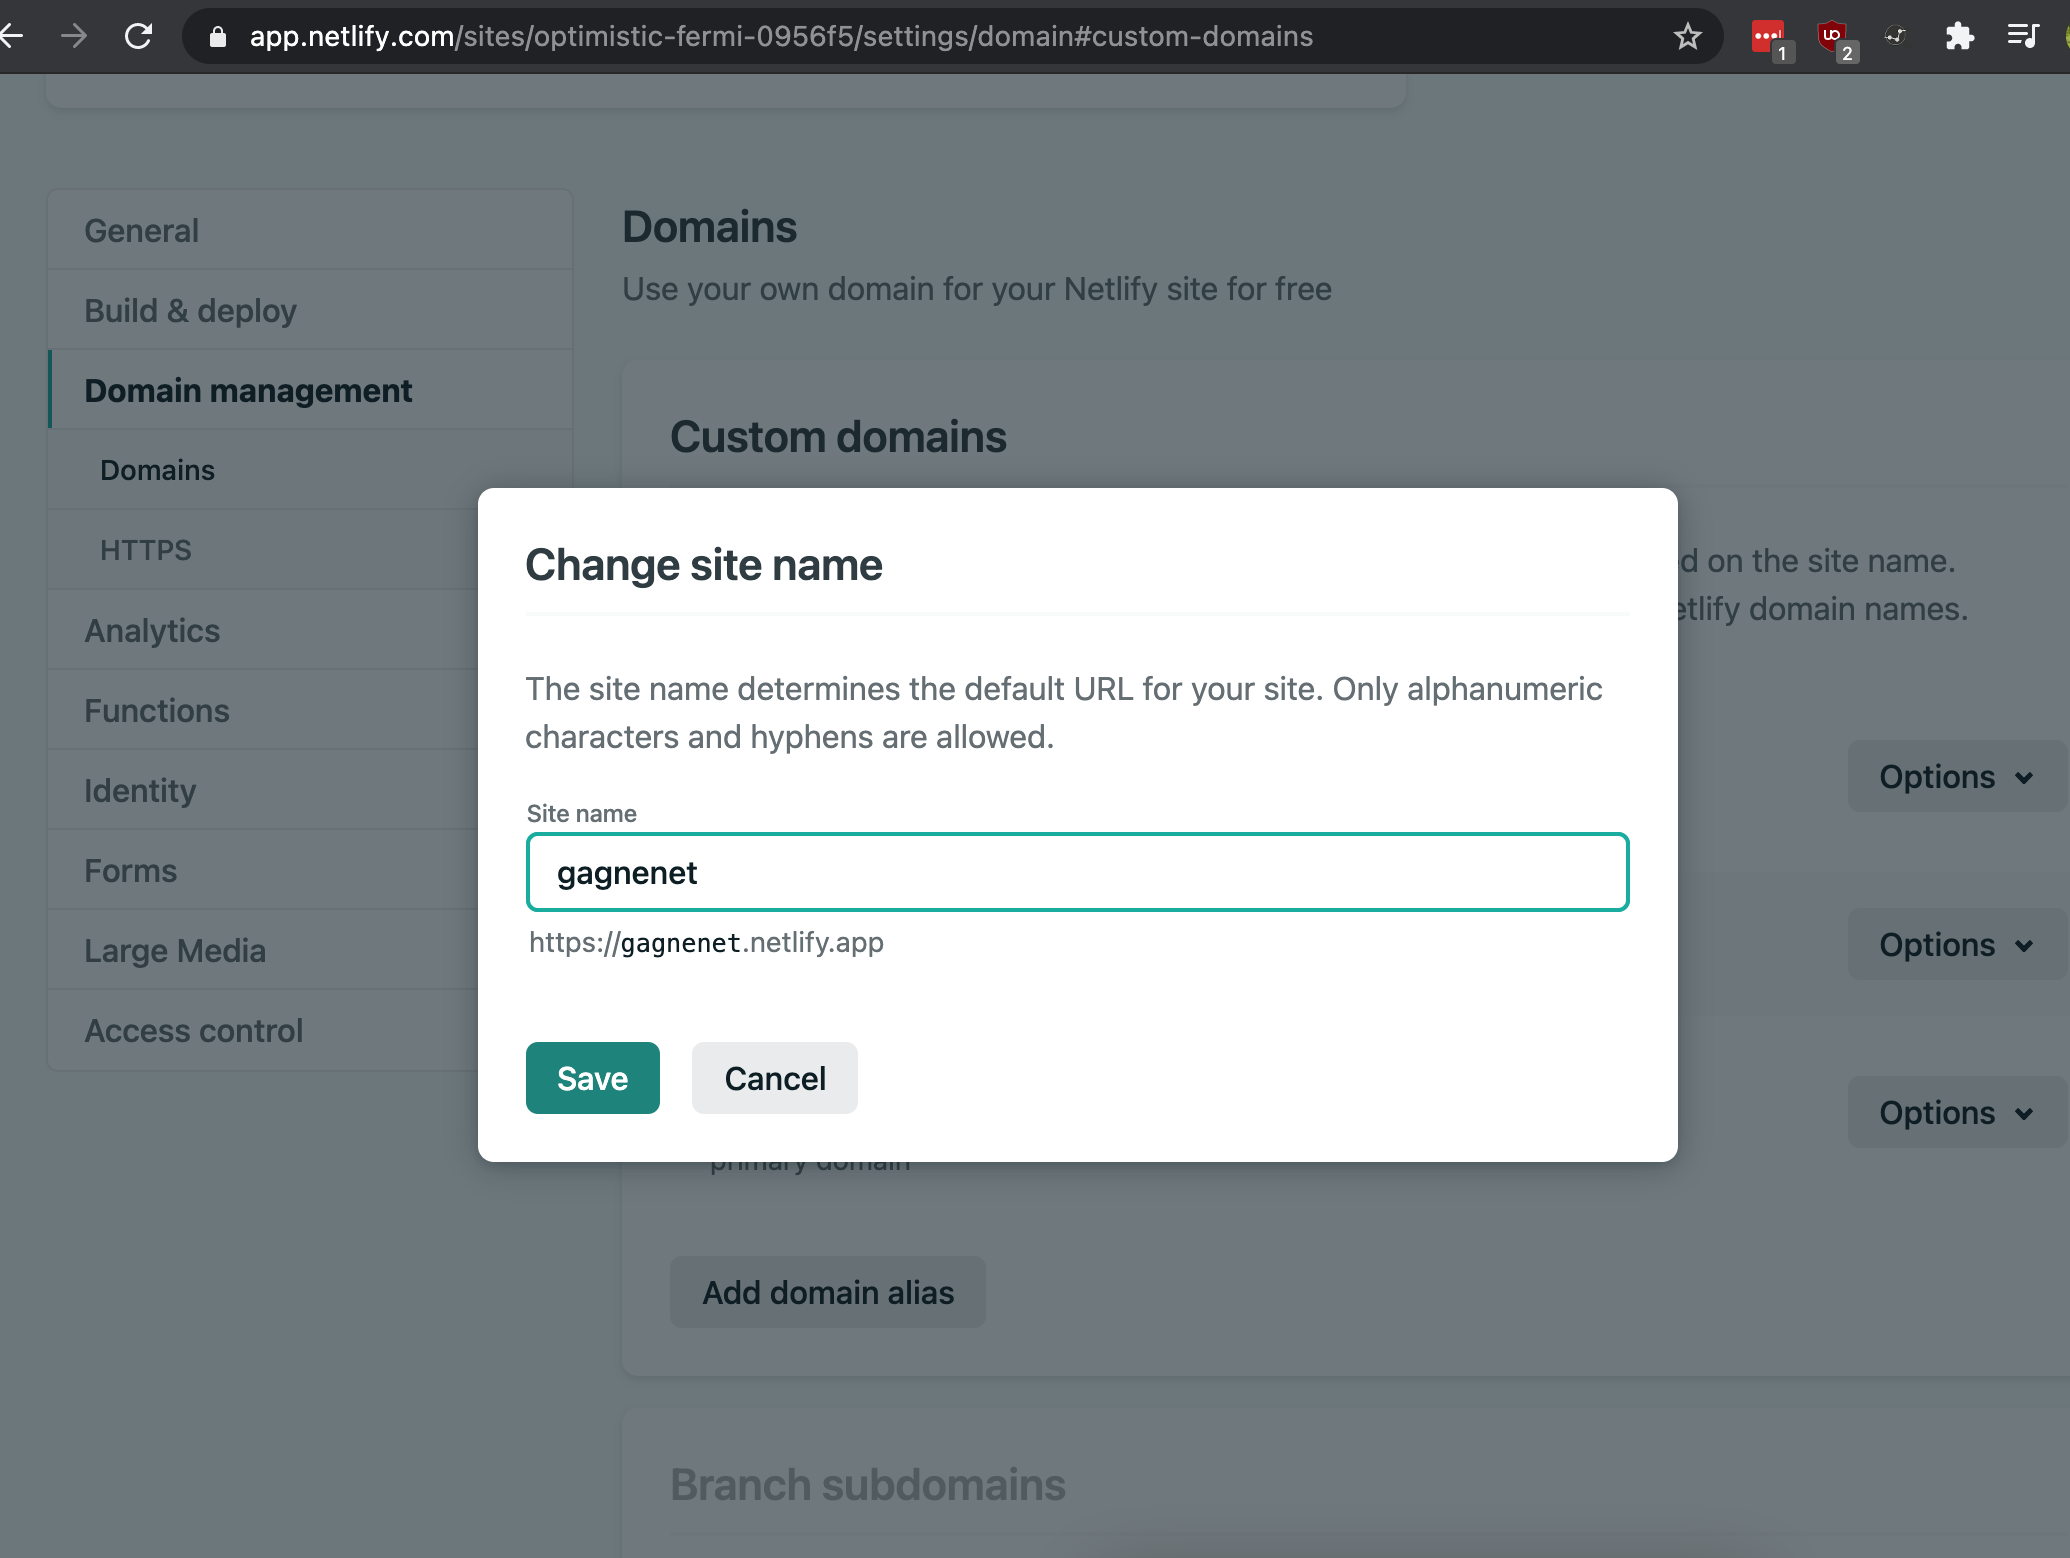
Back on the custom domain configuration page, edit the default subdomain.
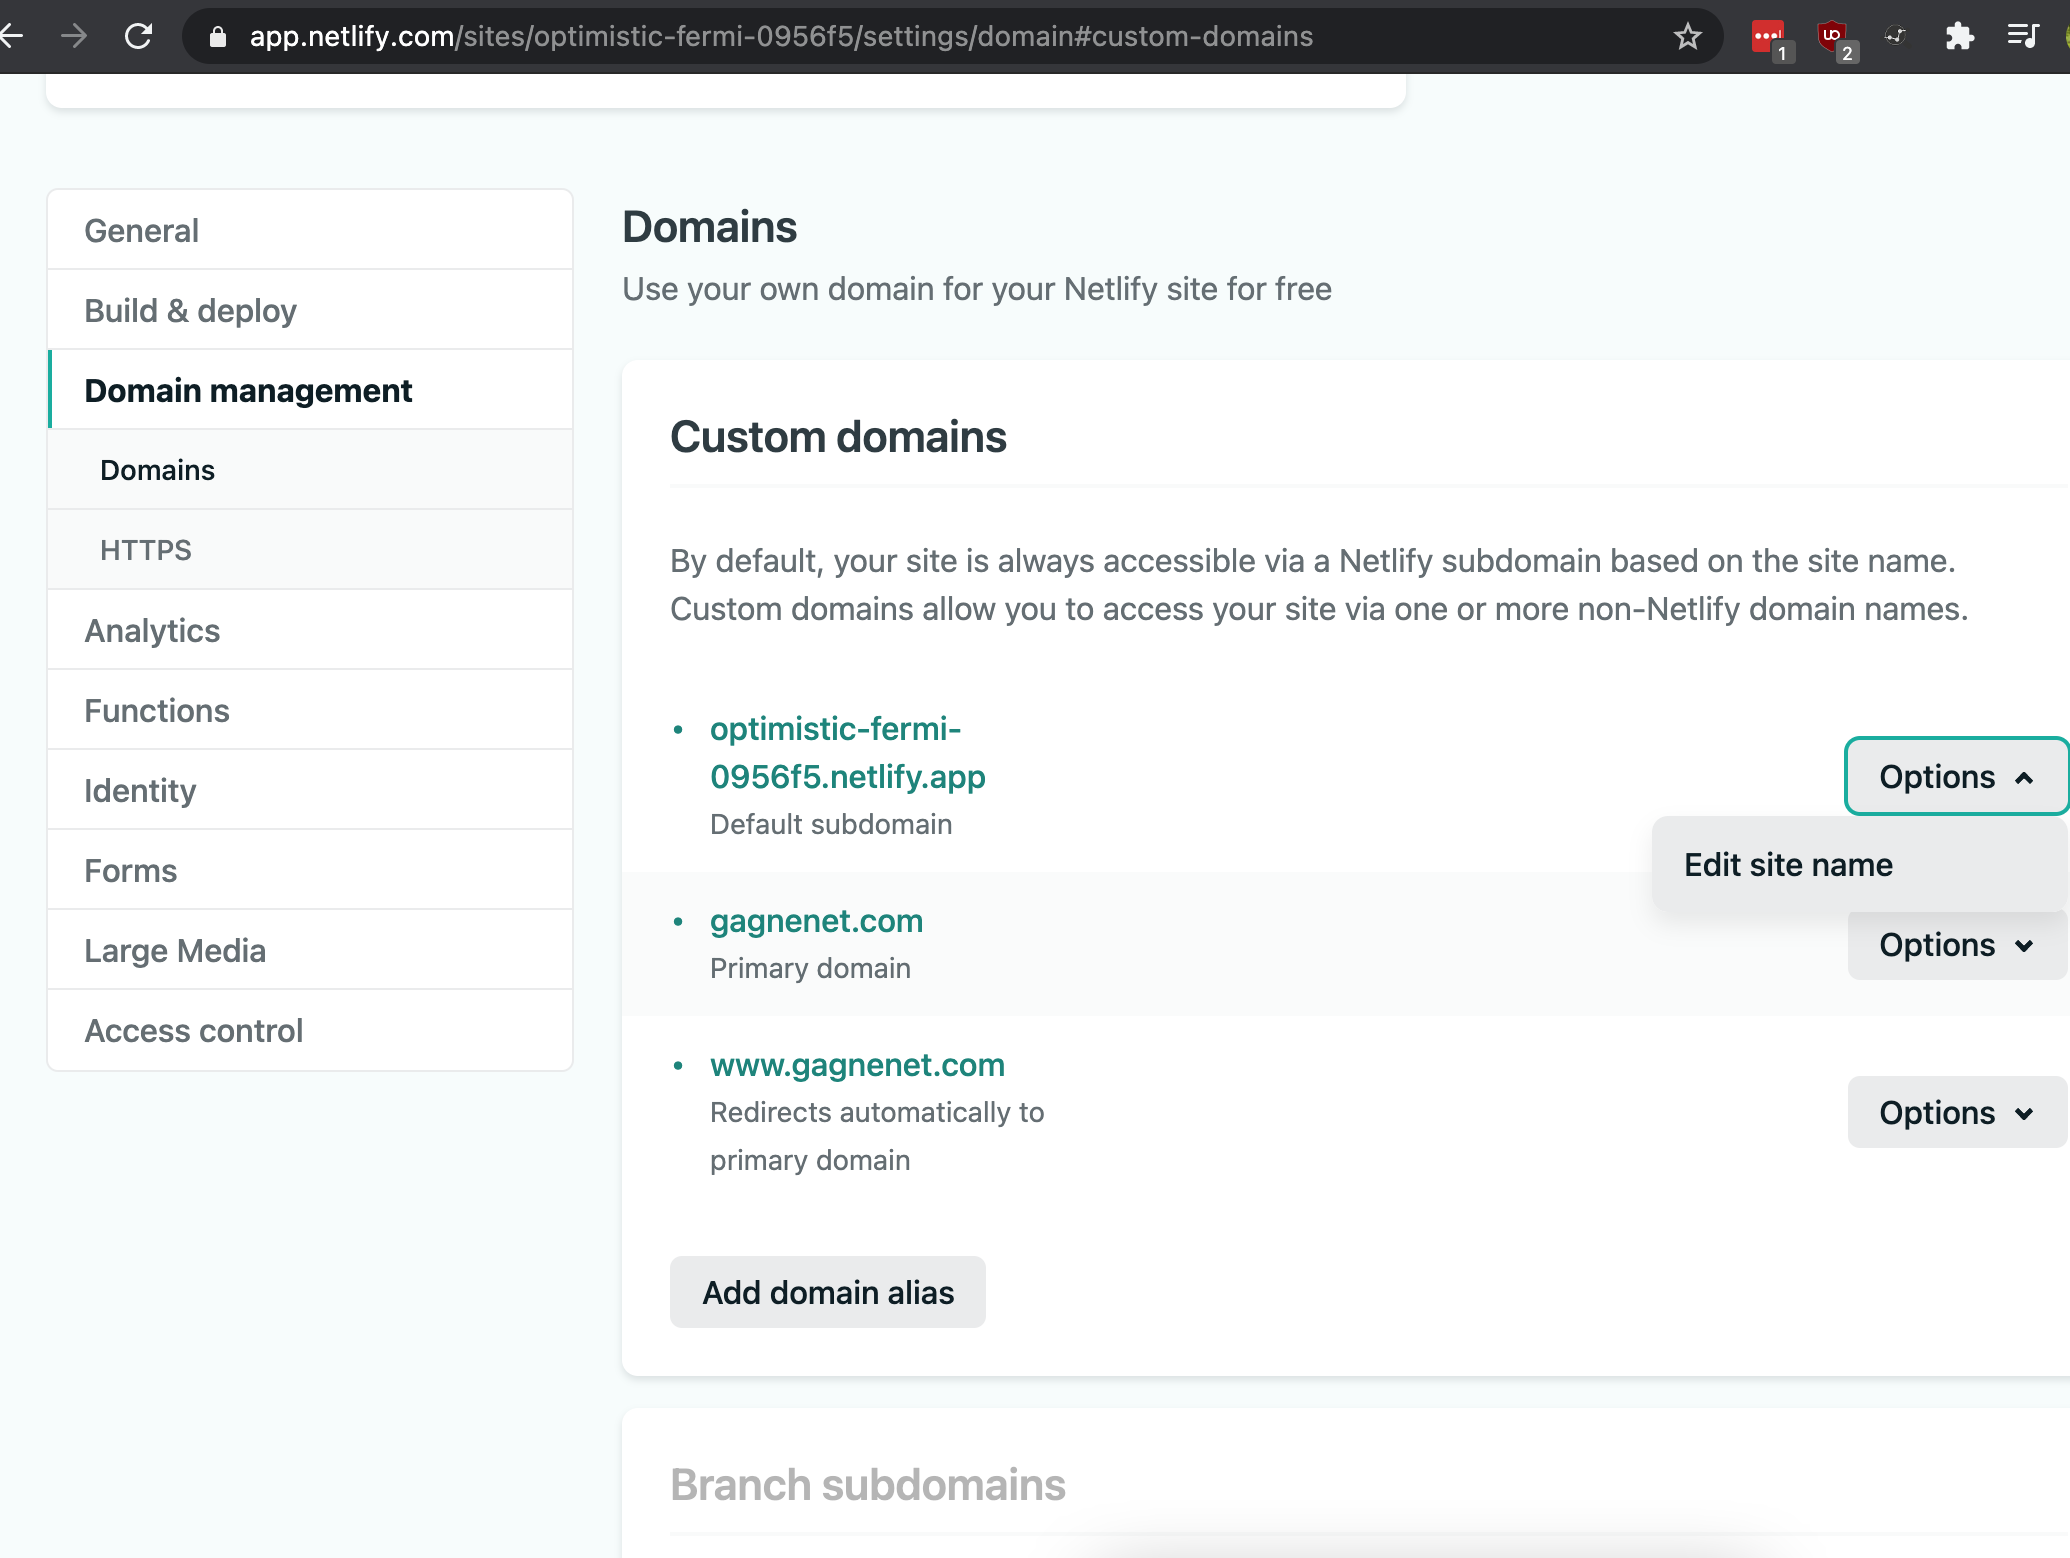
I chose gagnenet.netlify.app.
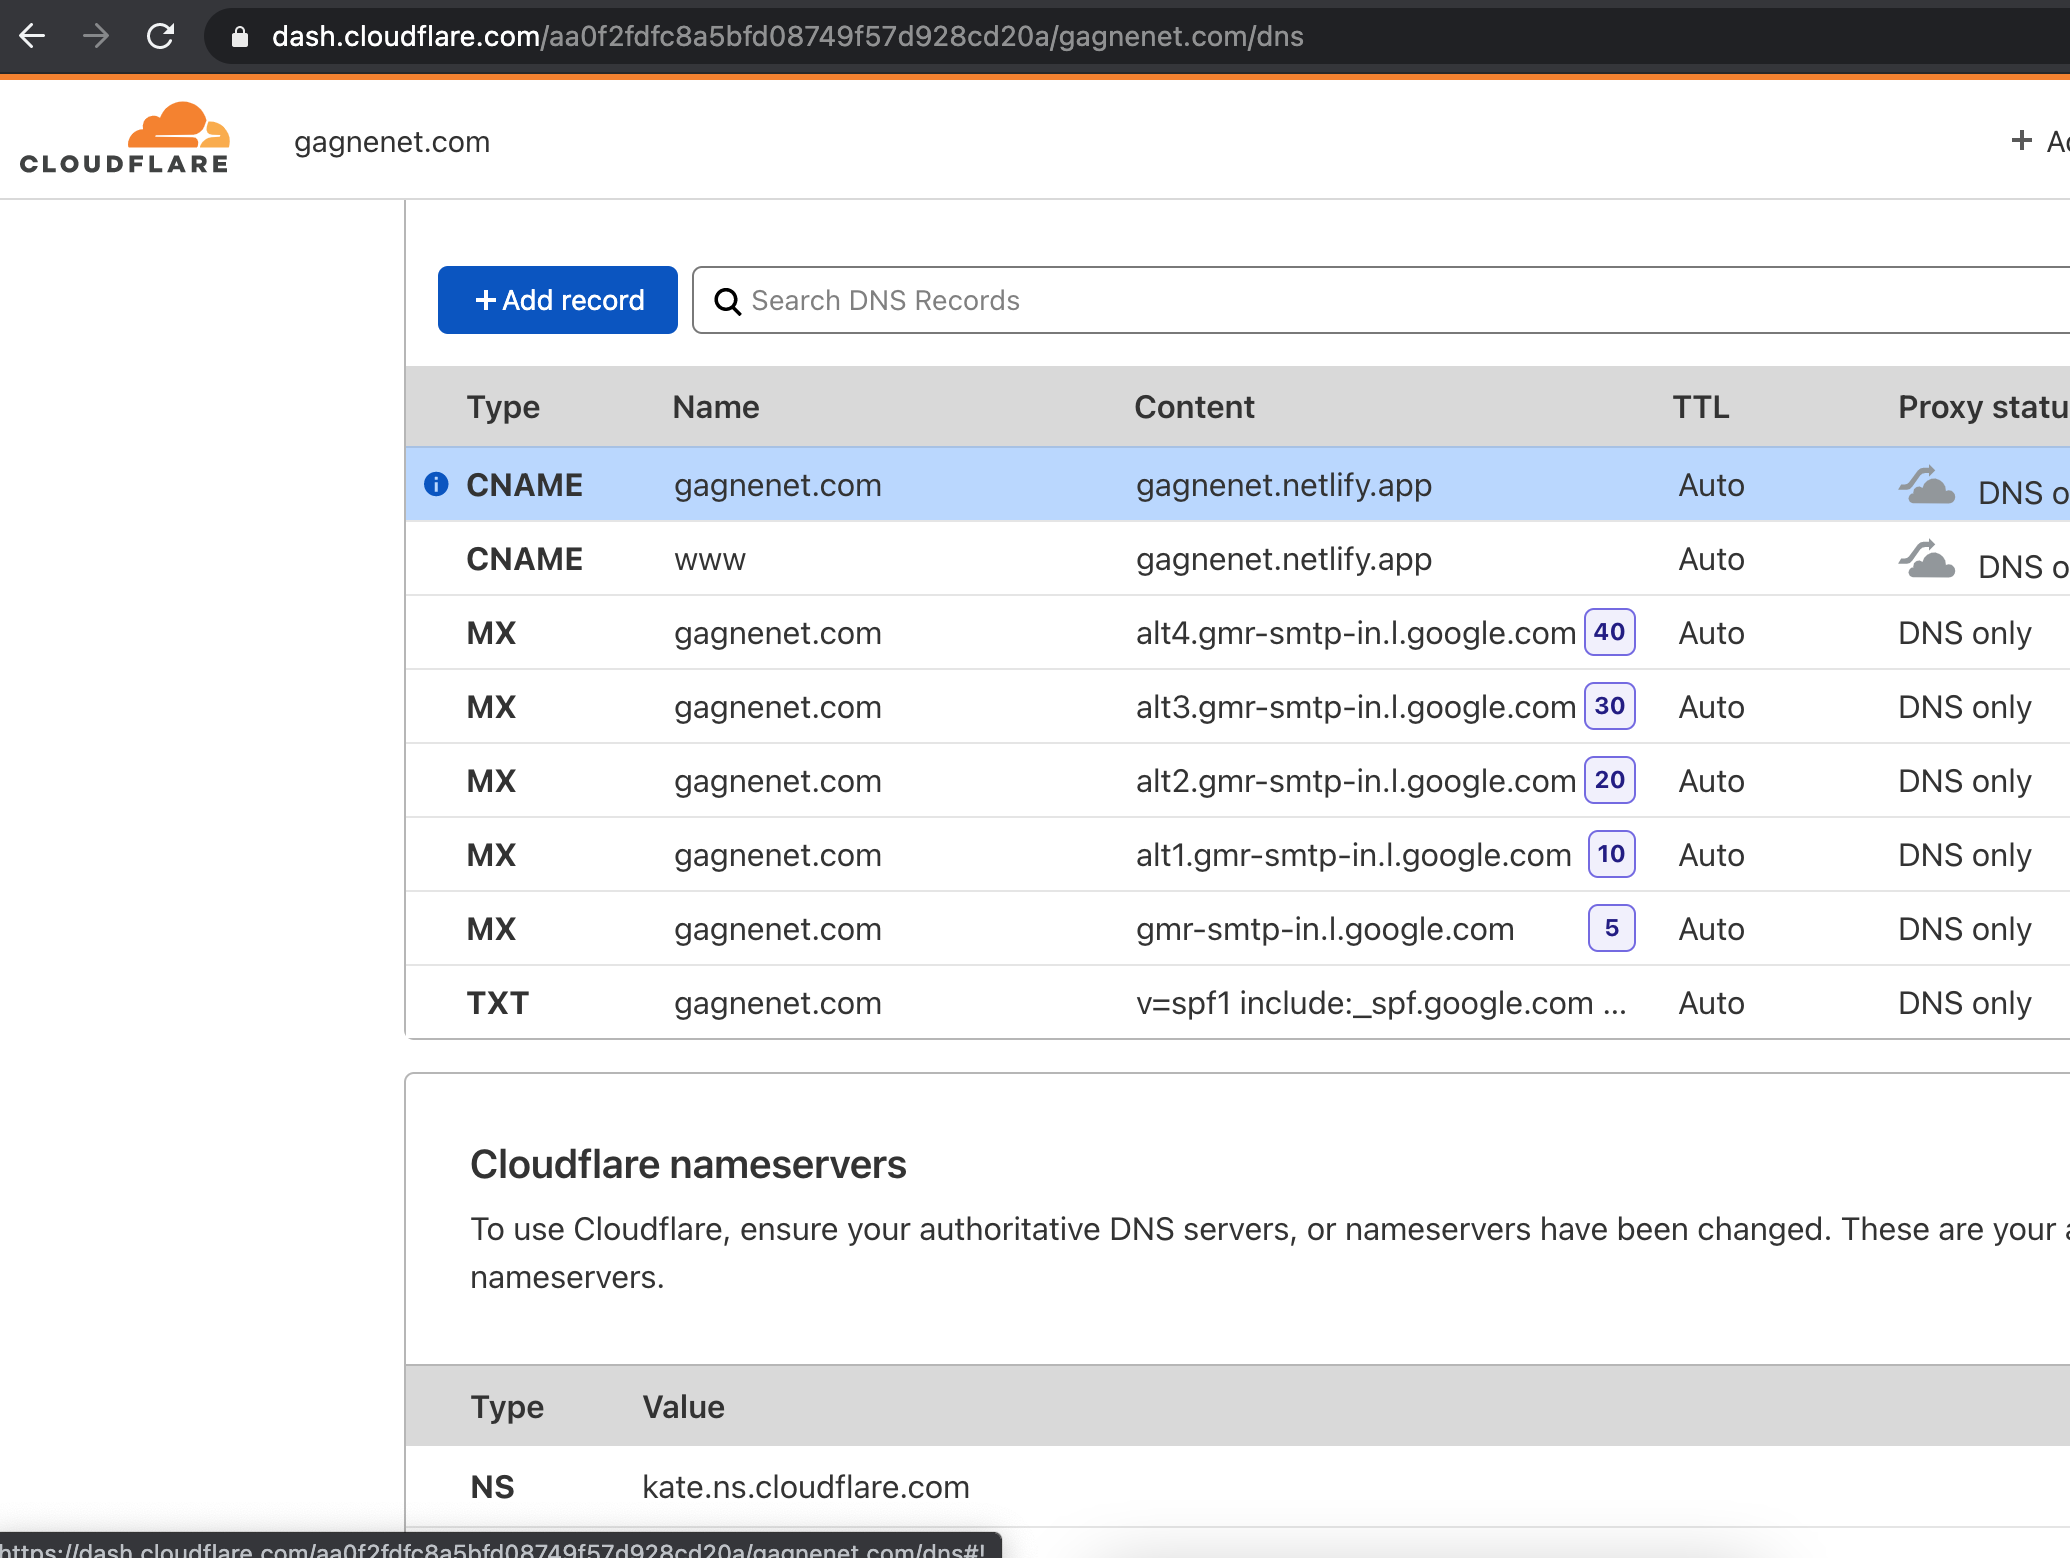
Now head over to Cloudflare and create CNAMEs. In my case I created two:
- gagnenet.com -> gagnenet.netlify.app
- www.gagnenet.com -> gagnenet.netlify.app
Note that you’re only creating DNS records and not proxying web traffic. Netlify has an article explaining why they do not recommend using Cloudflare as a proxy in front of Netlify.
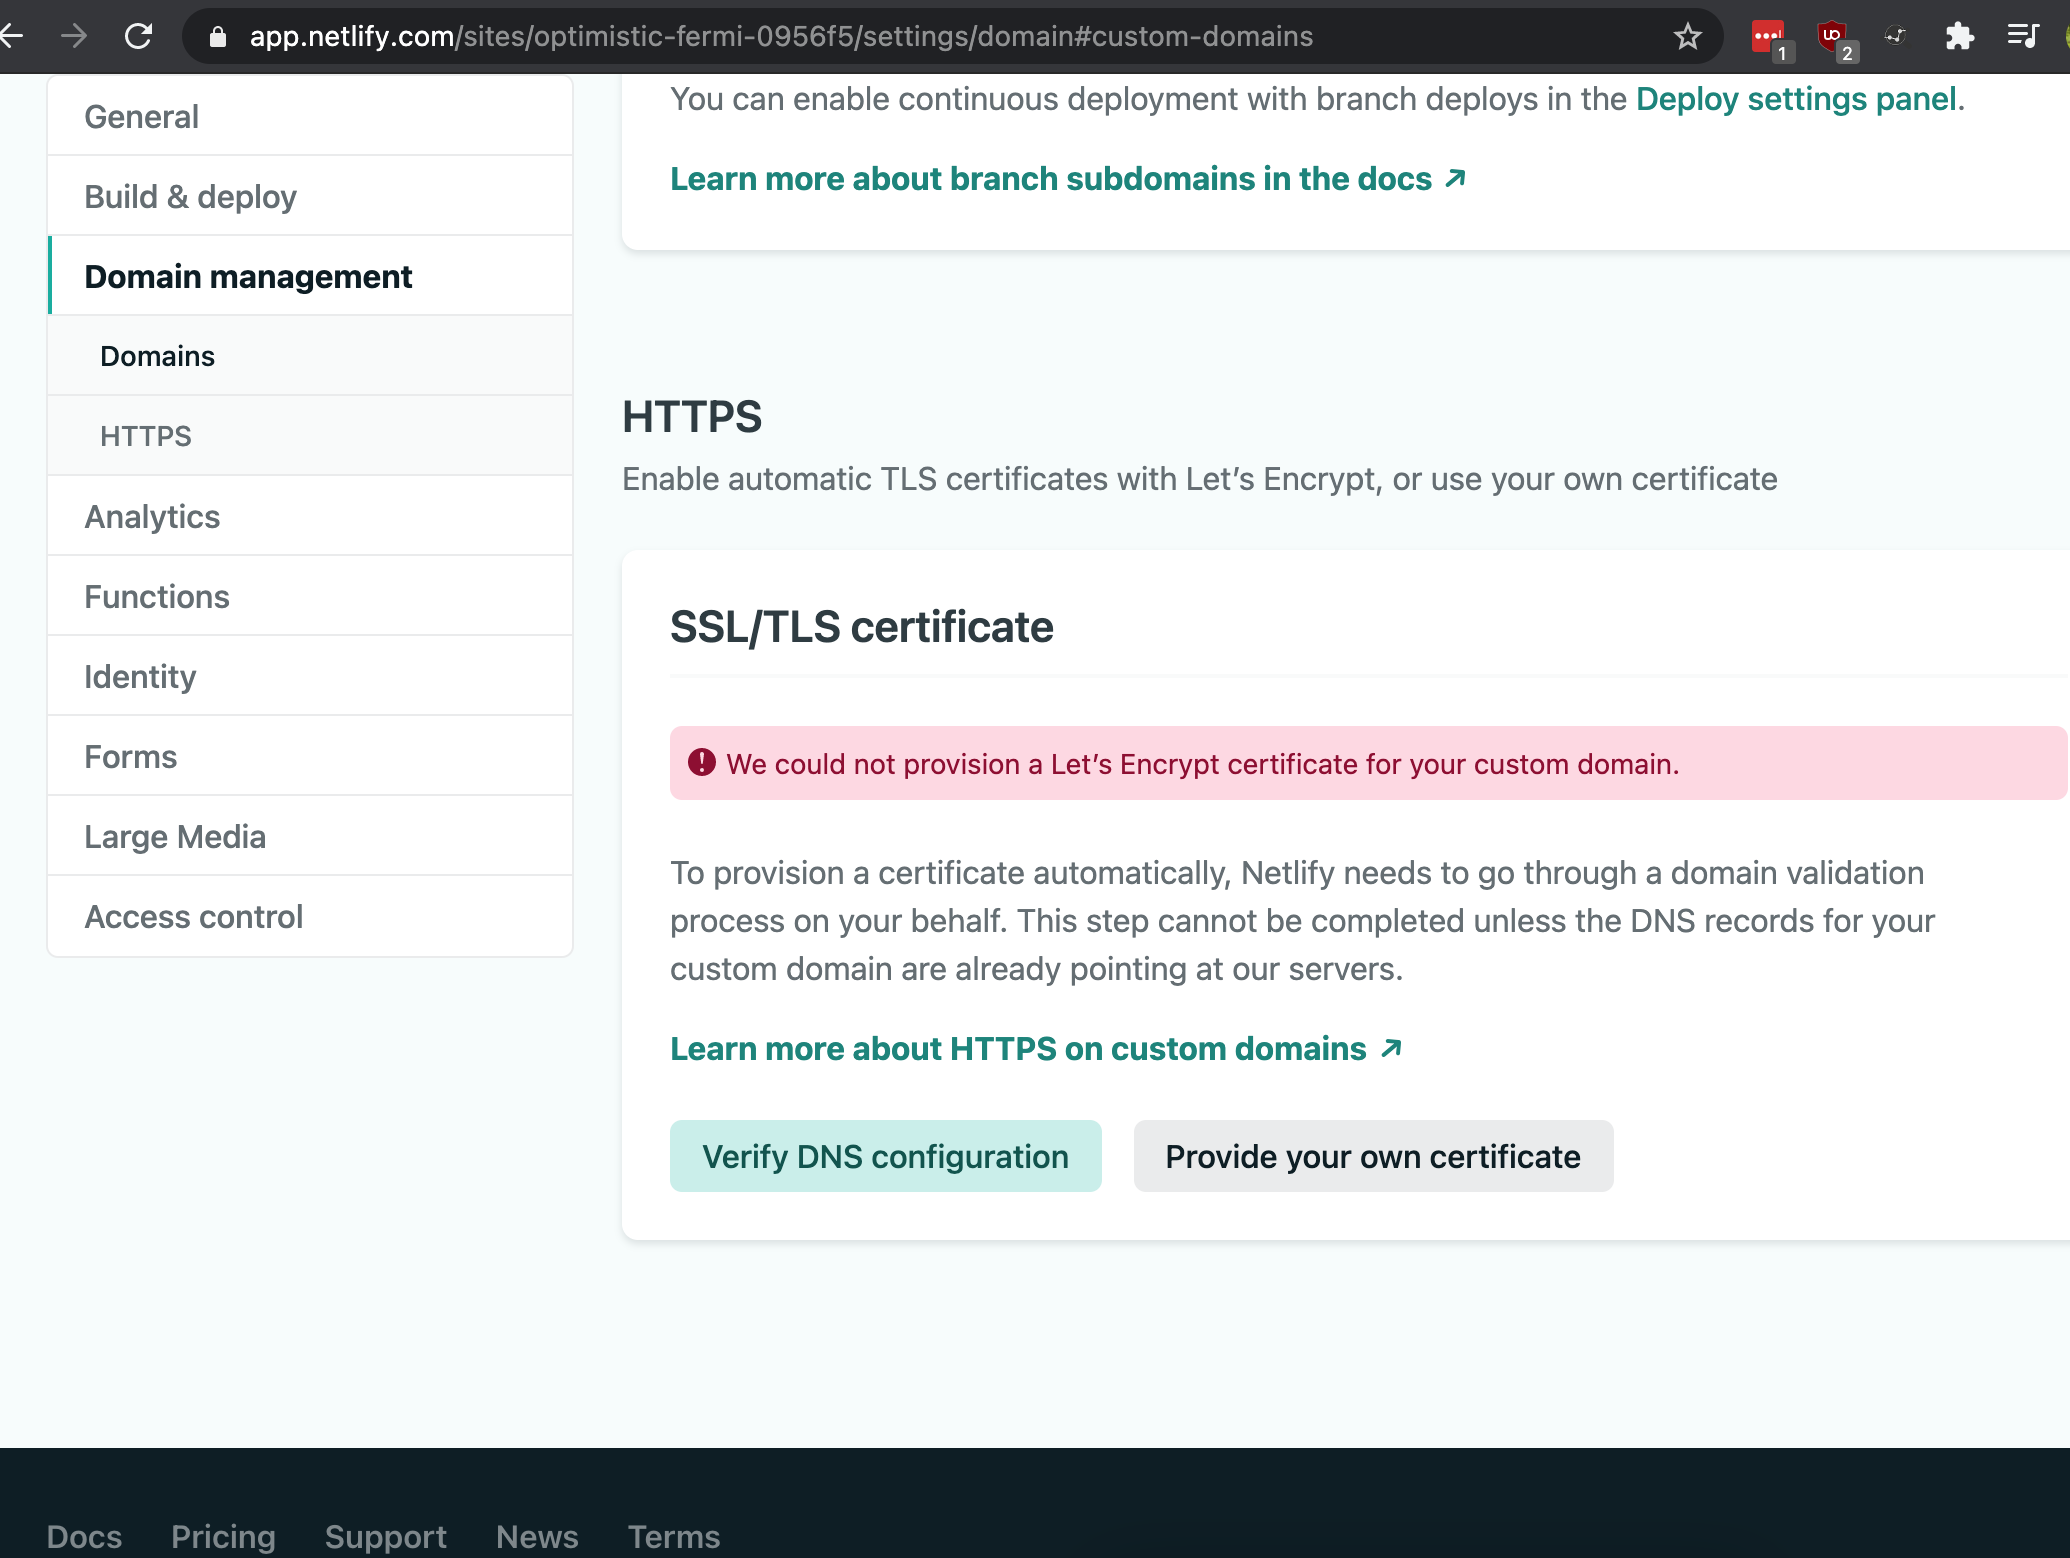
With DNS setup, you can now configure Netlify to automatically provision Let’s Encrypt certificates for you. On the left, under Domain management click HTTPS. Then click Verify DNS configuration.
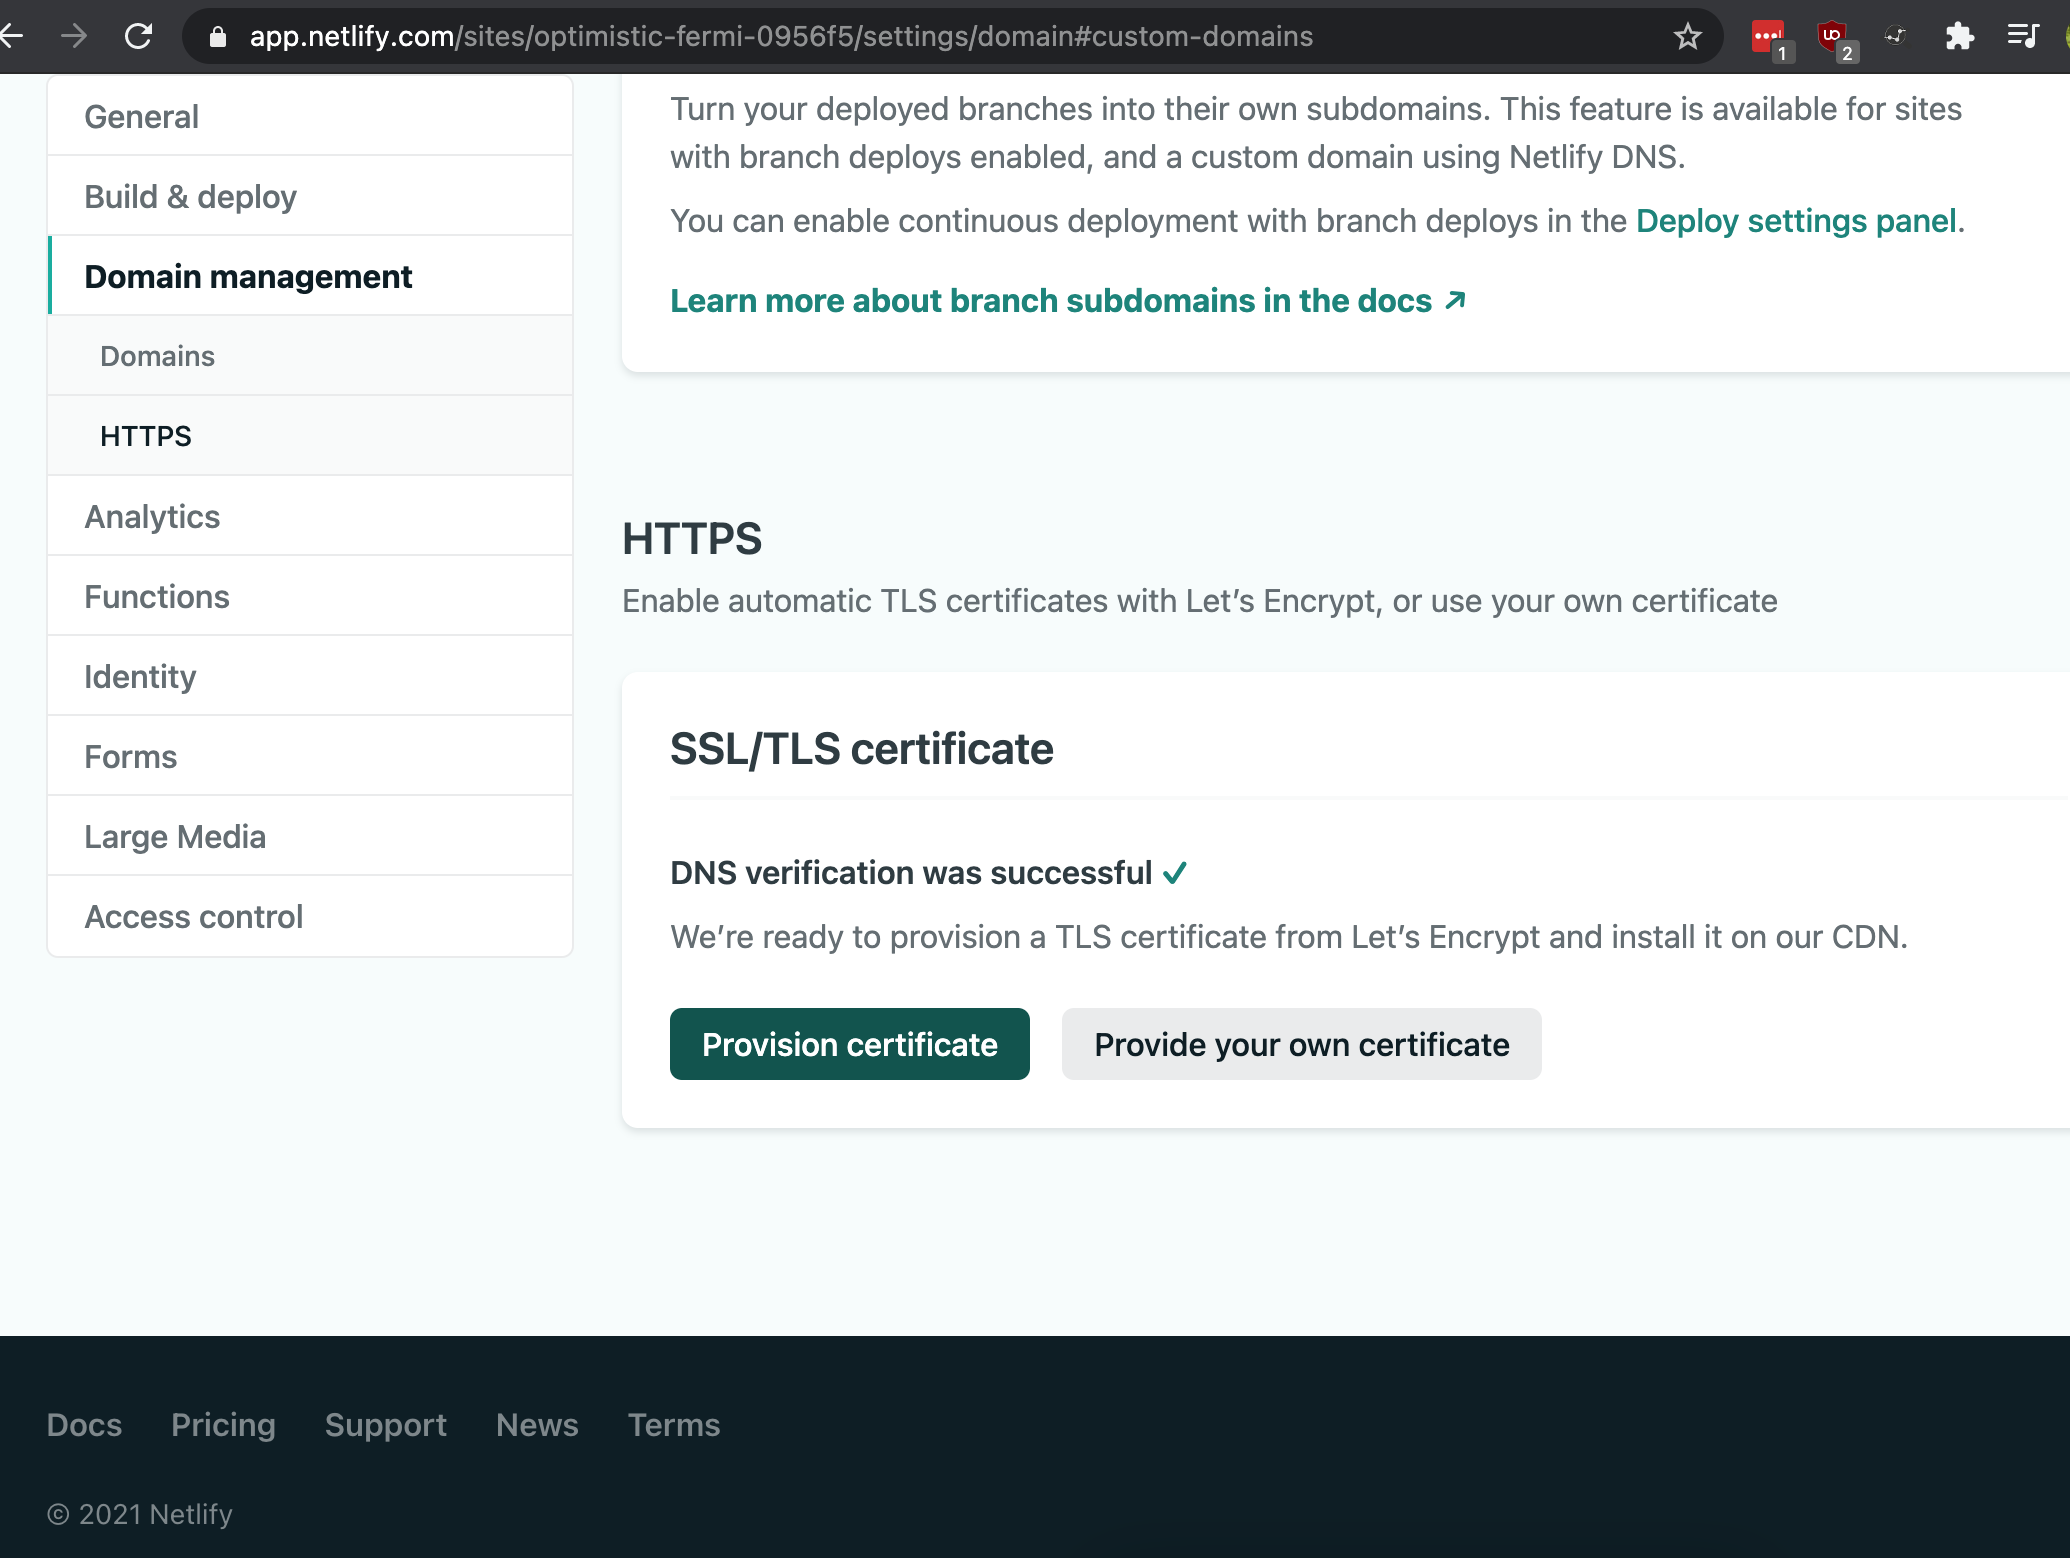
Assuming verification was successful, click Provision certificate.
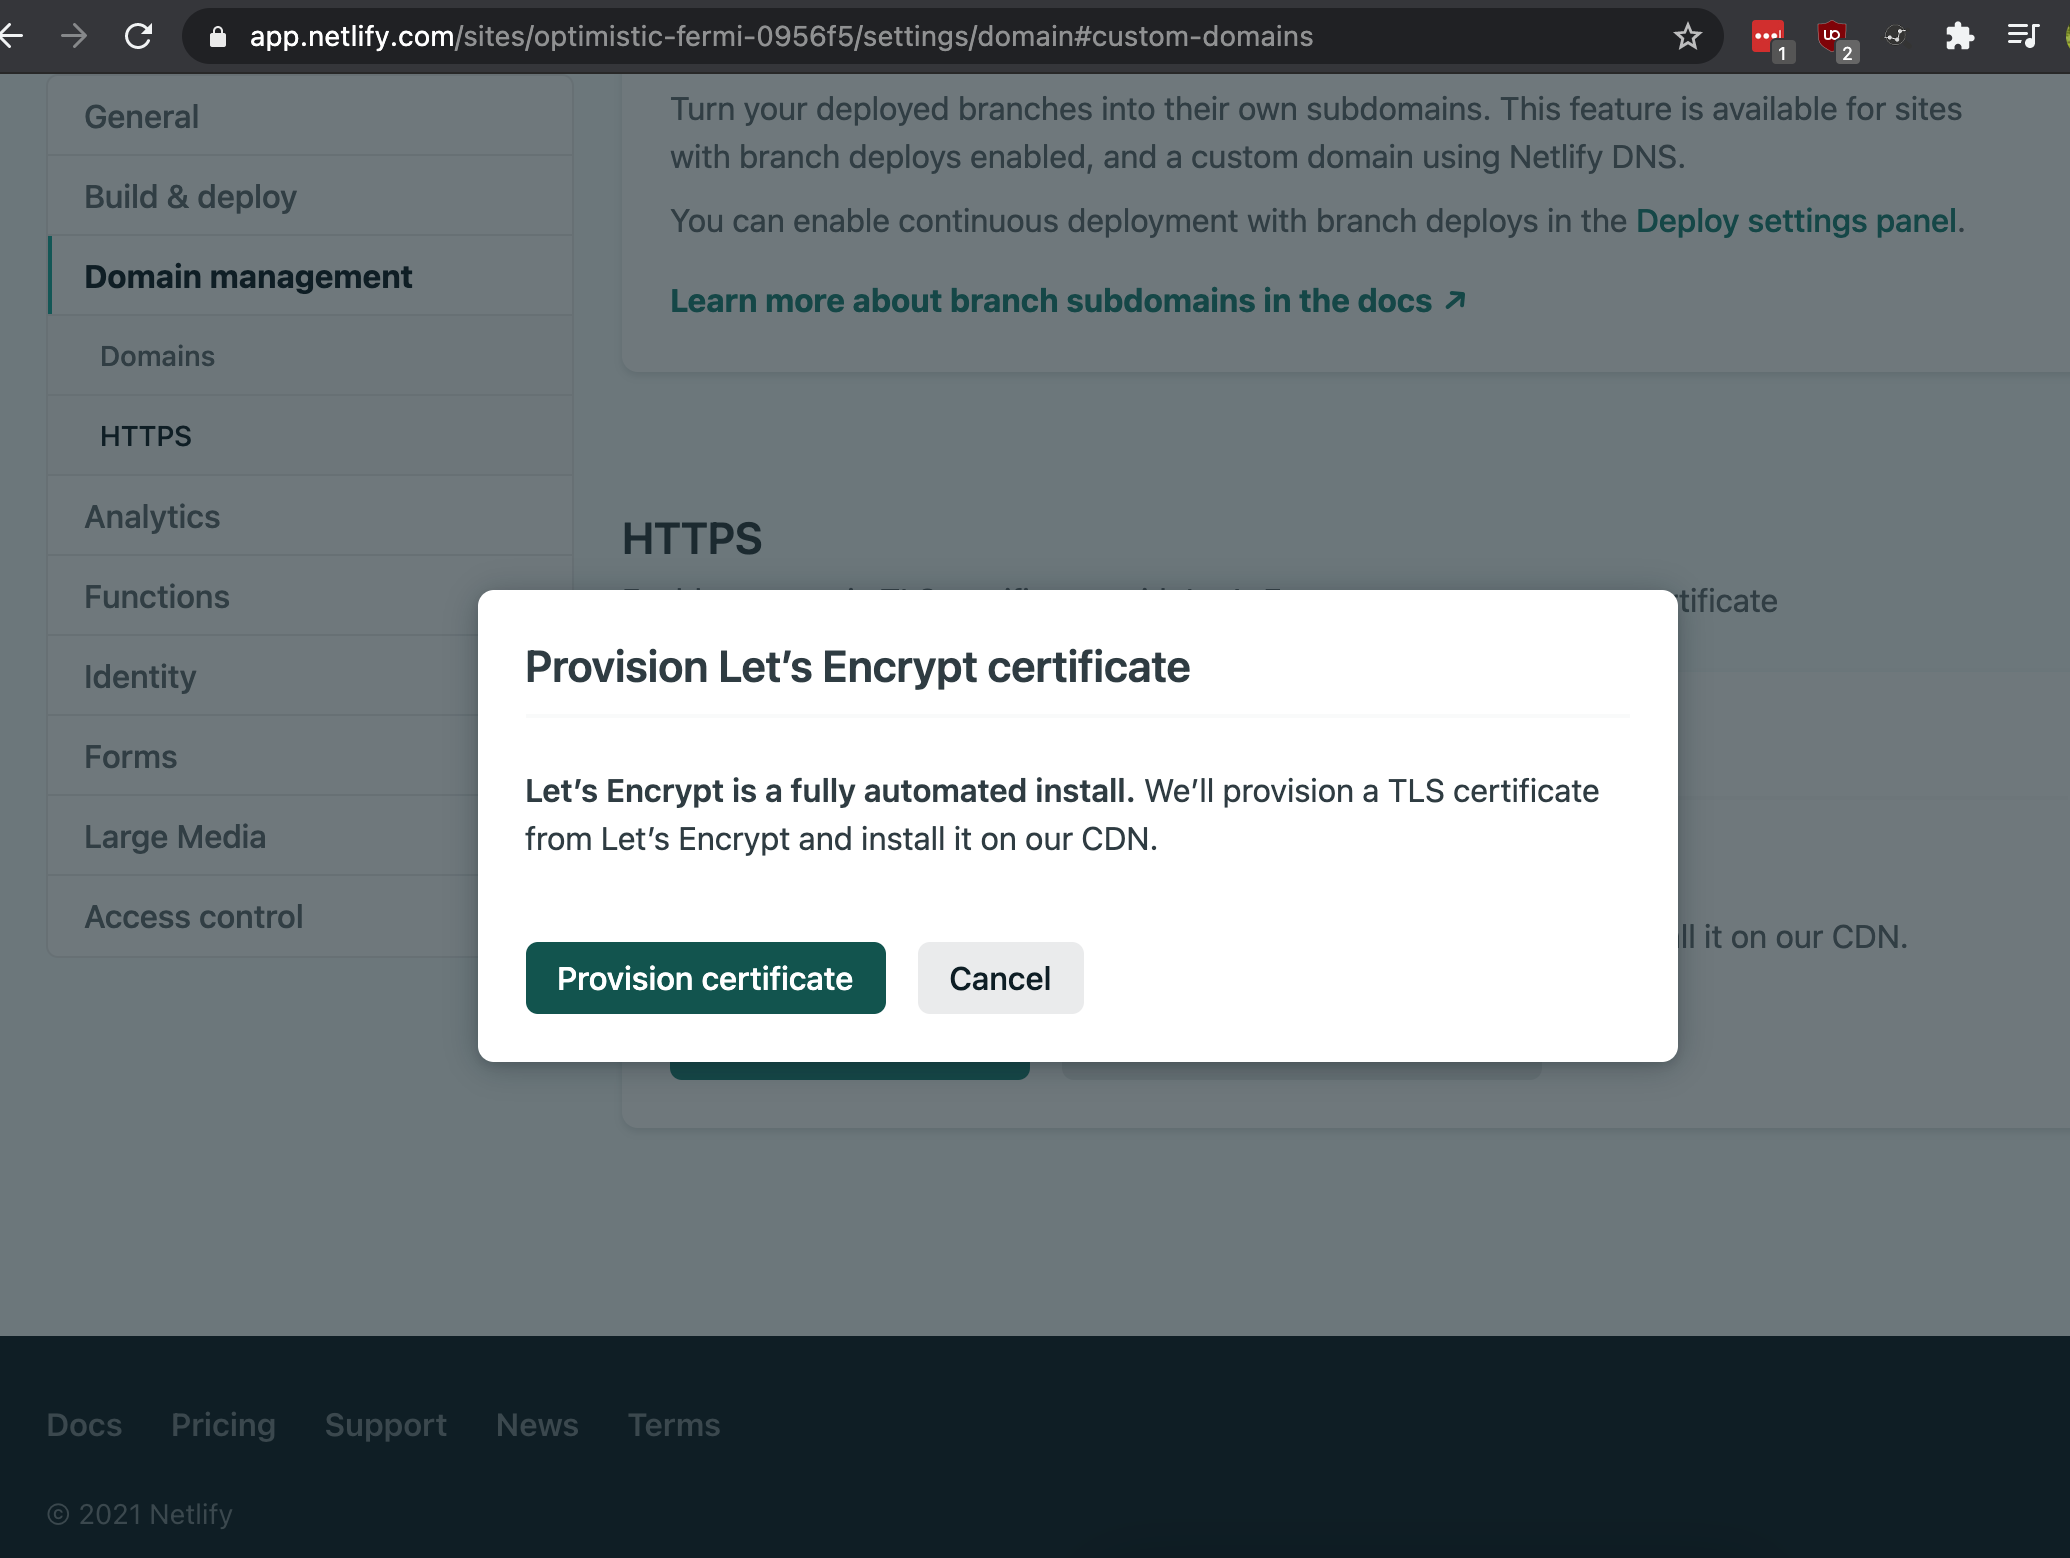
Click Provision certificate in the module pane.
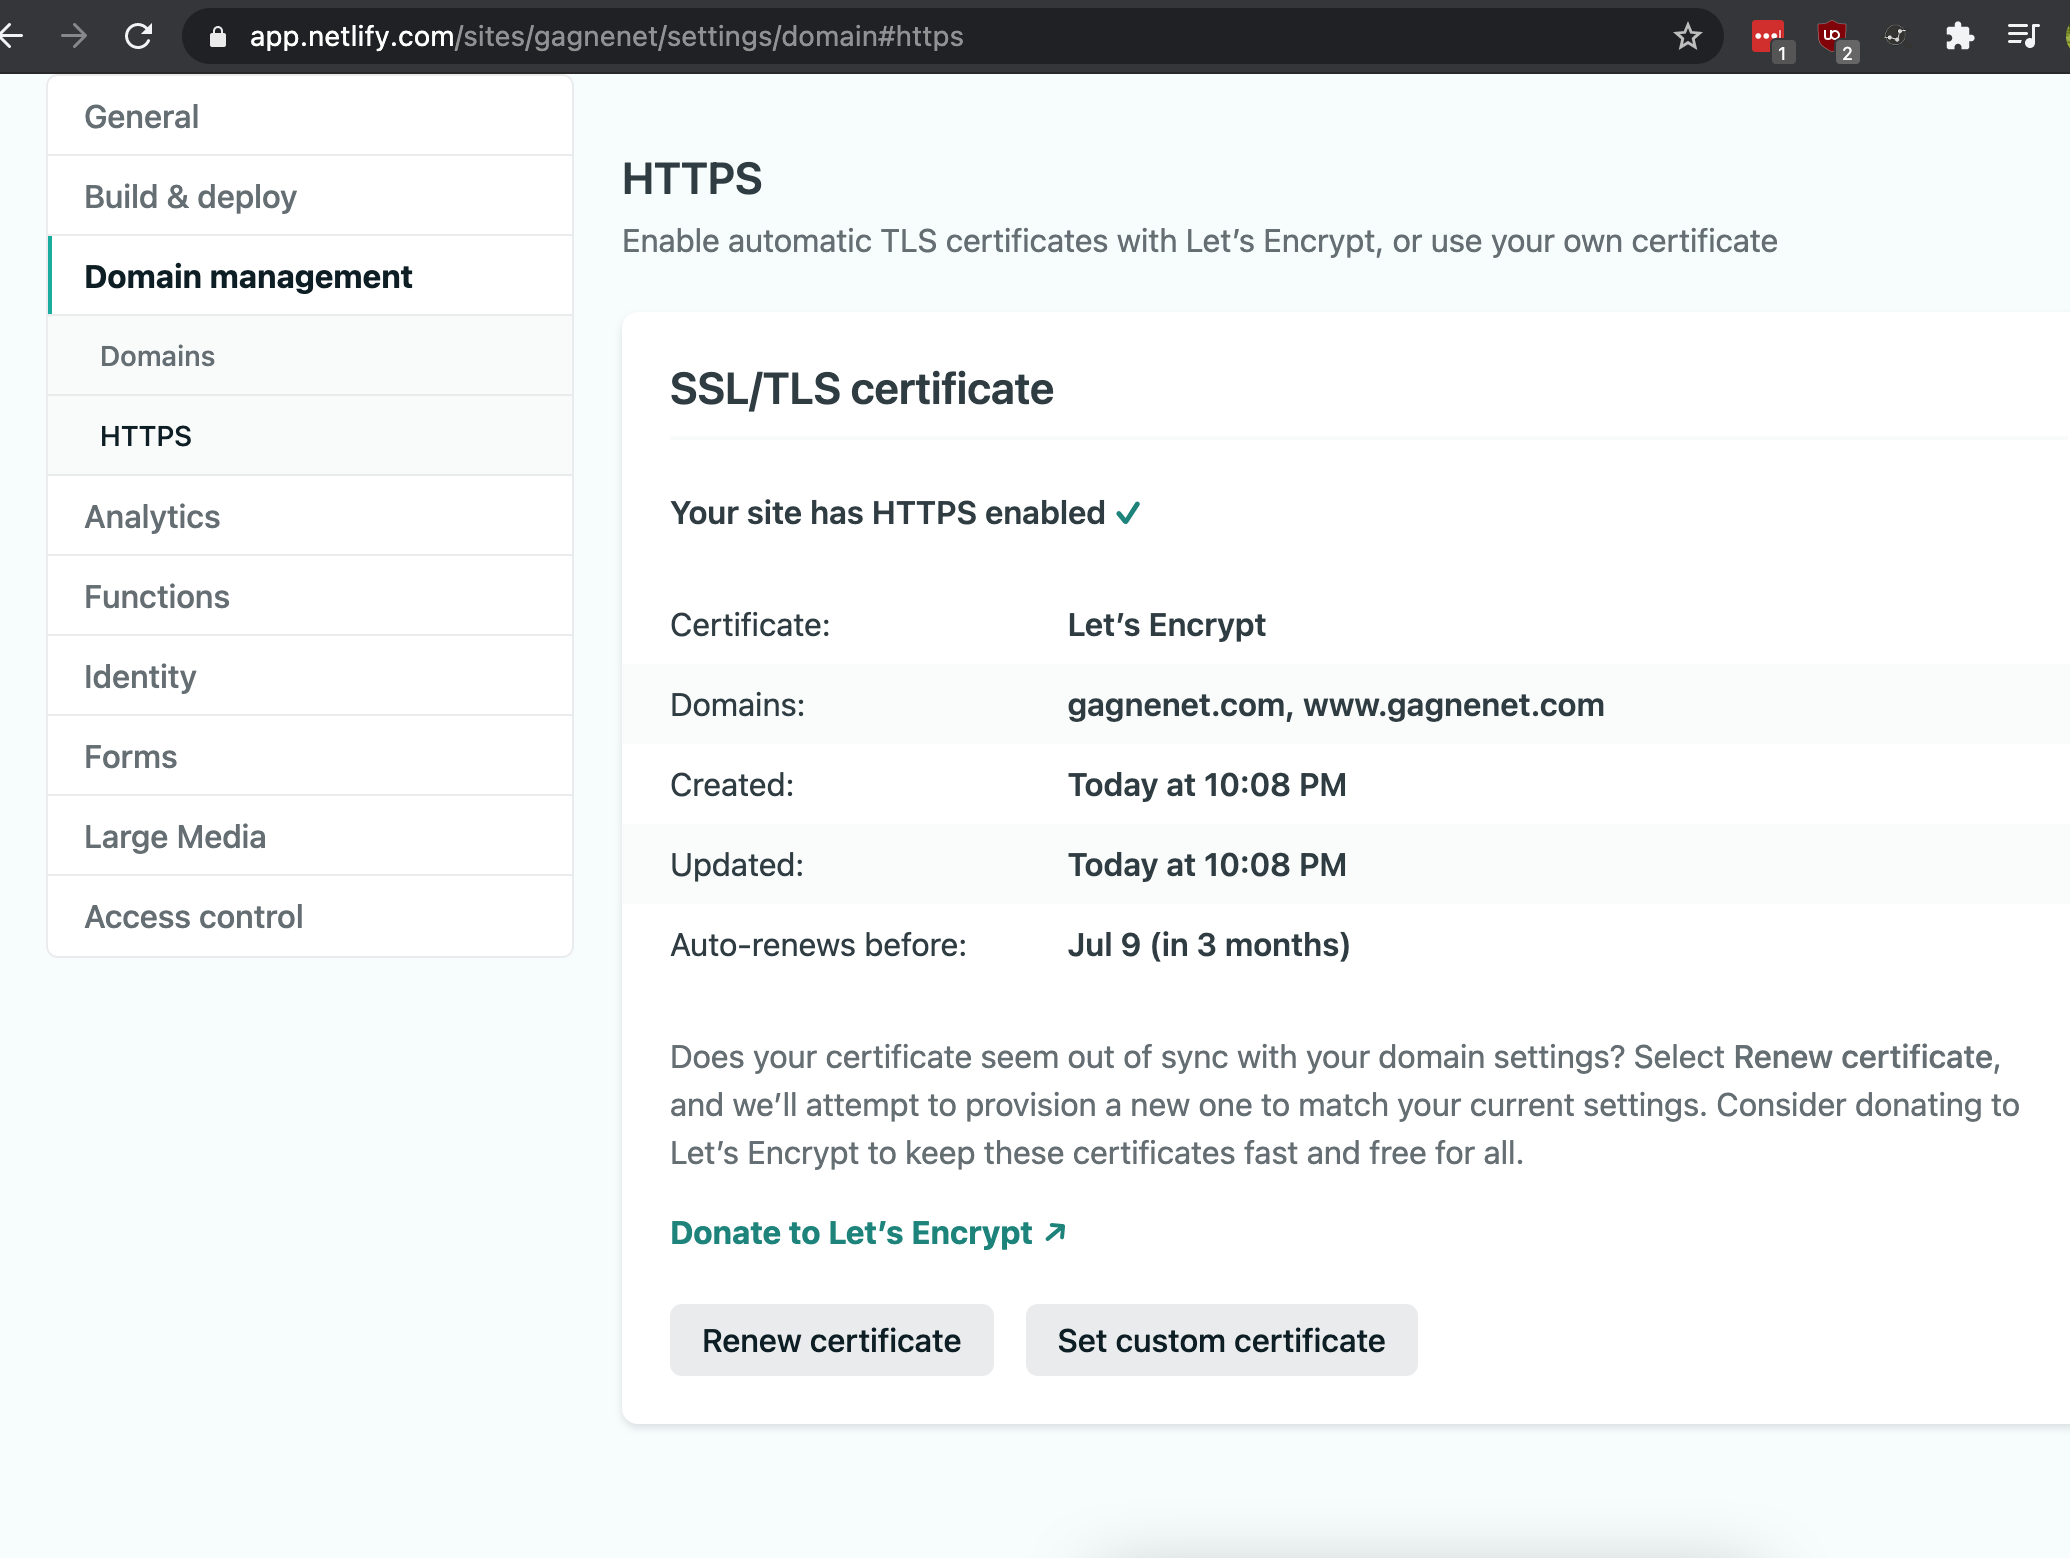
And here’s what it looks like when it’s all setup.
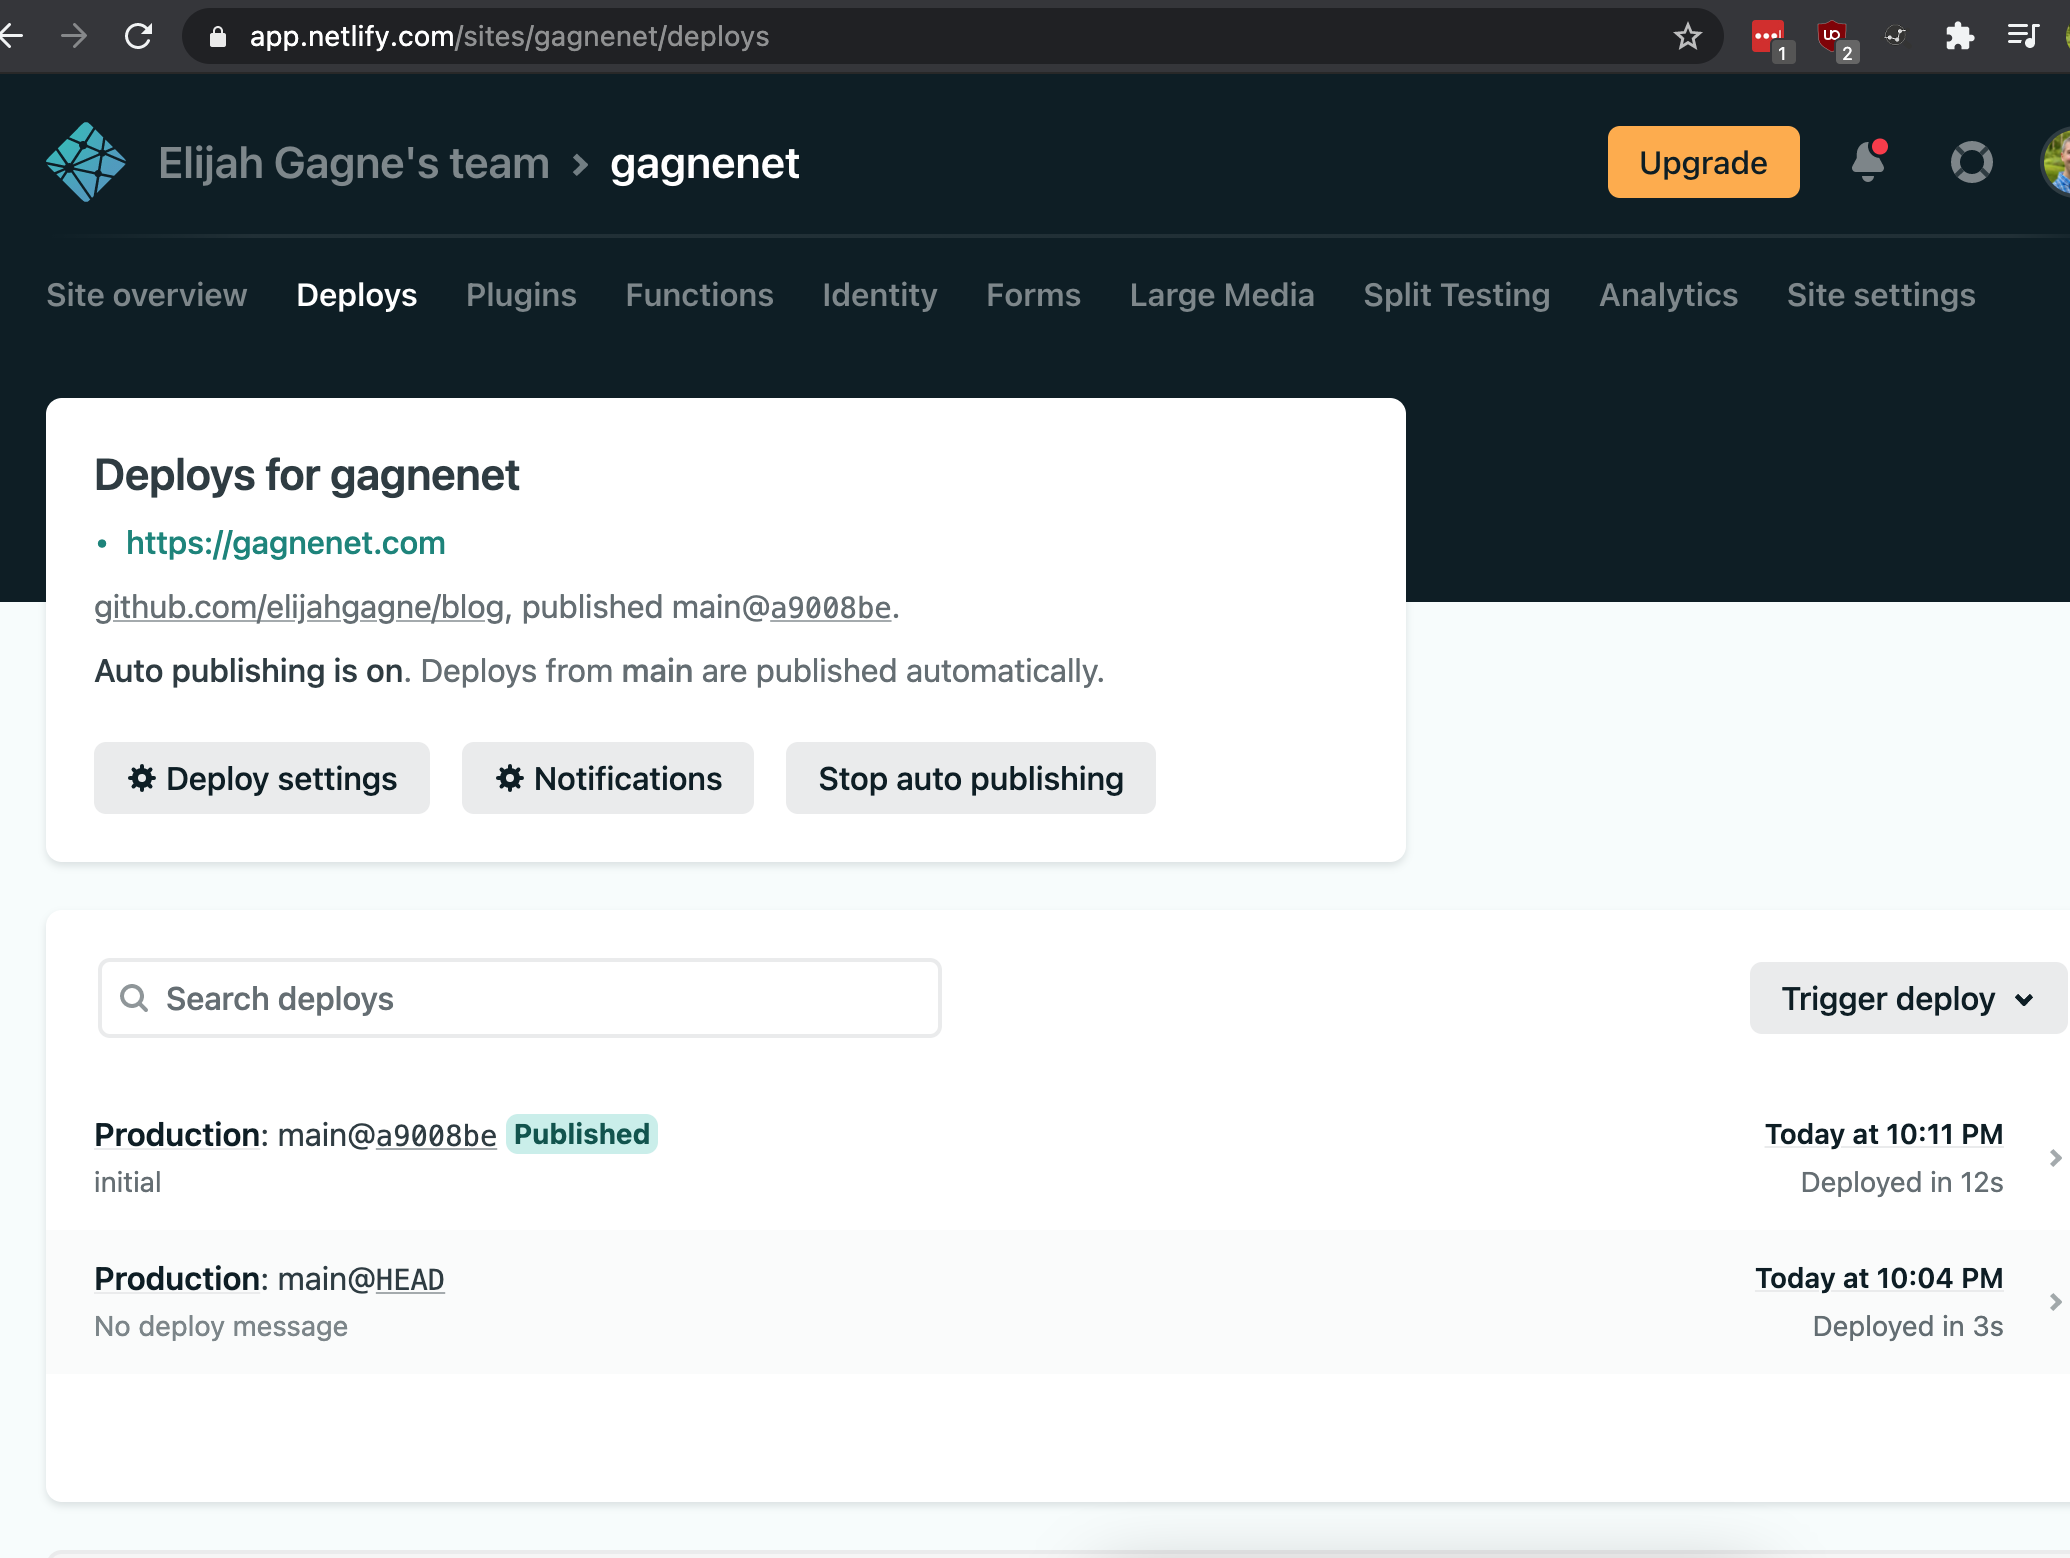
Switch back to the deploy tab of Netlify. Then generate some content, commit/push it to GitHub, and watch a build/deploy kick off. Netlify let’s you specify the build configuration through it’s web interface. However, I prefer to keep it in the Git repo. To do that, you can create a netlify.toml file in the root of the repo. Here’s how I created mine:
cat << 'EOF' > netlify.toml
[build]
publish = "public"
command = "hugo --gc --minify"

[context.production.environment]
HUGO_VERSION = "0.82.0"
HUGO_ENV = "production"
HUGO_ENABLEGITINFO = "true"
EOF
It’s now time to browse to your website and see if it worked.